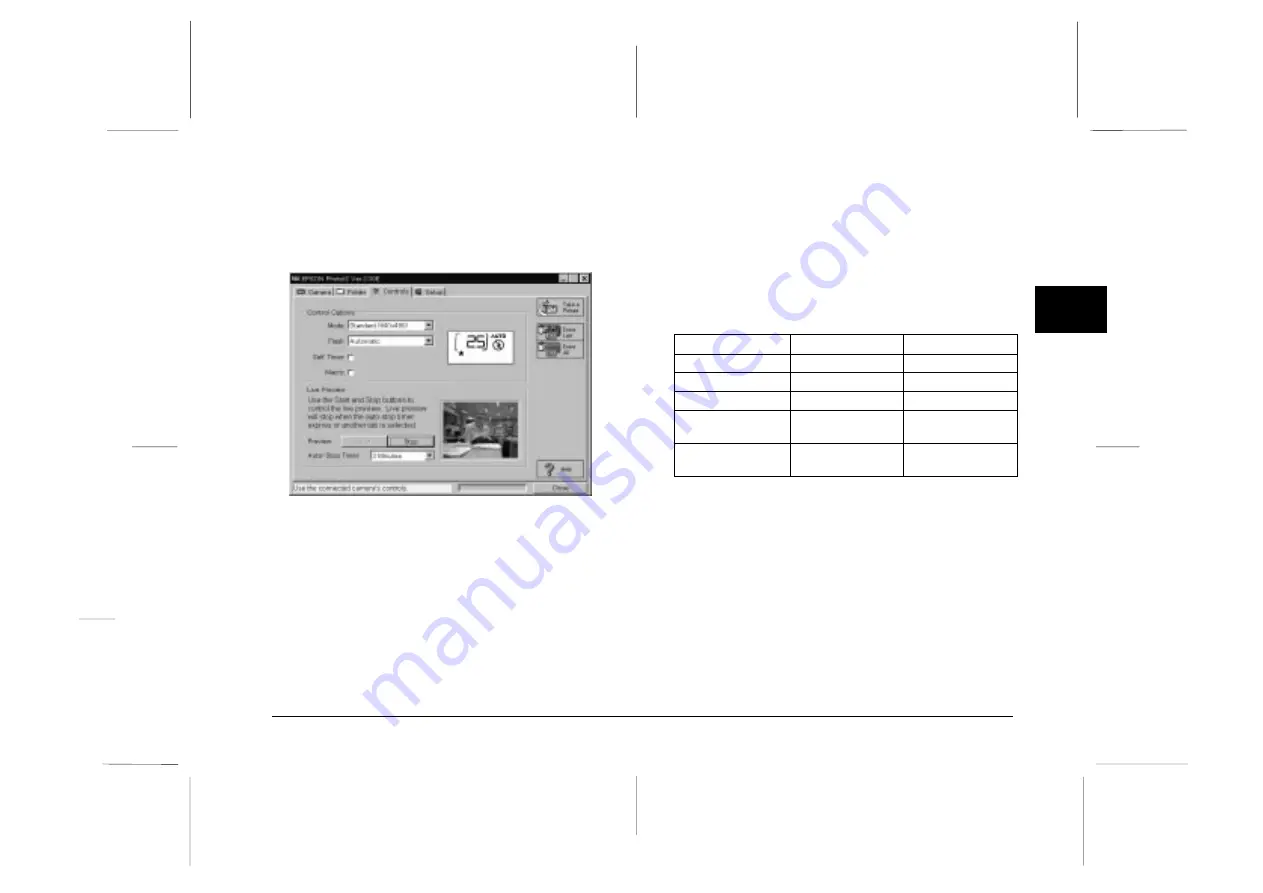
When your camera is not connected to the computer, this
menu is not accessible. Make sure your camera is
properly connected to the computer, following the
instructions on page 2-22.
Controlling the camera from your
computer
The Control Options box contains a display panel and
settings that correspond to the control buttons on the top
of your camera. You can change camera settings by using
the controls in this box, just as you would use the control
buttons on the top of the camera. When the camera is
connected to the computer, the only control you can use
on the camera itself is the power switch.
The display panel on the computer and the display panel
on the camera are updated whenever the image quality
setting, flash mode, or picture count changes.
Selecting the image quality setting
Use the arrow in the Mode box to select an image control
setting:
PhotoPC 600
PhotoPC 700
Standard
640
×
480 pixels
640
×
480 pixels
Fine
1024
×
768 pixels
1280
×
960 pixels
Super Fine
1024
×
768 pixels
1280
×
960 pixels
Monochrome
Fine
1024
×
768 pixels
1280
×
960 pixels
Monochrome
Super Fine
1024
×
768 pixels
1280
×
960 pixels
You can switch freely between these settings and mix
pictures of varying image quality in the camera. Keep in
mind that the camera’s picture capacity will vary
accordingly. See your camera’s User’s Guide for more
information on the image quality settings.
2
R
EPSON Photo!2 Rev.C
A5 size
Chapter 2
5/8/98
pass 0
Using EPSON Photo!2
2-19
Summary of Contents for Photo PC 3000Z
Page 1: ......
Page 3: ...L EPSON Photo 2 Rev C A5 size Front Matter 5 7 98 pass 1 ii ...
Page 13: ...L EPSON Photo 2 Rev C A5 size Chapter 1 5 8 98 pass 1 1 6 Installing the Software ...
Page 49: ...L EPSON Photo 2 Rev C A5 size Chapter 3 5 7 98 pass 0 3 12 Using the Uploader Utilities ...
Page 57: ......


