Transferring pictures to your documents
After you select pictures in the Folder menu’s image
selection window, you can insert them into your
documents. You can use your pictures in many different
types of applications, such as word processors,
presentation programs, spreadsheets, database
managers, page layout and desktop publishing packages.
To enhance your photos, simply click on the
Enhance
Photo
button before you start transferring. For more
details, see page 2-18.
You can also change the orientation of your photos in
90 degree increments using the
Rotate Photo
buttons.
For more information, see page 2-18.
If your application supports OLE2 or TWAIN, you can
directly transfer your photos. If it does not, you need to
save your photos in a file format your application can
use, and open the file from the application.
You can use the same methods to transfer and insert
your photos as described in the Camera menu section on
page 2-10. However, from the Folder menu, images are
not transferred from your camera but from the folder
where you downloaded the images.
Finding the folder containing your photos
Click the
Browse
button to open a dialog box that allows
you to locate the folder containing the images you
downloaded from your camera. Select the folder where
you stored the photos and click
OK
.
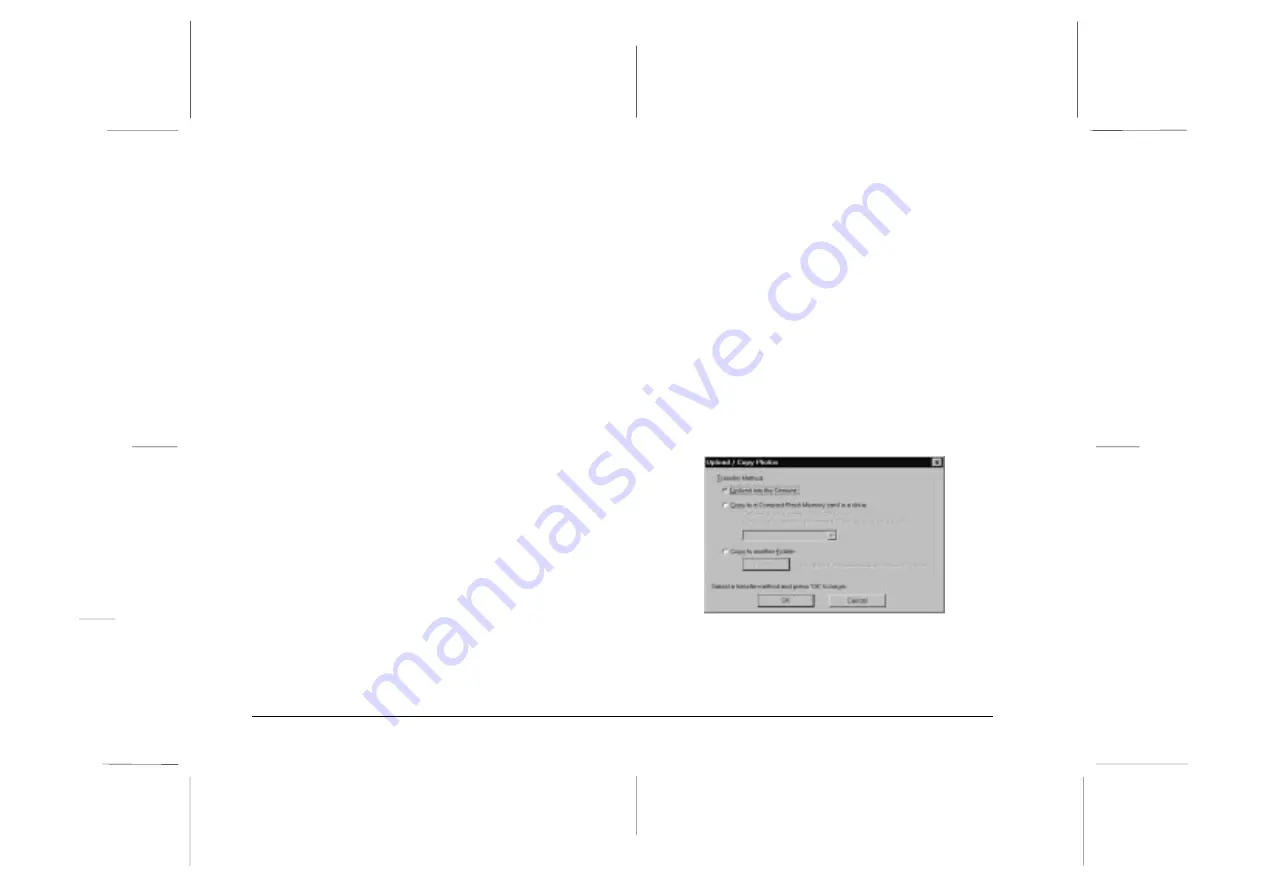
Uploading and copying photos
Click the
Upload/Copy Photos
button to upload
selected photos to the camera or optional CompactFlash
memory card installed in your computer, or to copy
photos to another folder. When you click this button, the
following dialog box appears.
L
EPSON Photo!2 Rev.C
A5 size
Chapter 2
5/8/98
pass 0
2-16
Using EPSON Photo!2
Summary of Contents for Photo PC 3000Z
Page 1: ......
Page 3: ...L EPSON Photo 2 Rev C A5 size Front Matter 5 7 98 pass 1 ii ...
Page 13: ...L EPSON Photo 2 Rev C A5 size Chapter 1 5 8 98 pass 1 1 6 Installing the Software ...
Page 49: ...L EPSON Photo 2 Rev C A5 size Chapter 3 5 7 98 pass 0 3 12 Using the Uploader Utilities ...
Page 57: ......


