


User-defined Characters
The EX has a command that allows you to define and print
characters of your own design. You can design an entirely new alphabet
or typeface, create mathematical or scientific symbols, or create graphic
patterns to serve as building blocks for larger designs. These
user-defined characters work only in draft mode.
Also, you can buy commercial software programs that assist you in
creating characters or supply you with sets of characters already created.
In addition, some popular application packages make use of the user-
defined character function to enhance printouts. (These characters are
called download characters in some programs.)
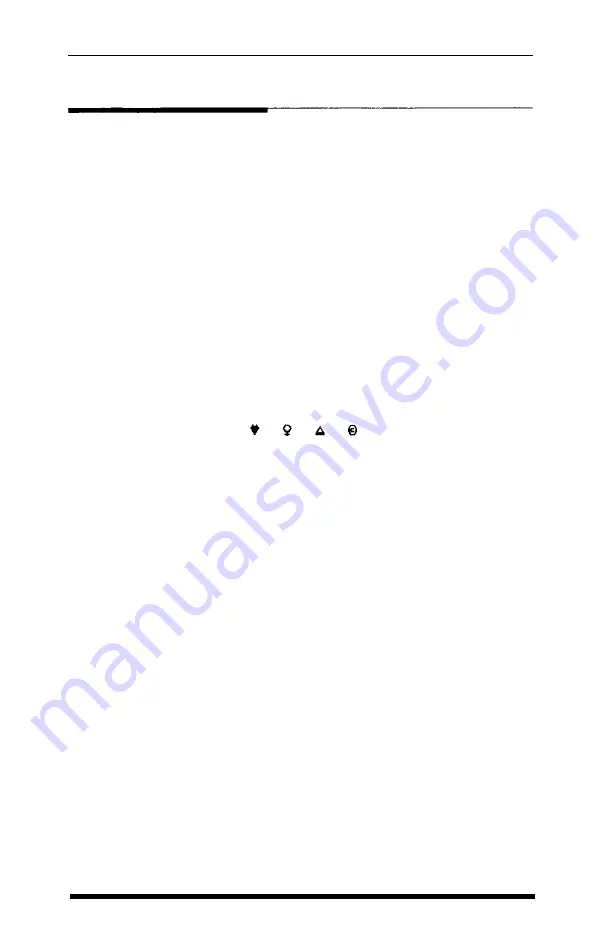
The printout below shows a few user-defined characters to give you
an idea of what can be done, but remember that you can create what
you need or want.
When you define a character of your own, the definition is stored in
temporary memory (RAM). The original character with the same code
remains in the printer’s permanent memory (ROM) and you can print
either of them when needed.
Design
grids
The process of defining a character is much like printing dot graphics
because you send the printer precise instructions on where you want
each dot printed. In fact, planning a user-defined character is like
planning a small dot graphics pattern.
To design a character you use a grid that has nine rows and eleven
columns. Figure 6-5 on the next page shows three of these grids. Most
characters do not use the two rows below the heavy line. Those rows
are only for characters with descenders, like y and g. Also, even though
you can use up to 11 columns, it is best to leave the last two blank for
the space between characters.
The grid in the middle of Figure 6-5 shows a plan for a character.
Although there are nine pins in the EX print head, you can use only
Graphics and User-defined Characters
6-13
Summary of Contents for EX-1000
Page 1: ......
Page 11: ......
Page 29: ...1 18 Setting Up the Printer ...
Page 38: ......
Page 46: ...3 8 Using the EX with Application Programs ...
Page 51: ......
Page 57: ...5 6 EX Printer Features ...
Page 76: ......
Page 81: ...Command Summary A 5 ...
Page 82: ...A 6 Command Summary ...
Page 121: ......
Page 123: ...Table B 1 Epson mode characters B 2 Character Tables ...
Page 124: ...Table B 1 continued Character Tables B 3 ...
Page 125: ...Table B 1 continued B 4 Character Tables ...
Page 126: ...Table B 1 continued Character Tables B 5 ...
Page 127: ...Table B 1 continued B 6 Character Tables ...
Page 128: ...Table B 1 continued Character Tables B 7 ...
Page 129: ...Table B 1 continued B 8 Character Tables ...
Page 133: ...Table B 4 IBM printer emulation mode characters B 12 Character Tables ...
Page 134: ...Table B 4 continued Character Tables B 13 ...
Page 135: ...Table B 4 continued B 14 Character Tables ...
Page 137: ...Table B 4 continued B 16 Character Tables ...
Page 139: ...Table B 4 continued B 18 Character Tables ...
Page 151: ...D 8 Problem Solving and Maintenance ...
Page 157: ...E 6 Defaults and DIP Switches ...
Page 172: ......
Page 173: ...G 8 Technical Specifications ...
Page 183: ...IN 4 Index ...
Page 184: ...Quick Reference ...
Page 186: ......
Page 187: ......
Page 188: ......
Page 189: ......
Page 190: ......


