32
7.
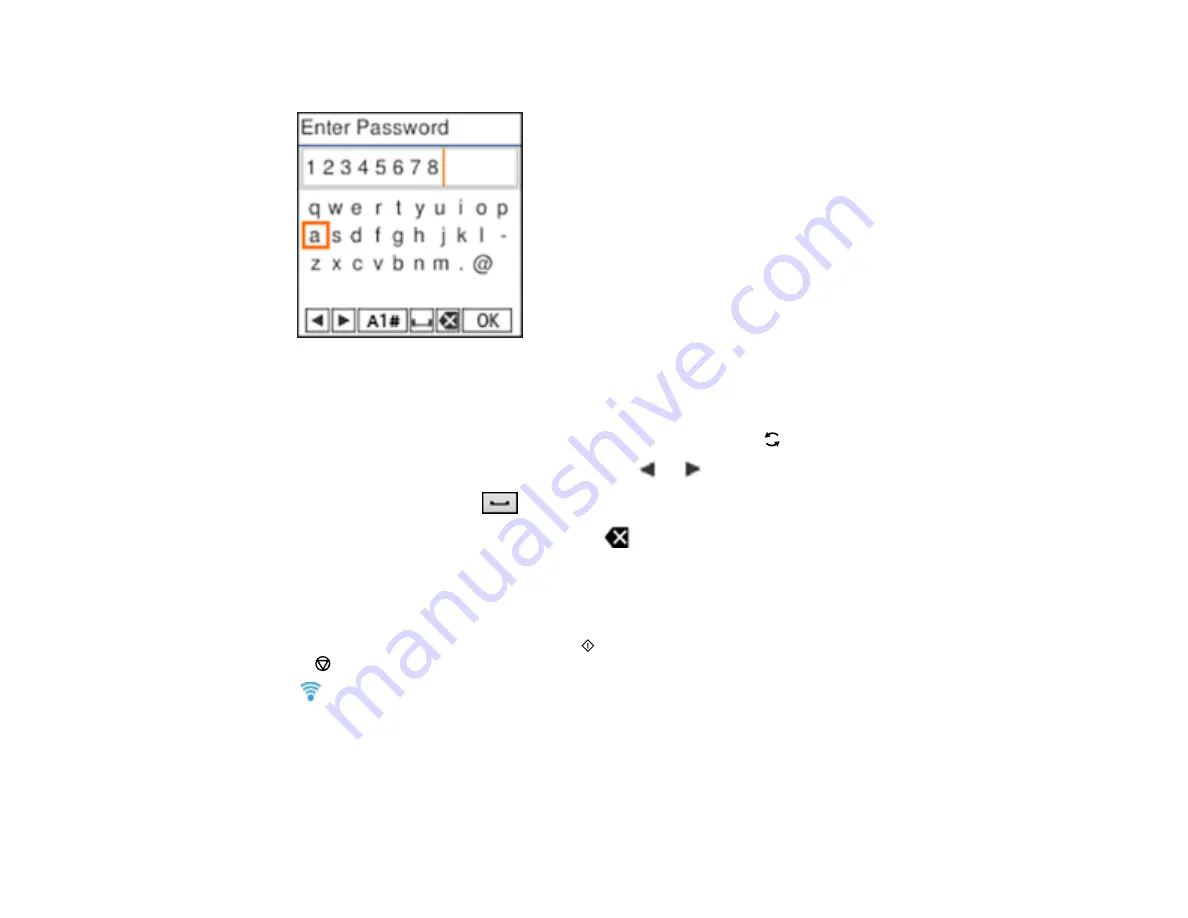
Enter your wireless password (or network name and then password).
• To scroll through the characters, press the arrow buttons.
• To make a selection, press the
OK
button.
• To change the character case or type, select
A1#
or press the
reset button.
• To move the cursor to the left or right, select
or
.
• To add a space, select
.
• To delete the previous character, select
.
• When you finish entering characters, select
OK
.
8.
Do one of the following:
• If setup was successful, press the
OK
button to exit.
• If setup was unsuccessful, press the
start button to print a network setup report or press the
stop button to return to the previous menu. Repeat these steps to try again.
The
Wi-Fi icon displayed on the LCD screen indicates your wireless connection status. If the product
is not connected to the network, you may have selected the wrong network name (SSID) or entered the
password incorrectly. Repeat these steps to try again.
If you are printing from a computer, make sure you installed the network software as described on the
Start Here
sheet.
Parent topic:
Summary of Contents for ET-2850 Series
Page 1: ...ET 2850 User s Guide ...
Page 2: ......
Page 14: ...14 Product Parts Inside 1 Document cover 2 Scanner glass 3 Scanner unit 4 Control panel ...
Page 120: ...120 You see an Epson Scan 2 window like this ...
Page 134: ...134 You see a screen like this 2 Click the Save Settings tab ...
Page 139: ...139 You see this window ...
Page 209: ...209 3 Open the scanner unit with both hands until it locks and remove any jammed paper inside ...


