65
9.
To change the print settings, press the left or right arrow button and select the necessary settings.
When you are finished, press the
OK
button.
10. When you are ready to copy, press the
start button.
Note:
To cancel copying, press the
stop button.
Parent topic:
Related topics
Copying Options
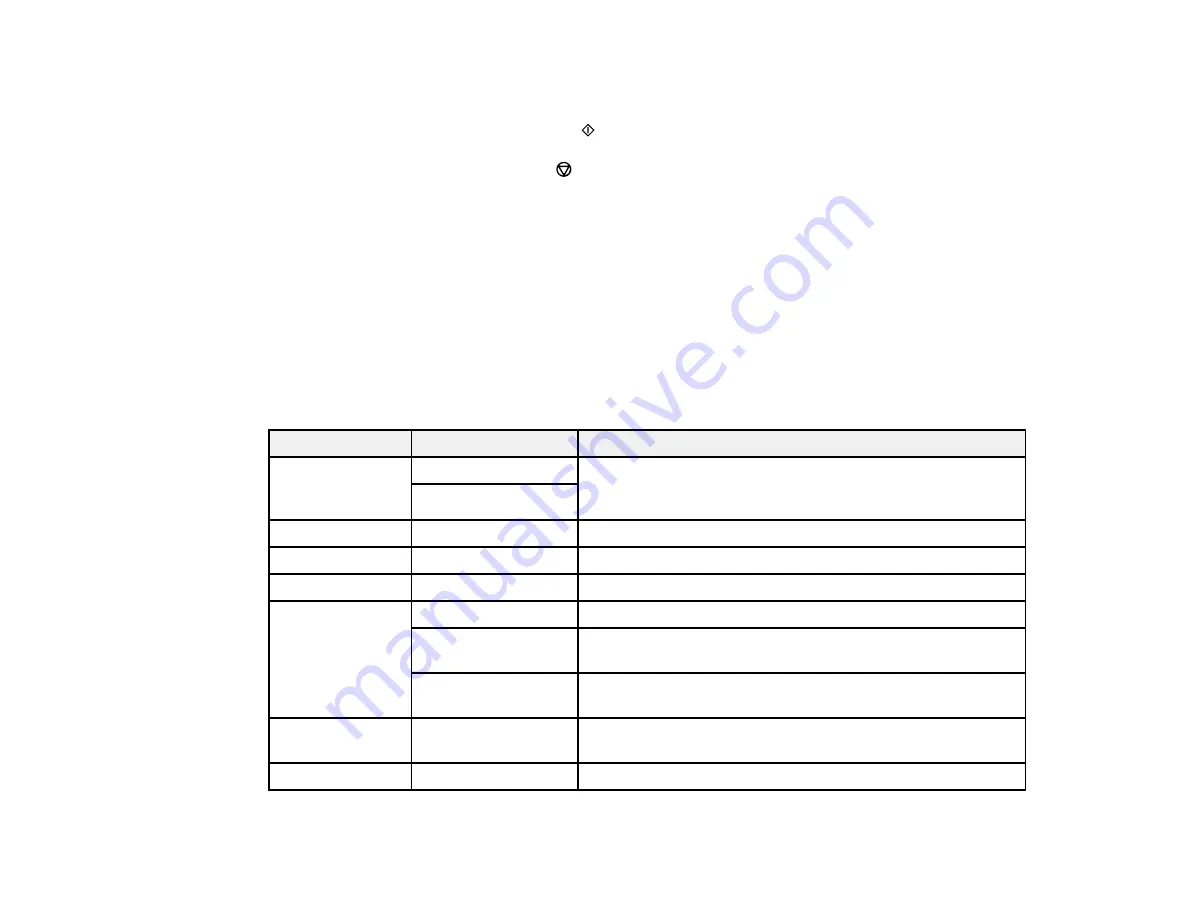
Select the copying options you want to use for your copies.
Note:
Not all options or settings may be available, depending on other copying settings.
Print Settings
Copying option
Available settings
Description
2-Sided
1>1-Sided
Select to make 2-sided copies. When you select
1>2-Sided
,
also select the orientation and binding edge for your
originals or copies.
1>2-Sided
Density
Varying levels
Adjusts the lightness or darkness of copies
Paper Size
Various settings
Selects the paper size
Paper Type
Various settings
Selects the paper type
Reduce/Enlarge
Actual Size
Copies the original at its full size
Auto Fit
Automatically sizes the image to fit the paper size you
selected
Custom 100%
and
other conversions
Displays the amount to re-size the original. Change the
amount by adjusting the
Custom Size
setting.
Custom Size
25 - 400
in 1%
increments
Adjusts the amount to re-size the original.
Original Size
Various sizes
Select the document size of your original
Summary of Contents for ET-2750 series
Page 1: ...ET 2750 User s Guide ...
Page 2: ......
Page 17: ...17 Product Parts Inside 1 Document cover 2 Scanner glass 3 Scanner unit 4 Control panel ...
Page 62: ...62 Related topics Copying Scanning ...
Page 145: ...145 1 Turn on your product 2 Lift up the scanner unit ...
Page 146: ...146 3 Open the ink tank cover then open the cap for the ink tank you are going to fill ...
Page 189: ...189 2 Remove any jammed paper from the rear paper feed ...
Page 190: ...190 3 Lift the scanner unit and remove any jammed paper inside ...


