183
7.
Select
On
, use the numeric keypad on the screen to enter your desired time, and select
OK
.
8.
Press one of the
buttons.
Note:
To cancel faxing, press the
Stop
button.
After scanning your originals, your product dials the number and sends the fax at the specified time.
Note:
If the product is turned off at the specified time, the fax is sent when you turn it back on.
Parent topic:
Sending Faxes from the Product Control Panel
Related references
Related topics
Placing Originals on the Product
Setting Up Contacts and Contact Groups
Sending a Fax on Demand
You can store one scanned document (up to 100 black-and-white pages) and have it sent automatically
when another fax machine requests it. Customers or other associates can receive the document by
calling your fax number and using the polling receive function on their fax machines.
1.
Place your original on the product for faxing.
2.
Press the
home button, if necessary.
3.
Select
Fax
.
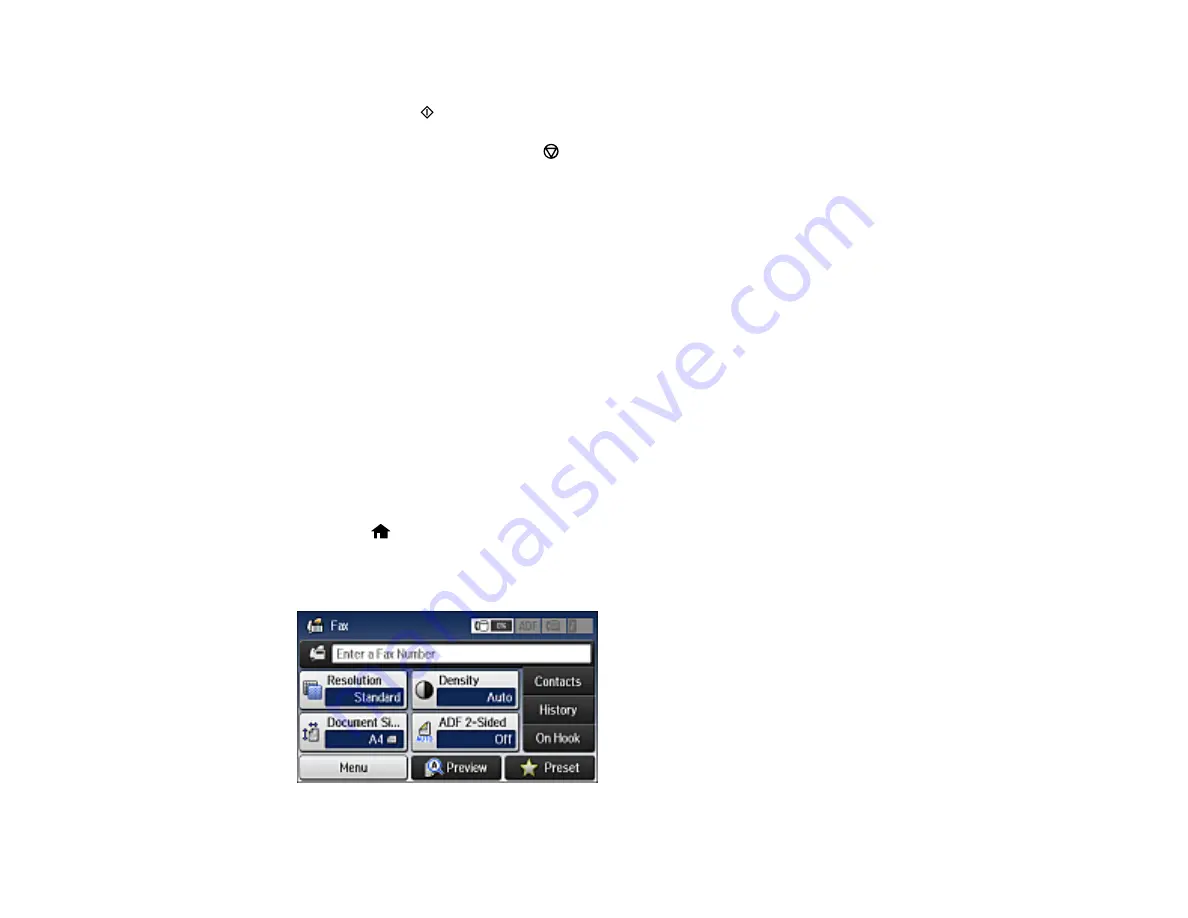
You see a screen like this:
Summary of Contents for ET-16500
Page 1: ...ET 16500 User s Guide ...
Page 2: ......
Page 70: ...70 3 Open the rear paper feed slot and push it back 4 Slide out the edge guides ...
Page 88: ...88 Related topics Copying ...
Page 132: ...132 You see an Epson Scan 2 window like this ...
Page 134: ...134 You see an Epson Scan 2 window like this ...
Page 136: ...136 You see this window ...
Page 143: ...143 DSL connection 1 Telephone wall jack 2 DSL filter 3 DSL modem ...
Page 144: ...144 ISDN connection 1 ISDN wall jack 2 Terminal adapter or ISDN router ...
Page 155: ...155 You see this screen 6 Select Fax Output You see this screen 7 Select Settings ...
Page 264: ...264 2 Press the tabs and open the rear cover 3 Remove the duplexer ...


