201
4.
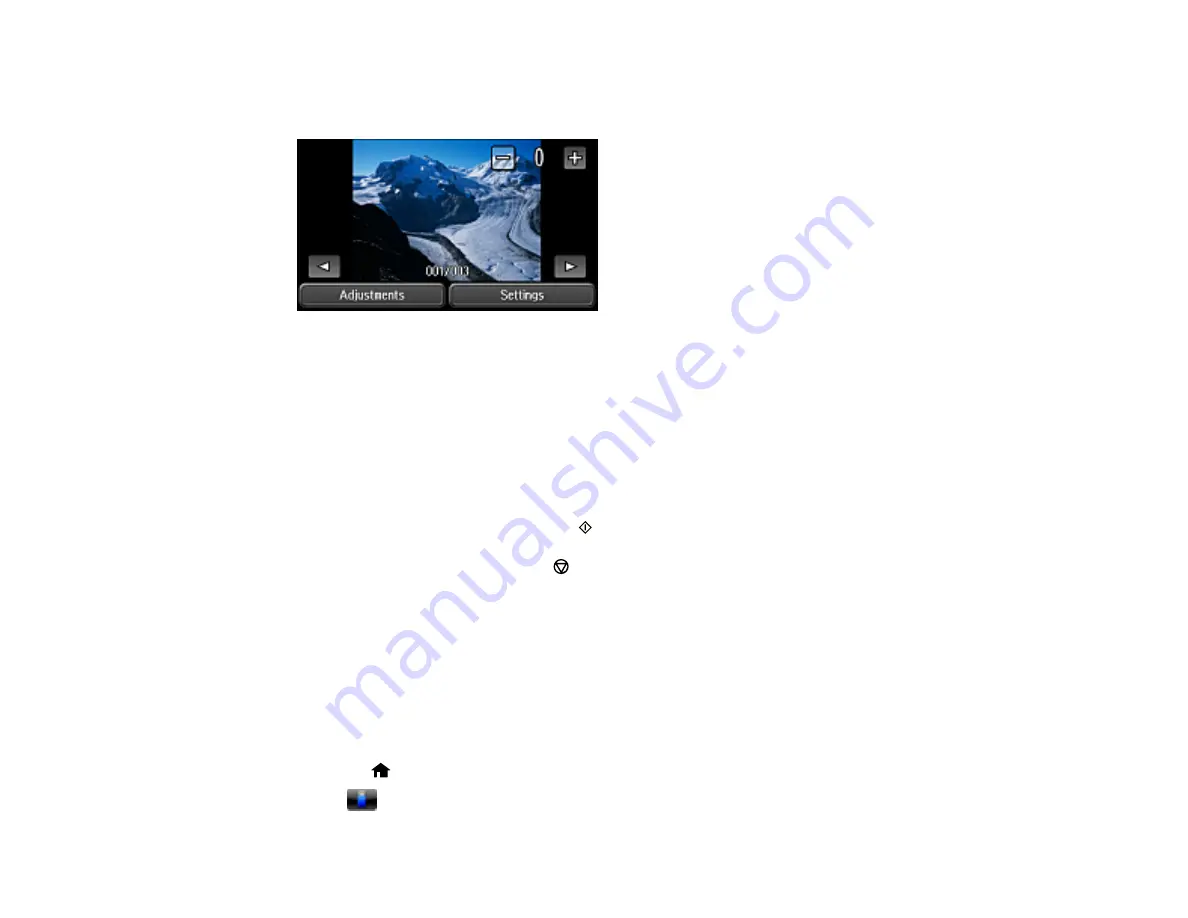
Scroll through your photos if necessary and select a photo you want to print.
You see a larger image of the photo:
5.
To select the photo for printing, use the icons on the screen or the numeric keypad on the product's
control panel to enter the number of prints you want.
6.
Do the following as necessary:
• To adjust the image, select
Adjustments
, and select your settings.
• To change the print options, select
Settings
, and select the necessary options.
• To view additional photos and select others for printing, select the arrow icons and repeat the
selections above.
7.
When you are ready to print, press the
Color
button.
Note:
To cancel printing, press the
Stop
button or select
Cancel
.
Parent topic:
Viewing and Printing from the LCD Screen
Related references
Photo Adjustment Options - Device Mode
Print Setting Options - Device Mode
Printing All JPEG Photos
You can quickly select all of the photos on your memory card or other device for printing.
1.
Press the
home button, if necessary.
2.
Select
Memory Device
.
Summary of Contents for ET-16500
Page 1: ...ET 16500 User s Guide ...
Page 2: ......
Page 70: ...70 3 Open the rear paper feed slot and push it back 4 Slide out the edge guides ...
Page 88: ...88 Related topics Copying ...
Page 132: ...132 You see an Epson Scan 2 window like this ...
Page 134: ...134 You see an Epson Scan 2 window like this ...
Page 136: ...136 You see this window ...
Page 143: ...143 DSL connection 1 Telephone wall jack 2 DSL filter 3 DSL modem ...
Page 144: ...144 ISDN connection 1 ISDN wall jack 2 Terminal adapter or ISDN router ...
Page 155: ...155 You see this screen 6 Select Fax Output You see this screen 7 Select Settings ...
Page 264: ...264 2 Press the tabs and open the rear cover 3 Remove the duplexer ...


