


Maximum size: 10×15 cm (4×6 in.)
6.
Select
Start Scanning
.
The photos are scanned and displayed on the screen.
7.
Select
Edit
if necessary to make settings such as photo adjustments.
Note:
If you want to print by enlarging part of a photo, select
Crop/Zoom
, and then make settings. Slide the print area frame
to the left, right, top and bottom, and then change the frame size using
on the corners of the frame.
“Menu Options for Photo Adjustments for Copying Photos” on page 107
8.
Tap
x
.
Note:
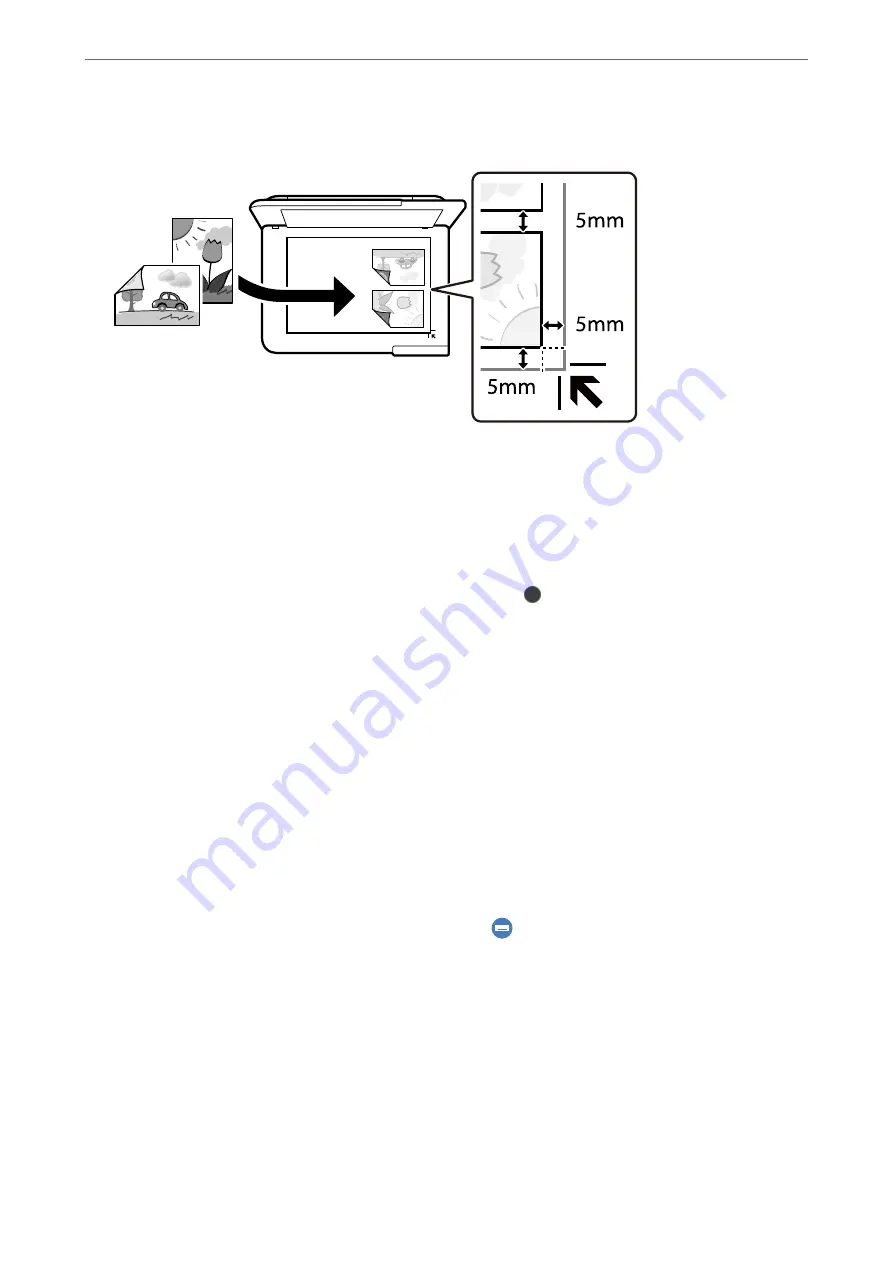
The color, size, and border of the copied image are slightly different from the original.
Menu Options for Paper and Print Settings for Copying Photos
Restore Color:
Restores the color of faded photos.
Paper Setting:
Select the paper source that you want to use. Select
to select the paper size and the paper type you
loaded.
Border Setting:
❏
Borderless
Copies without margins around the edges. The image is enlarged a little to remove margins from
the edges of the paper. Select how much to enlarge in the Expansion setting.
❏
With Border
Copies with margins around the edges.
>
>
Menu Options for Paper and Print Settings for Copying Photos
106
Summary of Contents for EcoTank ET-8500 Series
Page 1: ...User s Guide Printing Copying Scanning Maintaining the Printer Solving Problems NPD6547 01 EN ...
Page 16: ...Part Names and Functions Front 17 Inside 19 Rear 20 ...
Page 30: ...Loading Papers and CD DVDs Loading Paper 31 Loading a CD DVD 36 ...
Page 38: ...Placing Originals Placing Originals 39 ...
Page 40: ...Related Information Scanner Specifications on page 273 Placing Originals Placing Originals 40 ...
Page 127: ...Saving and Sharing Data Sharing Data on a Memory Device 128 ...
Page 282: ...Where to Get Help Technical Support Web Site 283 Contacting Epson Support 283 ...


