c
Select
Screen Type
from
Screen
.
d
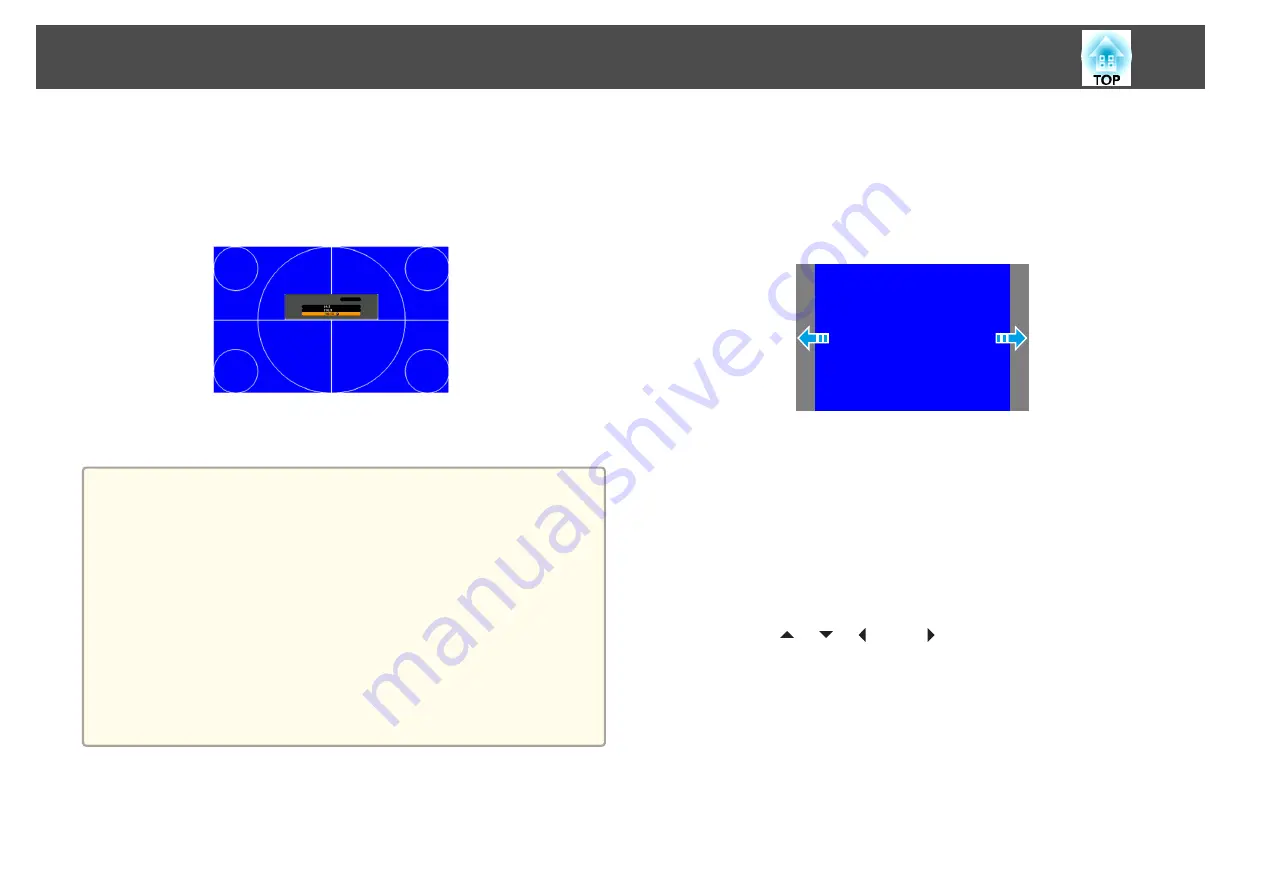
Select the screen's aspect ratio.
The shape of the background test pattern changes depending on the
setting.
e
Press the [Menu] button to finish making settings.
a
•
This setting is unavailable when projecting images from a computer
over a network.
•
When you change the Screen Type, adjust the aspect ratio for the
projected image as well.
s
"Changing the Aspect Ratio of the Projected Image "
•
Make sure you install the EasyMP Network Projection application
from the EPSON Projector Software CD-ROM. When using an older
version of the application, images are not projected correctly. You
can download the latest version of EasyMP Network Projection from
the following Web site.
•
This function does not support Message Broadcasting (an EasyMP
Monitor plugin).
Adjusting the position of the image on the projected screen
You can adjust the position of the image if there are margins between the
edge of the image and the projected screen frame due to the Screen Type
setting.
Example: When the
Screen Type
is set to
4:3
for EB-4950WU
You can move the image to the left and right.
a
Press the [Menu] button while projecting.
s
"Using the Configuration Menu"
b
Select
Display
from
Extended
.
c
Select
Screen Position
from
Screen
.
d
Use the [
], [
], [
], and [
] buttons to adjust the position of
the image.
You can check the current display position by using the background
test pattern.
Installing the Projector
20
Summary of Contents for EB-4550
Page 1: ...User s Guide ...
Page 7: ...Introduction This chapter explains the names for each part ...
Page 36: ...Connecting Equipment 36 ...
Page 37: ...Basic Usage This chapter explains how to project and adjust images ...
Page 70: ...Configuration Menu This chapter explains how to use the Configuration menu and its functions ...
Page 125: ...Appendix ...


