144
4.
Select
.
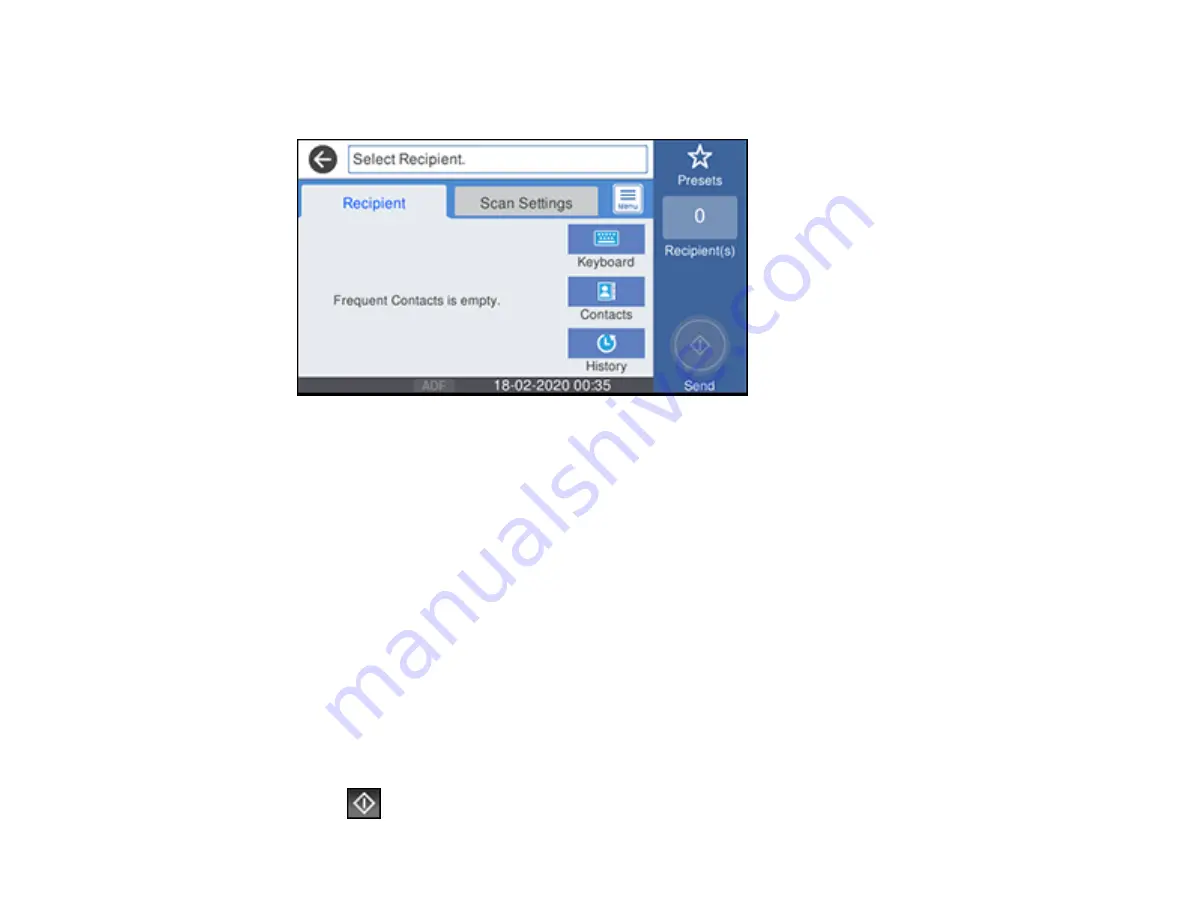
You see a screen like this:
5.
Do one of the following:
• Select an email address from any of the displayed frequent contacts.
• Select
Keyboard
to use the on-screen keyboard to enter the email address for the recipient(s)
and select
OK
.
• Select
Contacts
and choose an email address from the list.
• Select
History
to choose an email address from your recent scan history.
6.
Select
Scan Settings
.
7.
Select
File Format
to choose the file format for your scan.
8.
Scroll down to change the
Subject
and
File Name
, if necessary.
9.
Select any additional scan settings as necessary.
10. Select
Presets
to save your scan settings.
Note:
Presets can be locked by an administrator. If you cannot access or change this setting,
contact your administrator for assistance.
11. Select
Send
.
Summary of Contents for C11CH71202
Page 1: ...ST C8000 User s Guide ...
Page 2: ......
Page 160: ...160 You see an Epson Scan 2 window like this ...
Page 162: ...162 You see an Epson Scan 2 window like this ...
Page 178: ...178 You see a screen like this 2 Click the Save Settings tab ...
Page 183: ...183 You see this window ...
Page 278: ...278 Print Quality Adjustment ...


