


90
5.
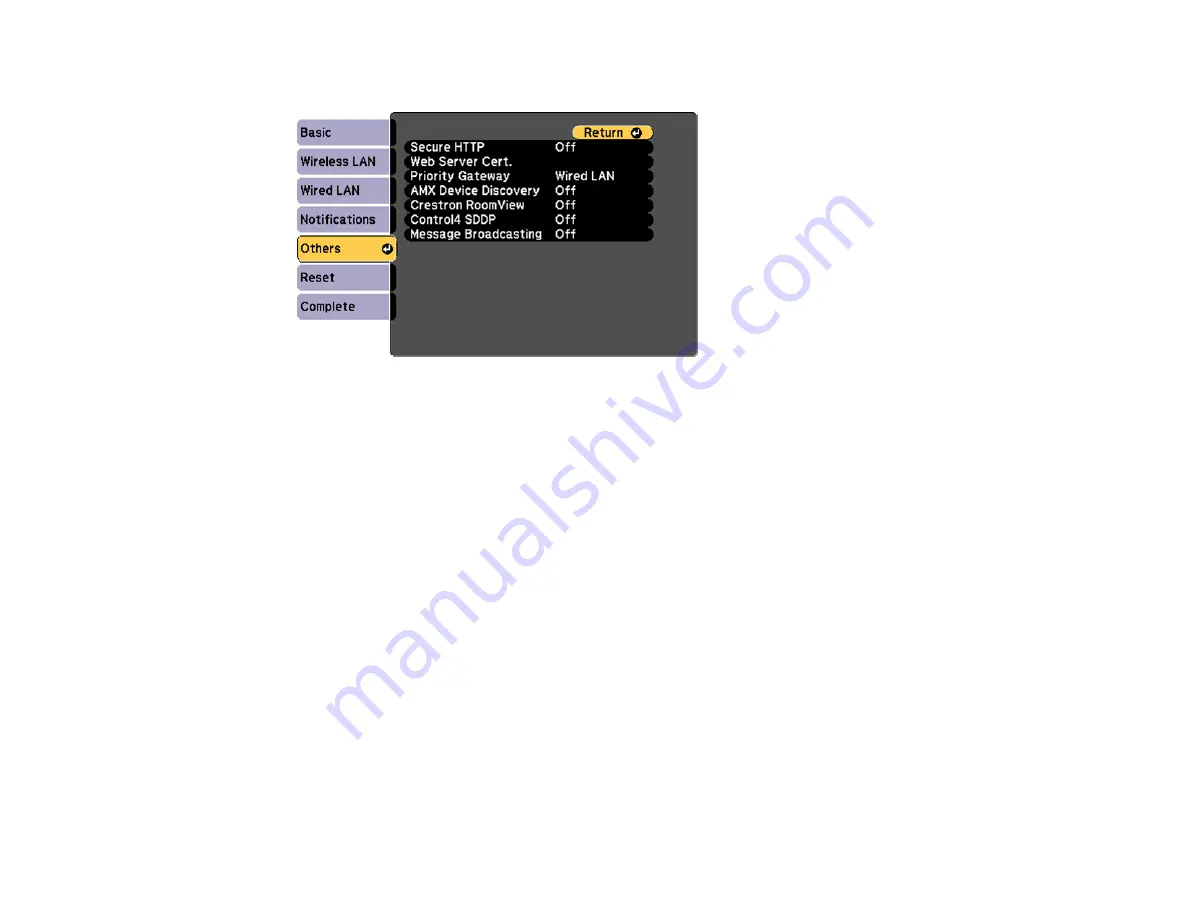
Select the
Others
menu and press
Enter
.
6.
Select
On
as the
Secure HTTP
setting.
7.
Select the
Web Server Cert.
setting and press
Enter
.
8.
Select
Register
and press
Enter
.
9.
Follow the on-screen instructions to connect a USB flash drive to the projector's
USB-A
port.
10. Press
Enter
to display the certificate list.
11. Select the certificate you want to import from the displayed list.
A message is displayed prompting you to enter the password for the certificate.
12. Enter the password and press
Enter
.
The certificate is imported and a completion message appears.
Parent topic:
Registering a Digital Certificate on the Projector
Registering Digital Certificates from a Web Browser
You can register the digital certificates on the projector for wireless LAN authentication.
1.
Make sure your digital certificate file is compatible with projector registration.
2.
Make sure the projector is turned on.
3.
Start your web browser on a computer connected to the network.
Summary of Contents for BrightLink 710Ui
Page 1: ...BrightLink 710Ui User s Guide ...
Page 2: ......
Page 28: ...28 Projector Parts Remote Control ...
Page 33: ...33 Rear 1 Laser diffusion ports 2 Installation magnets Parent topic Projector Part Locations ...
Page 57: ...57 1 Remove the battery cover 2 Insert the batteries with the and ends facing as shown ...
Page 66: ...66 2 Unscrew and remove the cable cover if it is attached screwdriver not included ...
Page 186: ...186 3 Select Touch Unit Setup and press Enter 4 Select Touch Calibration and press Enter ...
Page 251: ...251 2 Slide the air filter cover latch and open the air filter cover ...
Page 255: ...255 1 Twist off the tip of the pen to remove it ...
Page 257: ...257 1 Twist off the tip of the pen to remove it 2 Remove the soft tip ...
Page 296: ...296 Side ...


