


194
You see this screen:
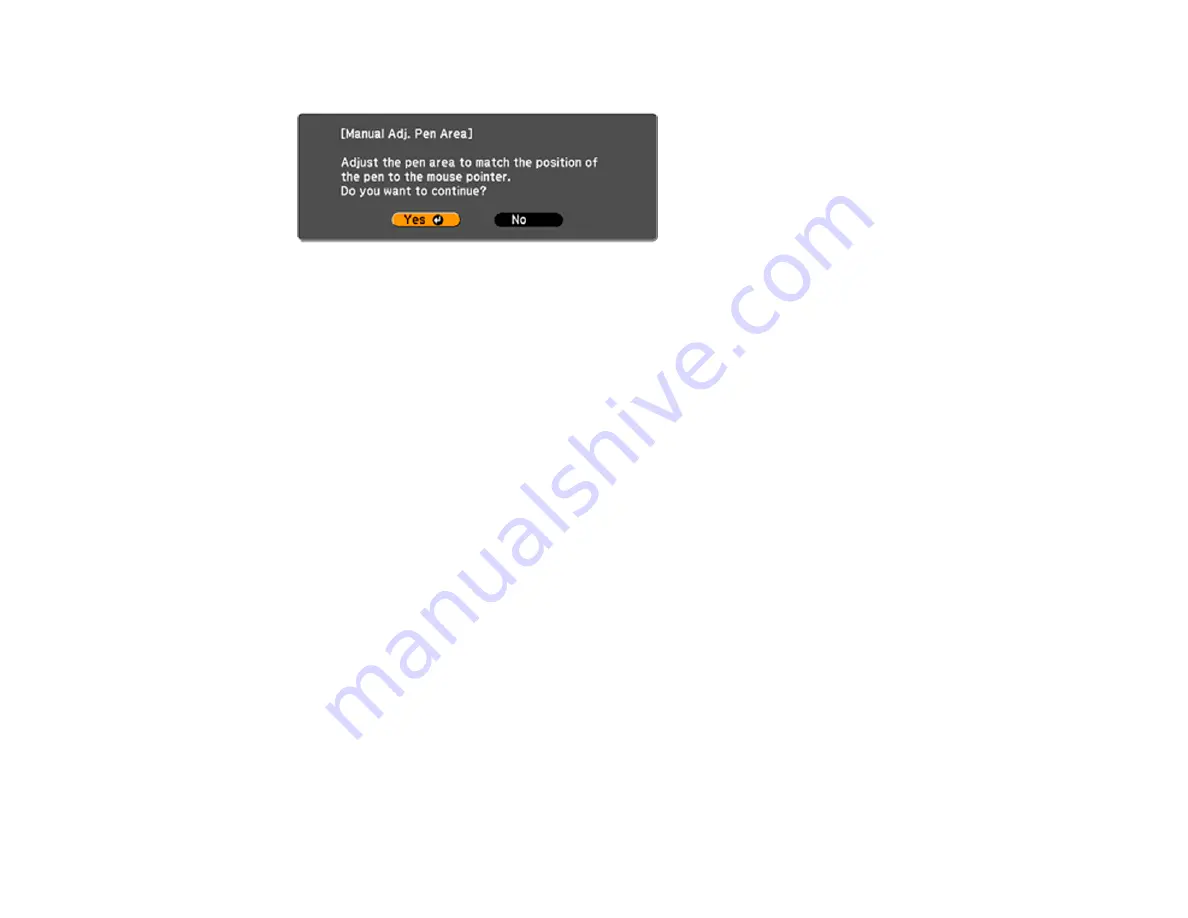
7.
Press
Enter
to select
Yes
.
The mouse pointer moves toward the top left corner.
8.
When the mouse pointer stops at the top left corner of the image, touch the tip of the pointer with the
interactive pen.
The mouse pointer moves toward the bottom right corner.
9.
When the mouse pointer stops at the bottom right corner of the image, touch the tip of the pointer
with the interactive pen.
Parent topic:
Using BrightLink with a Computer
Easy Interactive Tools
You can download the Easy Interactive Tools software for use with a computer. Easy Interactive Tools
lets you use your interactive pen to draw, save, and interact with projected content from your computer.
These two modes are available:
• Annotation (PC interactive) mode displays the toolbar on the projected image and lets you use the pen
or finger as a mouse to open applications, access links, and operate scroll bars, for example. You can
also annotate over whatever is displayed from your computer (using both pens and up to six fingers at
the same time).
• Whiteboard mode lets you project on one of 3 solid colors or 6 background patterns, and use the
toolbar to write or draw on the background. You can also import images from your computer or a
document camera. In full screen whiteboard mode, two people can use the pens at the same time.
Finger touch is also available in whiteboard mode.
Note:
For detailed instructions on using the Easy Interactive Tools software, see the online
Easy
Interactive Tools Operation Guide
or the online help.
Summary of Contents for BrightLink 710Ui
Page 1: ...BrightLink 710Ui User s Guide ...
Page 2: ......
Page 28: ...28 Projector Parts Remote Control ...
Page 33: ...33 Rear 1 Laser diffusion ports 2 Installation magnets Parent topic Projector Part Locations ...
Page 57: ...57 1 Remove the battery cover 2 Insert the batteries with the and ends facing as shown ...
Page 66: ...66 2 Unscrew and remove the cable cover if it is attached screwdriver not included ...
Page 186: ...186 3 Select Touch Unit Setup and press Enter 4 Select Touch Calibration and press Enter ...
Page 251: ...251 2 Slide the air filter cover latch and open the air filter cover ...
Page 255: ...255 1 Twist off the tip of the pen to remove it ...
Page 257: ...257 1 Twist off the tip of the pen to remove it 2 Remove the soft tip ...
Page 296: ...296 Side ...


