Print Artist: Designing with Style
6-7
A
B
6
Scanning Pictures in Print Artist
Scanning Pictures in Print Artist
You can add a picture by scanning it directly into Print
Artist. Follow these steps:
1
With the front of your valentine displayed on the
Print Artist screen, choose
Select Source
Select Source
from the
File menu. You see the Select Source dialog box, as
shown on page 2-2.
2
Click PhotoPlus Scan, and then click Select.
3
Choose
Acquire
Acquire
from the File menu. You see the
PhotoPlus Scan screen, as shown on page 2-3.
4
Follow the instructions on page 2-3 to scan your
picture. Then click Transfer to complete the scan.
You see the following dialog box:
5
Type a name for the picture (up to 8 characters)
and click OK. Print Artist saves the image in the
BMP format and stores it in the C:\SIERRA\PA
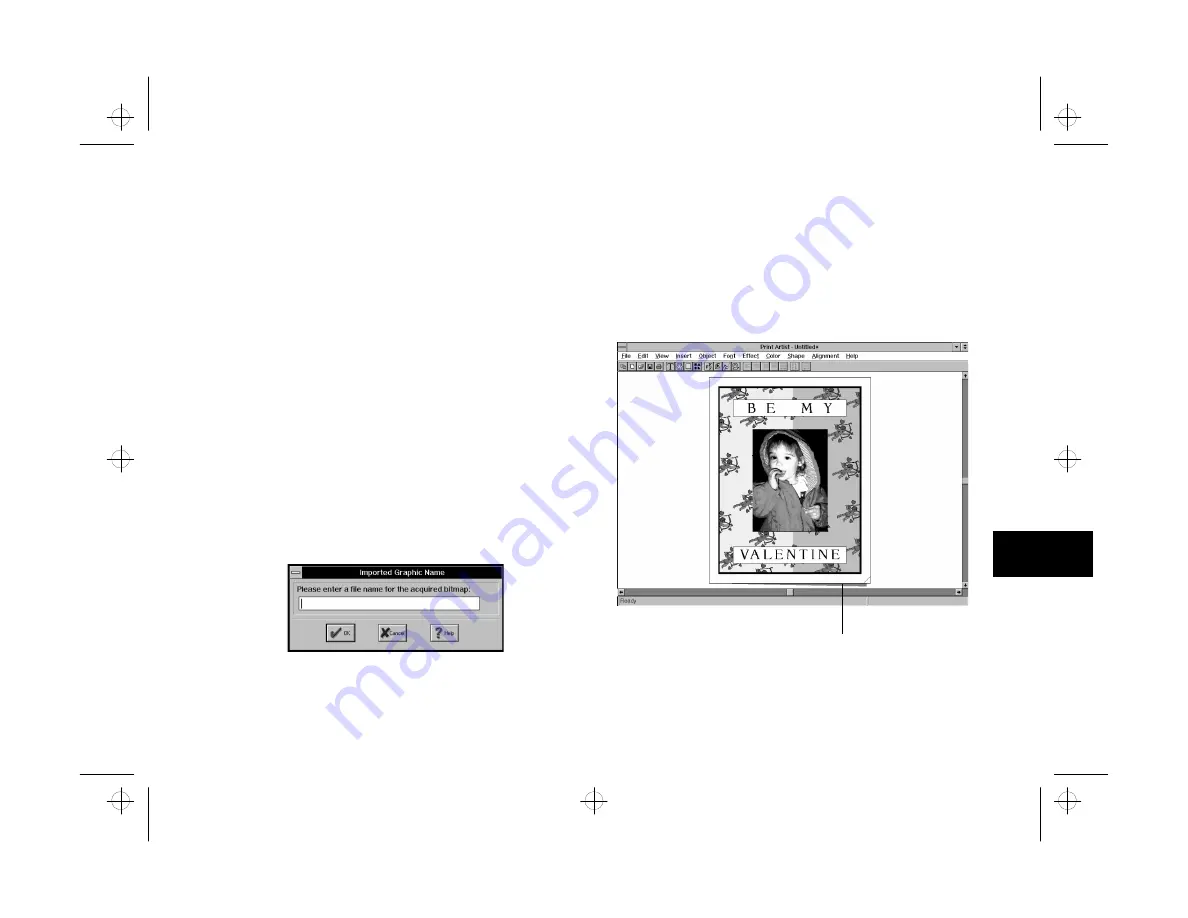
directory or folder. Your picture appears on the
front of the valentine, as shown below:
Click here to “open” the card.
Front of card
with scanned
photo added.
php_6.fm5 Page 7 Monday, July 8, 1996 3:28 PM


