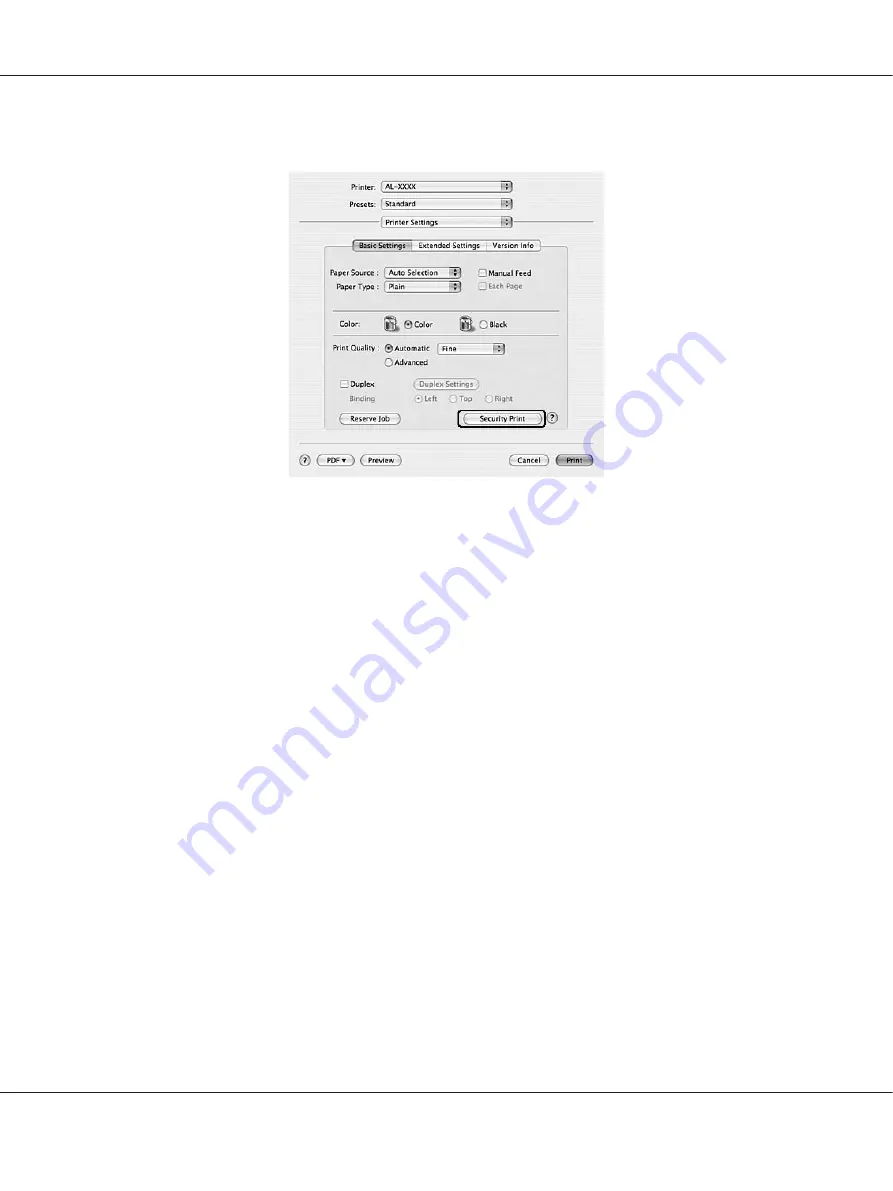
3. Click
Security Print
.
4. Select the
Watermark
check box, then click
Watermark Settings
.
5. Click
New/Delete
.
6. Click
Add Text
or
Add Image
on the Custom Watermark Settings dialog box.
7. If you select
Add Text
, type the watermark text, select the
Font
and
Style
, then click
OK
on the
Edit Text dialog box. If you select
Add Image
, select an image file (PDF, PNG, or JPG), then click
Open
.
Note:
To type the watermark text, open the Text Input dialog box by clicking the text box. Type the text,
then click
OK
.
8. Type the file name in the Watermark box, then click
Save
.
Note:
❏
To edit the saved text watermark, select it from the Mark List box, then click
Edit Text
. After
editing, be sure to click
Save
.
❏
To remove the saved watermark, select it from the Mark List box, then click
Mark Delete
. After
removing it, be sure to click
Save
.
EPSON AcuLaser C9200 Series User's Guide
Printing Tasks
64


