Scanning
21
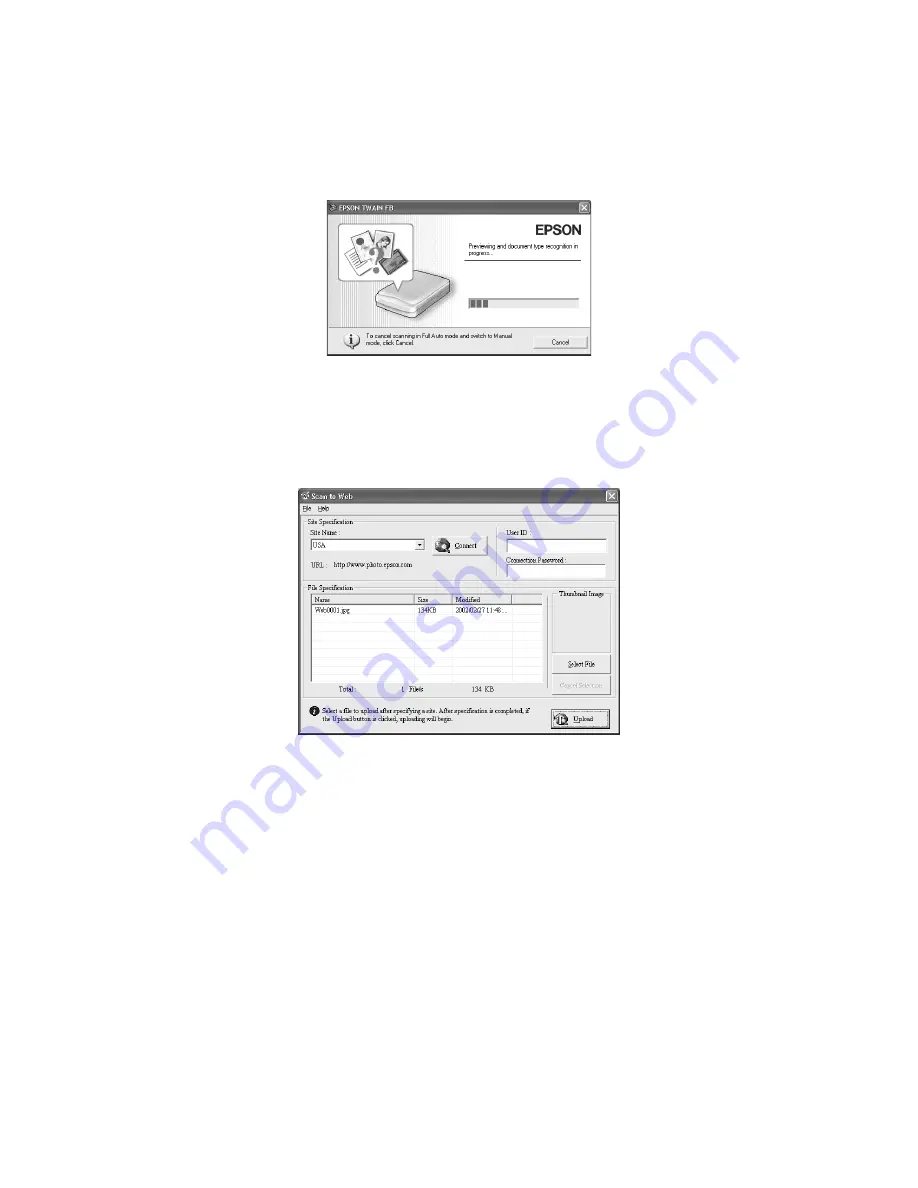
Smart Panel starts EPSON TWAIN, which automatically scans your document.
5. In the next screen, double-click a photo to make sure it scanned properly. To
rename the image, click the file name below it and type in a new name.
6. When you see the upload screen, enter your account name and password, then
click
Upload
. Scan to Web uploads the photo.
Now you are ready to use the
]
Scan
button to automatically scan your photos
so you can upload them to the EPSON PhotoCenter site.
7. Close the Scan to Web window and the EPSON Smart Panel window.
8. Place a new photo on the glass and press the
]
Scan
button.
Your image is scanned, then Scan to Web opens with your file, ready for
uploading.
9. Click
Upload
to upload your photo.
Connect to the EPSON PhotoCenter site to view, organize, and edit your photos at
any time.
Summary of Contents for 1000 ICS
Page 1: ...EPSON 1000 ICS Basics ...


