Standalone VGA Grid User Guide
Step 5: Testing the stream
You may now optionally add audio to your channel:
7. Click
Sources
for your channel; the media source page is displayed.
8. Select the audio source to which you connected your 3.5mm audio cable. If you connected to the blue
line-in on the back of the system, the audio source is the audio source without a frame grabber serial
number.
9. Click
Apply
.
10. Click
Encoding
for your channel; the Encoding page is displayed.
11. Scroll to the bottom of the Encoding and click the
Enable audio
checkbox.
12. Leave the default AAC format and audio bitrate.
13. Click
Apply
.
Step 5: Testing the stream
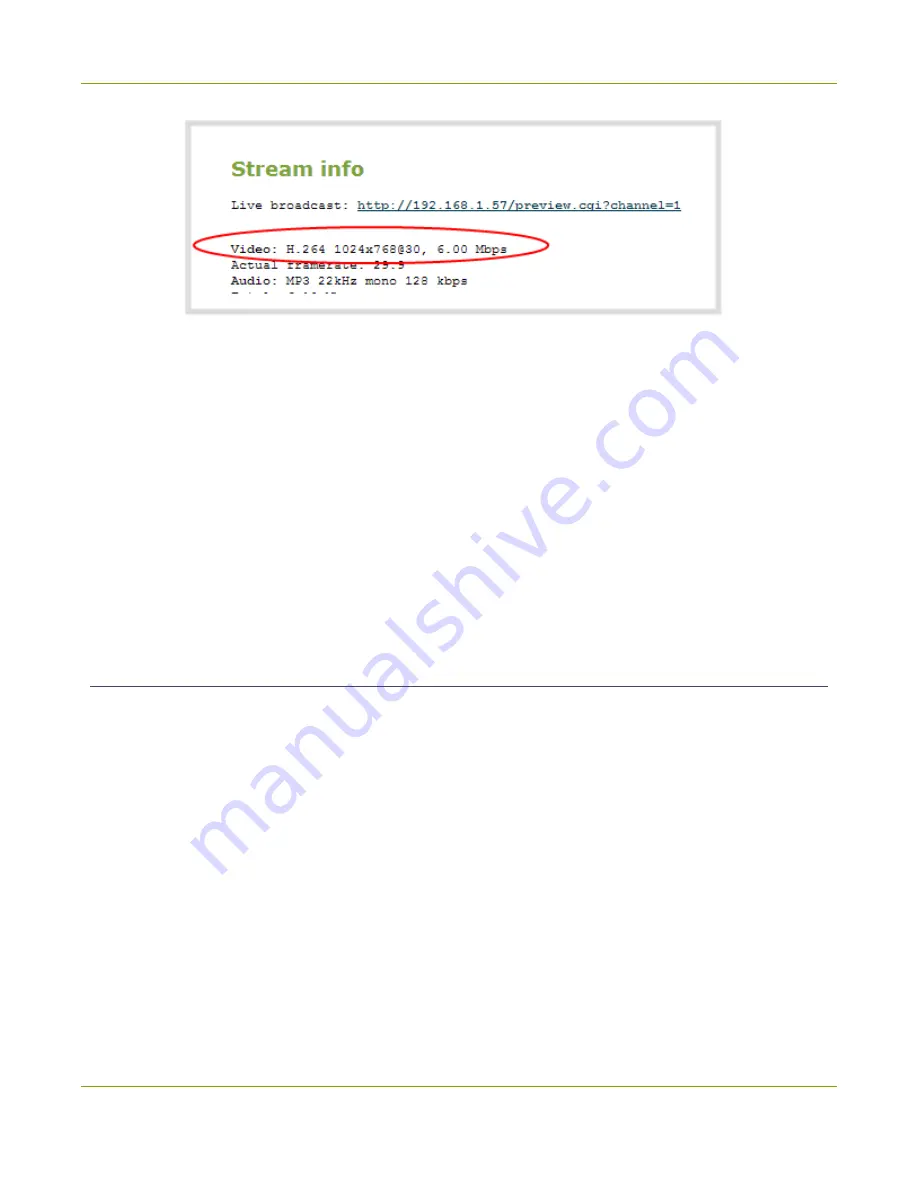
The Status page contains a link to the live broadcast stream for your channel.
To preview the channel in a browser:
1. From the web interface, scroll to the
Channels
section.
2. Click the link for your channel.
3. Click the
Status
link for your channel.
4. Right-click on the
Live broadcast
link for your channel and select
Open in a new tab
or
Open in a
new window
.
5. The new tab or window opens with the stream displayed.
a. If the signal is not detected, reset the DVI cable connections and try again.
Your stream setup is complete. Since most of the steps are pre-configured; you are up and running with a
stream very quickly. You can share the live broadcast link with your users.
25


