D4K Pro® User Manual
D4K_UserManual_v1.3_EN.docx, 2021-02-12
Page 44 of 52
11.4
Reset the Printer After a Print
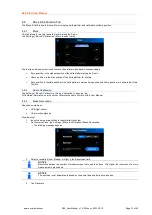
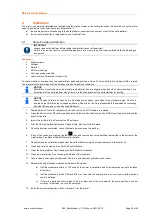
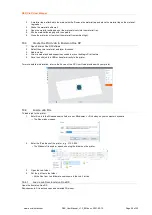
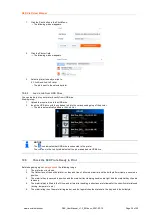
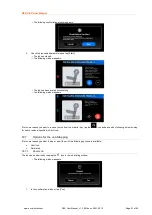
1. Once the models have been removed, use the glass scraper to remove any remnants of the printed job from the surface
of the build platform.
2. Wipe the entire platform dry using a paper towel. The previous print job shouldn’t be visible on the platform.
3.
on the printer and tighten the build platform clamping handle.
4. Close the printer door.
→
The D4K Pro can now begin printing the next loaded print job.
11.5
Clean Parts and Remove Supports
The PWA 2000 Parts Washing Apparatus is the recommended washing unit for the D4K Pro. To get the information on how to
clean a printed model with PWA 2000, check the corresponding
PWA 2000 Technical Guide
provided with your PWA 2000, if
ordered.
REFERENCE
For information on cleaning of the parts, consult the cookbook or Instruction of Use provided by your manufacturer
or distributor.
11.6
Cure the Printed Part
The PCA 2000 Parts Curing Apparatus is the recommended curing unit for the D4K Pro. To get the information on how to cure a
printed model with PCA 2000, check the corresponding
PCA 2000 Technical Guide
provided with your PCA 2000, if ordered.
REFERENCE
For information on post curing of the parts, consult the cookbook or Instruction of Use provided by your
manufacturer or distributor.
11.7
Finish Post-processing of a Printed Part
Finishing is the final step in post processing a printed model. With finishing, you can remove all traces of supports and polish
models as needed, depending on the final part application.
1. Grind support bumps using a fine burr and rotary tool, or manually using sand paper.
2. Remove dust particles by quickly spraying the model(s) with 99% IPA in a spray bottle, and dry immediately with
compressed air.


