13
In this mode, the device can control the connections and if there is any fault through the current
flow directions, it can correct such faults by software or leave it to be handled manually by the
operator.
If there is any connection fault between voltage inputs, this fault can only be corrected by
changing the cable connection points.
If you experience the fault number 12, please make sure that all connections are established
and the aforementioned minimum current and voltage values are applied on the device.
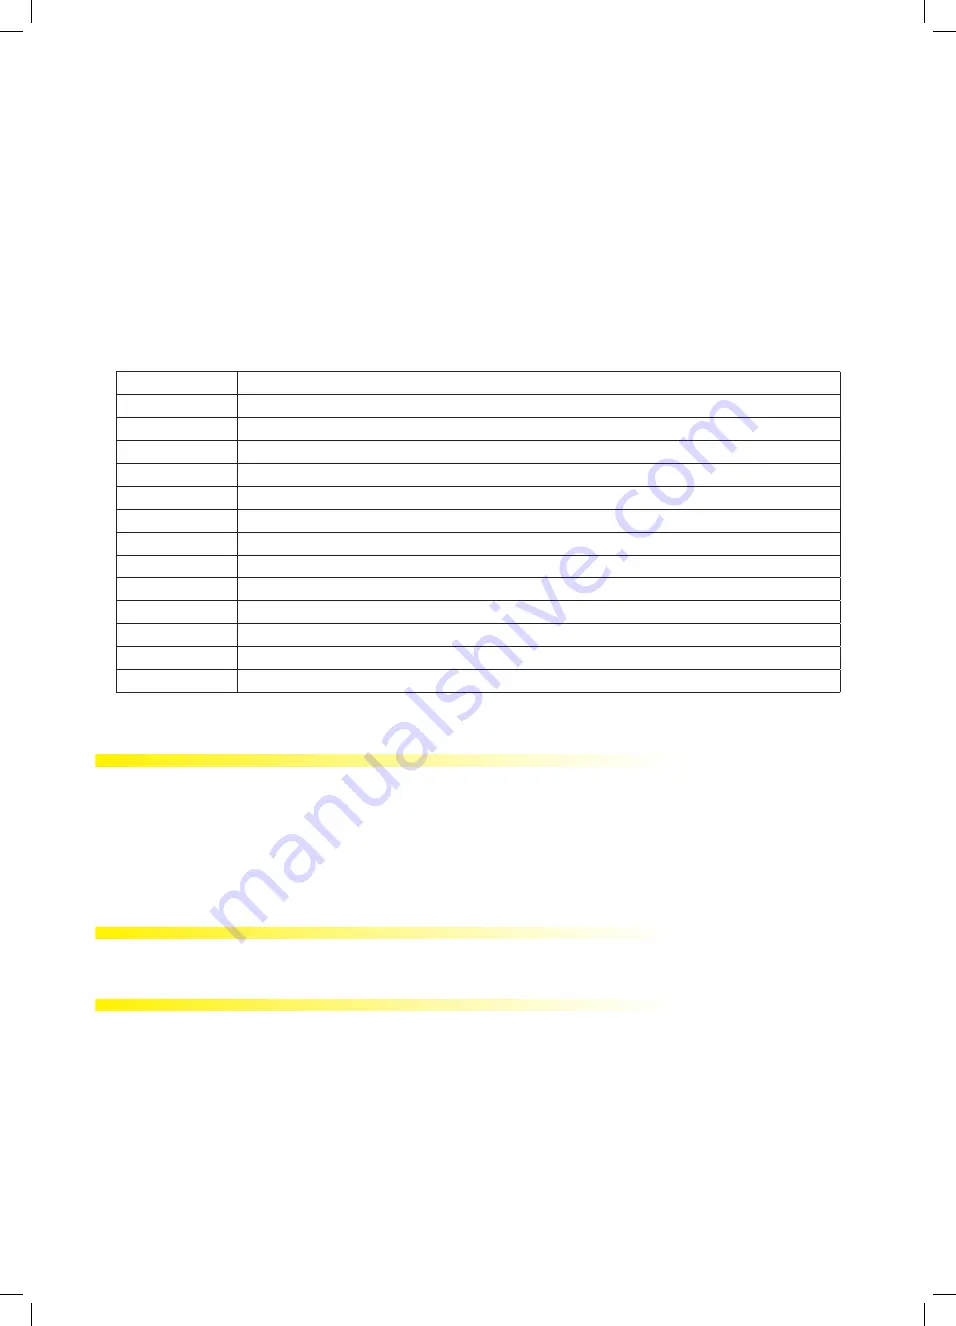
The possible connection faults as a result of the connection test process and the codes
displayed on the device screen for these faults are indicated in the following table:
Test Fault Code Description
0
All connections are correct
1
Reverse Phase-1 current direction
2
Reverse Phase-2 current direction
3
Reverse Phase-3 current direction
4
Reverse Voltage connection of Phase-1 and Phase-2
5
Reverse Voltage connection of Phase-1 and Phase-3
6
Reverse Voltage connection of Phase-2 and Phase-3
7
The Phase sequence of voltage connection as L1, L2, L3 will be changed as L3, L1, L2.
8
The Phase sequence of voltage connection as L3, L2, L1 will be changed as L3, L1, L2.
9
CT-1, CT-2 will be changed.
10
CT-1, CT-3 will be changed.
11
CT-2, CT-3 will be changed.
12
Minimum test conditions of 20% of the rated current and voltage are provided.
Communication Line Termination Resistance
On RS485 lines, when the communication distance exceeds 10 meters and there are more than
one device on the line, a 120 Ω line termination resistor should be installed between the A and B
ends of the device that is the farthest from the communication terminal.
OPERATING DEVICE
Measurement Screens
In this section, the screens which will be displayed by the buttons of the device while the device
is in the measurement mode are described.


