20
Setting the Clock Time/Date
The Smart Reader remembers the current time & date once it is set.
To set the current time/date:
1)
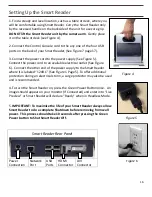
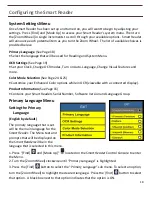
Enter the Menu by pressing the [Find] and [Mode Up] buttons.
2)
Rotate the [Scroll Wheel] clockwise until ‘OCR Settings’ is highlighted or the voice prompt
states “OCR Settings”
3)
Press [Find] to select ‘OCR Settings’
4)
Rotate the [Scroll Wheel] clockwise until ‘Set Clock’ is highlighted or the voice prompt
states “Set Clock”
5)
Press [Find] to select ‘Set Clock’
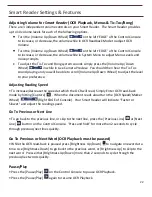
6) Rotate the [Scroll Wheel] clockwise or counter-clockwise to change the setting and
then Press [Find] to continue through Hours, Minutes & Date etc.
7) Repeat steps 5 & 6 until all of the time/date values are set correctly
Please Note: You can skip setting the clock at any time by pressing [Mode Up] which will
allow you to access the other clock features instantly.
Once the current time & date have been set you can choose to enable/disable the ‘24 Hour
Clock’ format, ‘Daylight Saving Time’ and ‘Date Format’ options. To enable/disable an option:
Rotate the [Scroll Wheel] to highlight the option and press the [Find]
(toggles enable/disable).
With ‘Exit’ highlighted press [Find] to return to normal operation
If you are using Smart Reader without a display, turning the Scroll Wheel after choosing “Set
Clock” will announce the currently selected time. Select the time Via Hour, Minute, AM/PM and
then Day, Month and Year.
Check the Current Time/Date
• To check the current time and date (once set) press the “[Recall]
and [Save]”
buttons.
Adjusting System Menu Volume
• To increase/decrease the System Menu Volume simply turn the [Volume Wheel]
(Left EDGE of Console) while you are in the system menu. *Note: System Menus, Tic-Toc
sounds and OCR mode volume levels are independent from each other.
Product Information
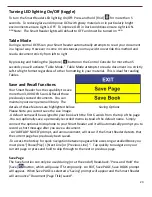
This submenu contains the software
version number and your language
group.
Summary of Contents for Smart Reader
Page 1: ...0 User Manual ...
Page 8: ...7 ...


