31
Handset and Charger Installation
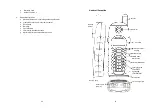
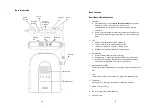
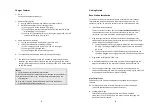
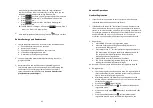
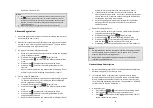
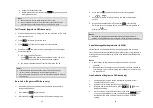
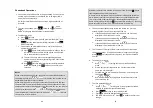
1. Plug the transformer end of the Charger AC/DC adaptor into a
standard AC electric power outlet, plug the other end into the “DC
In” jack on the back of the Charger.
2. Install battery pack onto the handset.
3. Install handset antenna.
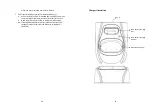
4. Place handset onto the charger front slot.
5. The phone system is now ready to perform basic functions such as
making and receiving phone calls and intercom calls. No base
station or handset programming is needed for basic operations.
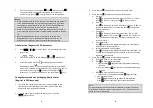
6. Charging cradle may be wall mounted, but an “L” bracket should be
used for support under the cradle to avoid breaking mounting slots.
An “L” bracket is not included, but can be purchased from a local
home center.
Note:
1.
The handset packaged along with a Base Station is pre-
registered at the factory. If you have a new handset, you will
need to register the handset with the base station in order to
be recognized as a member handset by the base and by other
handsets. See Handset Registration.
2.
Fully charge battery packs before the first usage.
32
Basic Operations
Operation Modes
Both the base station and handset have levels of operation at which
time only certain procedures of functions can be performed.
Re:The main difference between DuraFon PRO and DuraWalkie is the
handset of DuraFon PRO has the capability to make telephone calls,
and the handset of DuraWalkie does not.
A. Base Operation Modes
1.
IDLE mode
- this is the default mode. The intercom, broadcast, and
volume keys are active in IDLE mode.
2.
TALK mode
- the base operates in this mode during a phone call,
intercom use, and broadcast operation. The “In Use”, “Intercom”,
and “Broadcast” LED will light up respectively.
3.
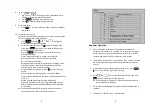
REGISTRATION mode
- the base enters this mode by pressing the
REG
button for three seconds. There are no active base unit keys
once this mode has been entered. Four LEDs will light up in
Registration mode.
B. Handset Operation Modes
1.
IDLE mode
- this is the default mode.
a. If there is no on-going activity, the handset automatically goes
into SLEEP/IDLE mode to save battery power.
b. The handset can be turned off completely by holding down the
END
key for 3 seconds.
c.
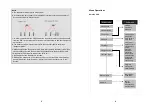
The idle screen display (custom name) can be edited.
d. The 2-digit number represents the handset ID.
2.
MENU mode
a. Press the Right soft function key to activate MENU mode.
b. In MENU mode, the handset settings and information
contained in memory can be changed.
c.
The functions available through the MENU selection are
covered in greater detail from page 52.
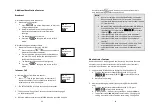
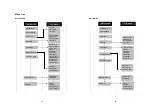
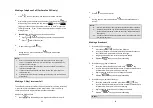
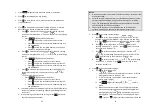
d. The MENU structure display as below:

