Proline Promass 83
Commissioning
Hauser
77
6.4.5
Advanced diagnostic functions
Changes to the measuring system, e.g. coating buildup or corrosion and abrasion on the
measuring tubes can be detected at an early stage by means of the optional software package
"Advanced Diagnostics" (F-Chip, accessories
85). Normally, these influences reduce the
measuring accuracy of the system or may lead to serious system errors.
By means of the diagnostic functions it is now possible to record various process and device
parameters during operation, e.g. mass flow, density/reference density, temperature values,
measuring tube damping etc.
By analyzing the trend of these measured values, deviations of the measuring system from
a "reference status" can be detected in good time and corrective measures can be taken.
Reference values as the basis for trend analysis
Reference values of the parameters in question must always be recorded for trend analysis.
These reference values are determined under reproducible, constant conditions. Such
reference values are initially recorded during calibration at the factory and saved in the
measuring device.
Reference data can also be ascertained under customer-specific process conditions, e.g.
during commissioning or at certain process stages (cleaning cycles, etc.).
Reference values are recorded and saved in the measuring system always by means of the
device function REFERENCE CONDITION USER (7401).
"
Caution!
It is not possible to analyze the trend of process/device parameters without reference values!
Reference values can only be determined under constant, non-changing process conditions.
Methods of ascertaining data
Process and device parameters can be recorded in two different ways which you can define
in the function ACQUISITION MODE (7410):
• PERIODICAL option: Measuring device acquires data periodically. Enter the desired time
interval by means of the function ACQUISITION PERIOD (7411).
• SINGLE SHOT option: The user himself acquires the data manually at different, free
selectable periods.
Ensure that the process conditions always correspond to the reference status when data is
being recorded. It is only in this way that deviations from the reference status can be clearly
determined.
!
Note!
The last ten entries are retained in chronological order in the measuring system.
The "history" of such values can be called up via various functions:
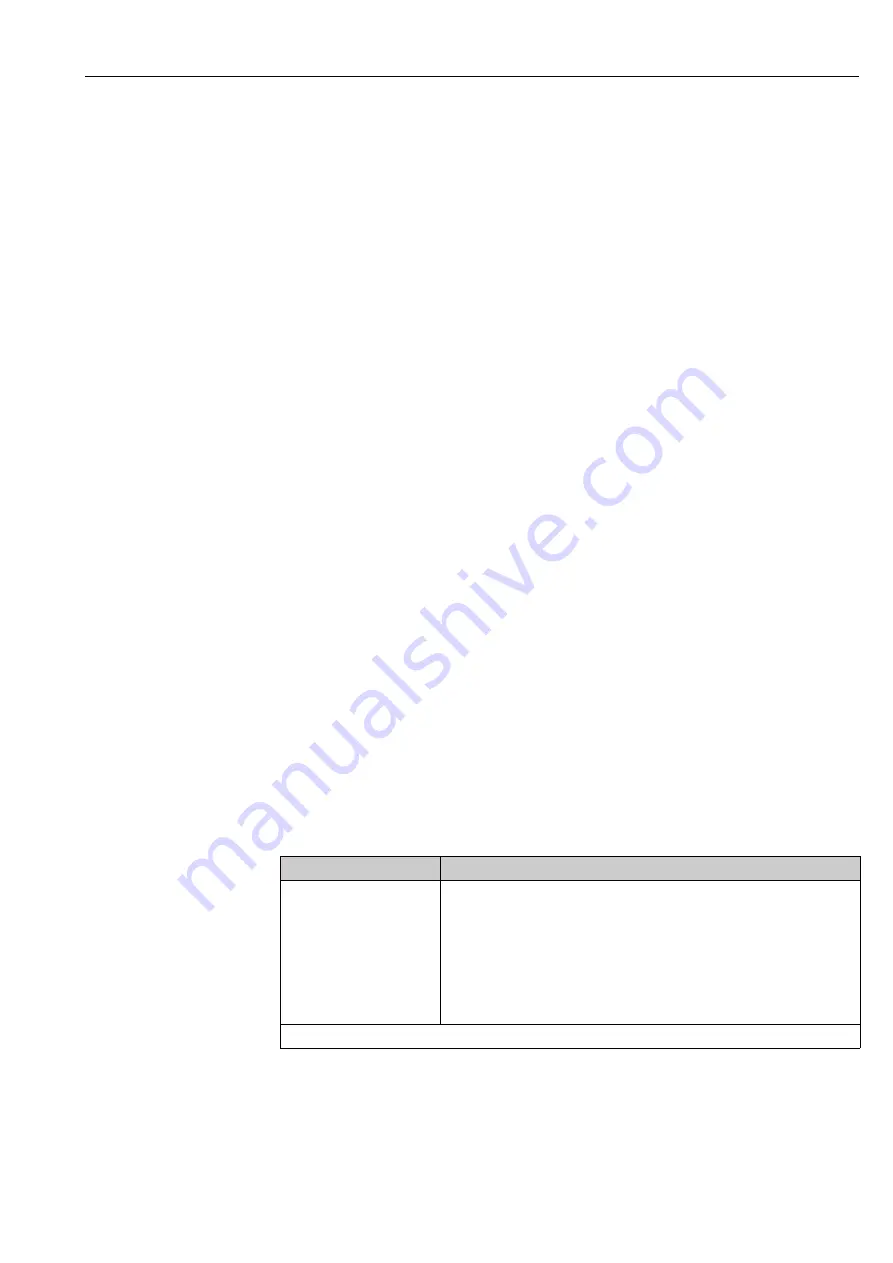
Diagnosis parameters
Data saved (per parameter)
Mass flow
Density
Reference density
Temperature
Measuring tube damping
Sensor symmetry
Operating frequency
fluctuation
Tube damping fluctuation
Reference value
→
REFERENCE VALUE function
Lowest measured value
→
MINIMUM VALUE function
Highest measured value
→
MAXIMUM VALUE function
List of the last ten measured values
→
HISTORY function
Deviation measured/reference value
→
ACTUAL DEVIATION function
More detailed information can be found in the "Description of Device Functions" manual.
Summary of Contents for HART Proline Promass 83
Page 2: ...Proline Promass 83 2 Endress Hauser...
Page 147: ...Proline Promass 83 Endress Hauser 147...
Page 148: ...www addresses endress com...


