


2.
Open the GUI. Click Disk
Æ
Disk Setup.
3.
Enter a name for the USB storage in the “Name” box and click “Apply”
4.
The device is mounted. The system creates a folder for the USB storage.
5.
To remove the USB storage from the device, click Disk
Æ
Disk Setup in GUI.
Erase the name in the “Name” box and click “Apply”. The device is dismounted
and ready to be removed now.
Printer Setup
Procedures to setup the printer
Note: The device supports one connected USB printer only. Printer Connections on
both the USB ports may led the printer functioned unsuccessfully.
1.
Connect the USB cable of your printer to the device. Power on your printer.
2.
Open the GUI and click “Maintenance”. Install the printer server file to the
device in the “Character & uPnP & Printer” column.
Note: To get information for installing the printer server file, please see” Character
& uPnP & Printer”
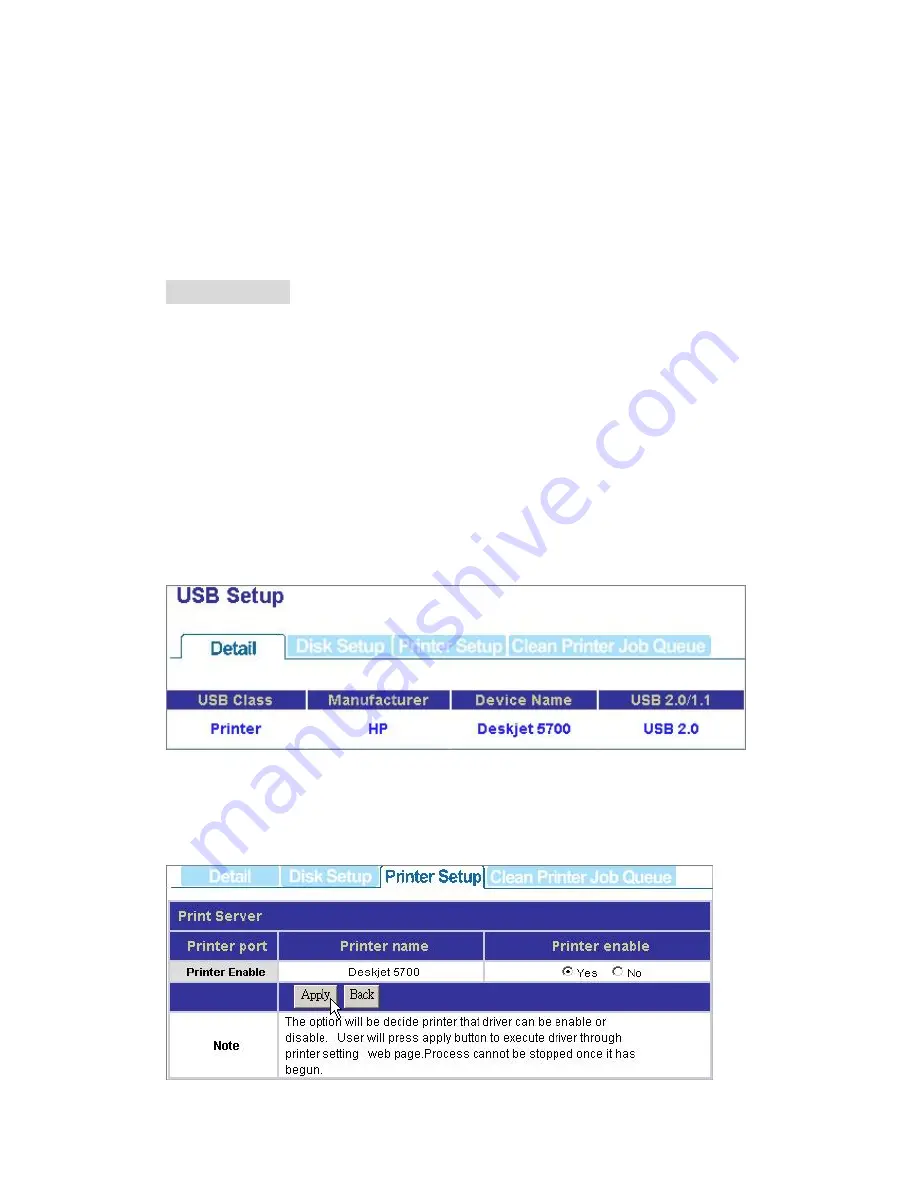
3.
Click USB
Æ
Detail, you can see the information of your printer.
4.
Click Printer Setup, Click “Yes” in the “Printer enable” column and click “Apply”
Note: After finishing the four steps above, the printer server function is activated.
To setup the computers that are going to use the printer, please follow the
instructions from step 5.
64


