24 • PerformanceAlert Gateway I&O Manual
E
: SETUP.
5. Press
4
+
to navigate to the Stage Setup
).
6. Locate the compressor stage for which you
wish to set up proofing. For this stage, change
the value of the Proof field from "No" to
"Yes."
7. Press
4
+
to bring up the Additional Tabs
menu. Press
)
to select the "Proof" tab.
8. The Proof tab should have a blank Board/
Point definition named COMP PROOF with
a number next to the name equal to the num-
ber of the compressor stage. Move the cursor
to highlight the Board field of this COMP
PROOF definition, and press
C
to
change the definition type from a Board/
Point to a Controller/Application/Output type
definition.
9. For each field in the Controller/Application/
Output, use the Look-Up Table (
D
) to
point the COMP PROOF input to the output
of the Analog Sensor Control application.
CONTROLLER
: Name of this E2
APPLICATION
: Choose the name
(CMPR x PROOF) you entered for the Analog Sensor Con-
trol application
OUTPUT
: Choose COMMAND OUT
If defined correctly, the proof should look similar to
J
to save changes and exit.
Repeat the process outlined in this section to create all
necessary compressor proofs.
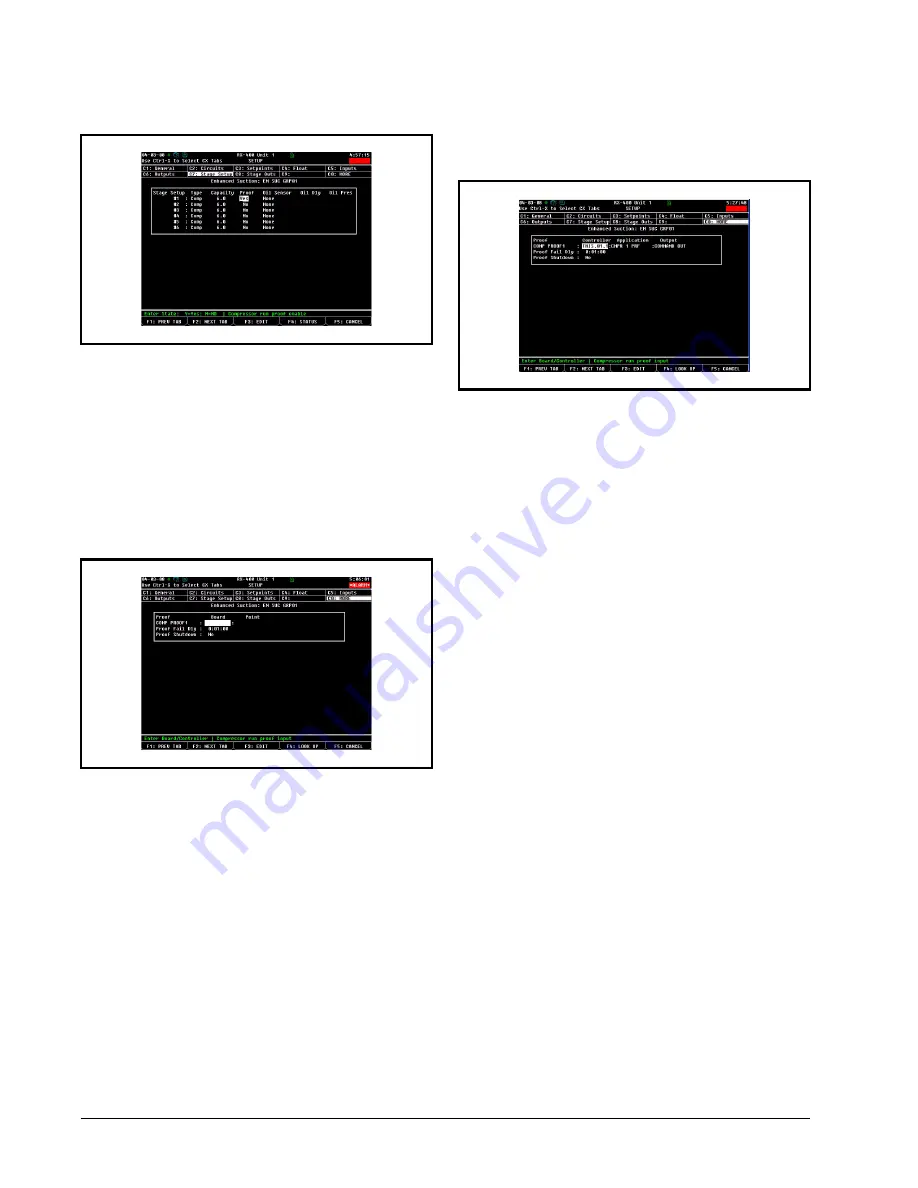
Figure 8-9
- Analog Sensor Control Compressor Proofing -
Inputs Screen
Figure 8-10
- Analog Sensor Control Compressor Proofing -
Setpoints Screen
Figure 8-11
- Defined Compressor Proof Output


