100-214-294 REV. 05
67
7.3
Glass Slide Test
Check your ultrasonic bath periodically to test the level of activity of the ultrasonic
cavitation. Frequency of testing will depend on your use of the unit, however, Branson
suggests running this test monthly.
You will need the following equipment:
• Frosted microscope glass slide (1” x 3”), such as Fisherbrand®
1
#12-550-343 frosted
microscope slides, or equivalent;
• No. 2 lead pencil; and
• General purpose household cleaning solution, such as Dawn®
2
liquid soap
Test procedure:
1. Prepare a fresh solution with general purpose household cleaning solution (concentration 1%)
and warm tap water 49° C – 60° C (120° F – 140° F).
2. Fill the tank to within 3/8 inch (1 cm) of the “operating level” line.
3. Turn the ultrasonics on for at least five to ten minutes to allow for degassing.
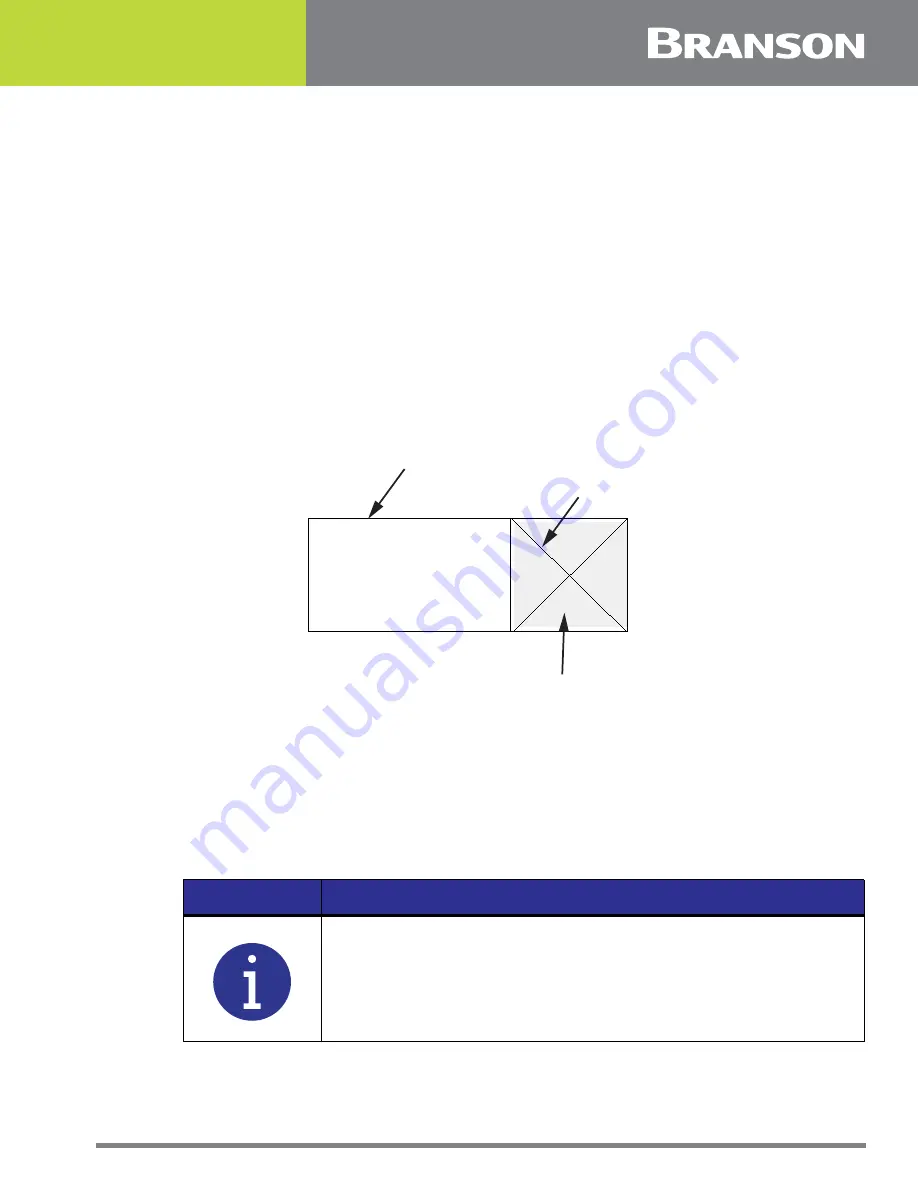
4. Prepare the glass slide by first wetting the frosted portion with tap water.
5. With the No. 2 pencil, on the frosted portion make an “X” from corner to corner.
6. Immerse the frosted end of the slide into the solution. Hold the slide vertically and center it in the
solution.
7. Make sure that model CPX/CPHX models are in Timed or Constant Sonics Mode, not Degas Mode,
then turn ultrasonics On.
The ultrasonics will begin immediately to remove the lead from the slide. All lead should
be removed within 10 seconds. If your unit passes this test, its ultrasonic cavitation is
acceptable.
1. Fisherbrand is a registered trademark of Fisher Scientific Company.
2. Dawn is a registered trademark of Procter & Gamble Company U.S.A.
NOTICE
To ensure consistency from test to test, be sure to repeat test
conditions—use the same solution concentration, liquid level,
temperature, type of pencil, length of degassing, etc.
Glass Slide
Penciled “X”
Frosted End
Summary of Contents for Branson CPX1800
Page 4: ...iv 100 214 294 REV 05 ...
Page 6: ...vi 100 214 294 REV 05 ...
Page 8: ...viii 100 214 294 REV 05 ...
Page 21: ...100 214 294 REV 05 11 Chapter 3 Delivery and Handling 3 1 Unpacking Your Unit 12 ...
Page 35: ...100 214 294 REV 05 27 Chapter 5 Installation and Setup 5 1 Installing Your Unit 28 ...
Page 76: ...72 100 214 294 REV 05 ...


