12
Chapter2AdjustingScreens
2-3. Adjusting Color
●
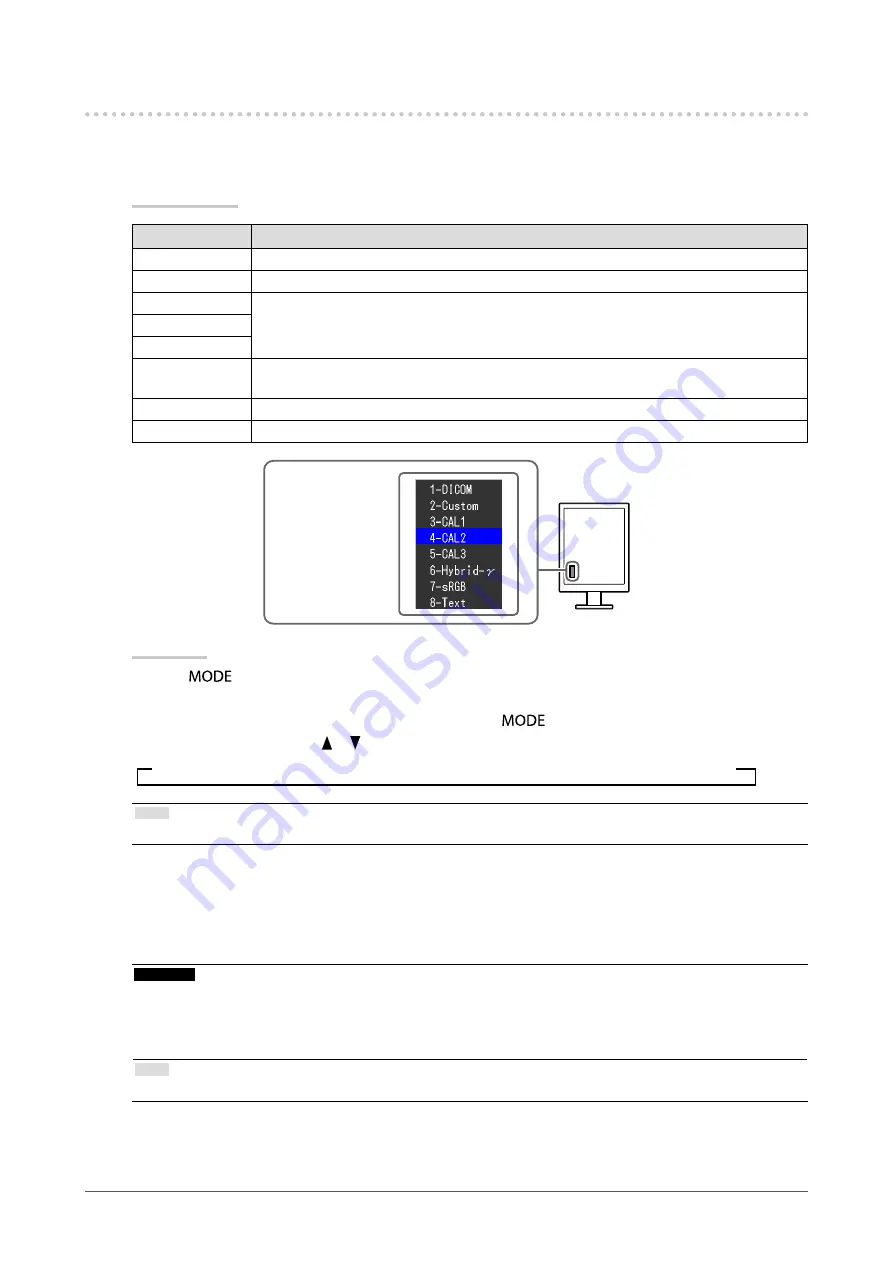
To select the display mode (CAL Switch mode)
This function allows easy selection of a desired mode according to monitor application.
Display Modes
Mode
Purpose
1-DICOM
AvailabletodisplayinDICOMmode.
2-Custom
Selectoneoftheseusermodestodefineadesiredsetofparametersettings.
3-CAL1
Displaysthescreenadjustedbycalibrationsoftware.
4-CAL2
5-CAL3
6-Hybrid-γ
Automaticallyidentifiesthedisplayareaforthemonochromeandcolorimagesonthe
samescreen,anddisplayseachsetstatus.
7-sRGB
SuitableforcolormatchingwithsRGBcompatibleperipherals.
8-Text
Suitablefordisplayingtextsforwordprocessingorspreadsheets.
Themodemenu
appears.
Procedure
1. Press
.
The mode menu appears at the bottom left of the screen.
2. The mode among the list is highlighted in turn each time
is pressed.
You can switch the mode with or while the mode menu is displayed.
→ 1-DICOM←→2-Custom←→3-CAL1←→4-CAL2←→5-CAL3←→6-Hybrid-γ←→ 7-sRGB←→ 8-Text ←
Note
• The Adjustment menu and the Mode menu cannot be displayed at the same time.
●
To perform advanced adjustments
“Color” of the Adjustment menu allows you to configure and save a separate set of color settings for each
mode.
Attention
• As it takes about 30 minutes for the performance of electrical parts to stabilize, adjust the monitor 30 minutes or more
after the monitor power has been turned on.
• The same image may be seen in different colors on multiple monitors due to their monitor-specific characteristics. Make
fine color adjustment visually when matching colors on multiple monitors.
Note
• The values shown in “%” or “K” are available only as reference.


