- 43
-
ENGLISH
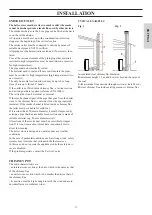
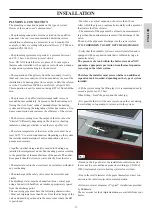
Fig. 7
Fit the horizontal ceramic elements (F, G) onto the structure,
complete with the metallic brackets (C, D).
Replace the metal sides (M) and the top (E) previously removed
from the stove.
Fig. 8
The figure shows the stove completely assembled.
Fig. 9
Fix the stove to the wall using the square pieces (S) and bra
-
ckets (R) provided, or use alternative systems that ensure its
stability.
COVERING INSTALLATION
fig. 8
fig. 7
F
G
C
D
E
M
fig. 9
S
R

