background image

9

6. Basic Operation

 Exit  

|   

  |   

Menu


m


m


m


m

6.3 LCD OSD (On-Screen Display) Configuration

The LCD OSD allows you to set up and configure the LCD:

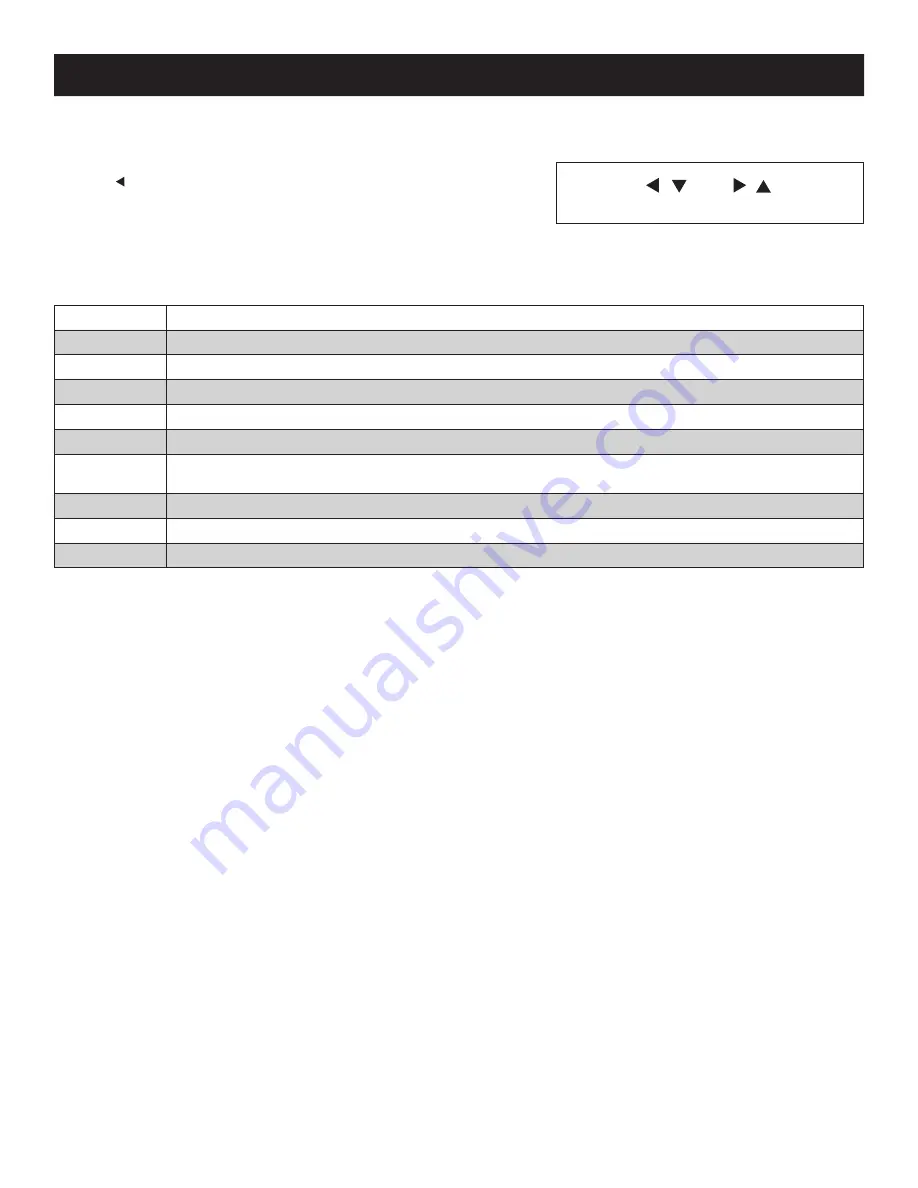
•  To open up the LCD OSD main menu, press the button marked 

Menu

.

•  Use the  | and | buttons to navigate and make adjustments. After navigating 

to a setting choice, use the 

Menu

 button to bring up the adjustment screen.

•  When making adjustments, | increases the value; | decreases the value.
•  When satisfied, press 

Exit

 to return to the OSD main menu.

•  When all adjustments have been made, press 

Exit 

to close the LCD OSD.

The following is an explanation of the settings:

Brightness

Adjusts the background black level of the screen image.

Contrast

Adjusts the foreground white level of the screen image.

Phase

Adjusts the vertical size of the screen image.

Clock

Adjusts the horizontal size of the screen image.

H-Position

Positions the display area on the LCD panel horizontally (moves the display area left or right).

V-Position

Positions the display area on the LCD panel vertically (moves the display area up or down).

Color 

Temperature

Adjusts the color quality of the display between three pre-configured settings; 6500k, 7500k, 9300k. This menu also allows you 

to customize the individual RGB settings to your preference.

Language

Selects the language that the OSD displays its menus in.

OSD Duration

Adjust the length of inactivity before the OSD display turns off (between 5 and 100 minutes). The default is 5 minutes.

Reset

Resets all of the adjustments in the LCD OSD menus to their factory default settings.

Note:

 Pressing the Exit button while not in the LCD OSD Menu will perform an auto-configuration on the monitor.

6.4 Sharing USB Peripheral Devices

The USB1.1 port on the Console KVM Switch’s LCD panel can be used to share USB peripherals between connected computers. Simply 

connect a USB peripheral device to this port and any connected computer you switch to will have access to the device.

Note:

 The following limitations apply to the USB peripheral port:

1.  This port serves as a single-port USB 1.1 hub; USB 2.0 devices will not function as designed.
2.  USB peripherals can only be shared among computers that are connected to the KVM switch via the USB connectors on the P778-Series USB/PS2 Combo KVM Cable Kit.
3.  USB peripherals can only be shared among computers that are connected to the KVM switch that the USB peripheral is plugged into. Computers that are connected to daisy-

chained KVM switches will not have access to the USB peripheral device.

6.5 Powering Off and Restarting

If it becomes necessary to power off the KVM switch, follow the procedure below:

1. Shut down all computers connected to the KVM switch. If you are powering off a daisy-chain installation, shut down all computers 

connected to each KVM switch in the installation.  

Note: 

It is necessary to unplug any computers that have the Keyboard Power On function. If left on, the KVM switch will continue to receive power via these computers.

2. Turn off the KVM switch (Console KVM only) and unplug the KVM switch from its power source. Power off and unplug each KVM switch 

in the daisy-chain in succession.

3. Wait 10 seconds and then plug the KVM switch, starting with the first station, back into its power source. Turn on the power to the KVM 

switch (Console KVM only).

4. Once the first station KVM switch has ascertained its position in the daisy-chain, power on and plug in the next KVM switch in the 

installation. Follow this procedure for each KVM switch in the installation.

5. Once all KVM switches in the installation have been powered back on, turn on the power to all connected computers.

Summary of Contents for NetDirector TRIPP LITE Series

Page 1: ...1 Owner s Manual Purchased product may differ from image B020 U16 19 KG B020 U16 19 KF NetDirector Console KVM Switch 16 Port...

Page 2: ...8 OSD On Screen Display Operation 13 8 1 OSD Overview 13 8 2 Logging In for the First Time 13 8 3 OSD Invocation Sequence 13 8 4 OSD Navigation 13 8 5 OSD Main Screen Headings 13 8 6 OSD Functions 14...

Page 3: ...rds and mice Keyboard and mouse emulation PS 2 and USB allows for simultaneous booting of computers even when the console focus is elsewhere The B020 U16 19 KG uses a German QWERTZ keyboard layout and...

Page 4: ...o indicate that the unit is receiving power 9 Rackmounting Tabs The rackmounting tabs located at each corner of the unit secure the chassis to a system rack Refer to page 7 for rackmounting details 10...

Page 5: ...er spill liquid of any kind on the device Unplug the device from the wall outlet before cleaning Do not use liquid or aerosol cleaners Use a damp cloth for cleaning The device should be operated from...

Page 6: ...ic mixture with air oxygen or nitrous oxide Rack Mounting Safety Instructions Before working on the rack make sure that the stabilizers are secured to the rack extended to the floor and that the full...

Page 7: ...d installation 1 Ensure that power to all the connected devices has been turned off 2 Connect the included USB PS2 Combo Console Cable Kit to the console connector on the back of the unit then connect...

Page 8: ...or and mouse can all be hot plugged When hot plugging the mouse 1 You may unplug the mouse and plug it back in again to reset the mouse for example as long as you use the same mouse 2 If you plug in a...

Page 9: ...e Console KVM Switch s LCD panel can be used to share USB peripherals between connected computers Simply connect a USB peripheral device to this port and any connected computer you switch to will have...

Page 10: ...While the Ctrl key is held down press and release the F12 key 3 After releasing the F12 key release the Ctrl key When Hotkey Mode has been invoked The monitor goes blank and the hotkey command line i...

Page 11: ...nvoke Previous Next Switching 5 Invoke Hotkey Mode 6 Key in Arrow refers to any of the arrow keys on the keyboard After you press Arrow you automatically exit Hotkey Mode and enter Skip Mode You can s...

Page 12: ...7 13 Restore Default Values This Administrator ONLY hotkey restores the KVM switch to its default values See page 17 for details on restoring the KVM default values via OSD To restore the default val...

Page 13: ...rently logged in User are visible see SET ACCESSIBLE PORTS page 16 for details 4 If the port list is collapsed into stations simply click on the plus sign next to the desired station number or highlig...

Page 14: ...to indicate that it is currently selected F3 Set Environment SET This function allows each User and the Administrator to set up their own working environment A separate profile for each is stored by t...

Page 15: ...your changes have been saved Usernames and passwords can be up to 16 characters long using any combination of letters and numbers A Z 0 9 and the following characters Asterisk Parentheses Plus Minus C...

Page 16: ...the following 1 Highlight the desired port or click on it using the touchpad 2 Press the Spacebar to toggle between four options WIN MAC SUN and OTHER Each port is set to WIN by default 3 You do not n...

Page 17: ...an S appears in front of the Port ID display to indicate that it is being accessed under Auto Scan Mode While Auto Scan Mode is in effect the keyboard and mouse will not function You must exit Auto S...

Page 18: ...ice s firmware levels with that of the upgrade files If it finds that the device s version is higher than the upgrade version it brings up a dialog box informing you of the situation and gives you the...

Page 19: ...he Normal position 4 Upgrade your firmware using the steps from pages 18 19 10 1 Specifications Specification B020 U16 19 KG B020 U16 19 KF Keyboard Type German Keyboard French Keyboard Port Selection...

Page 20: ...hen using key combinations press and release the first key Ctrl then press and release the activation key PC Keyboard Mac Keyboard Shift Shift Ctrl Ctrl Ctrl 1 Ctrl 2 Ctrl 3 Ctrl 4 Alt Alt Print Scree...

Page 21: ...iance Identification Numbers For the purpose of regulatory compliance certifications and identification your product has been assigned a unique series number The series number can be found on the prod...

Reviews: