background image

17

8. OSD (On-Screen Display) Operation

F6 Broadcast Mode (BRC)

F6 is an Administrator-ONLY function. Clicking the F6 field, or pressing [F6], invokes Broadcast (BRC) Mode. When this function is in effect, 

commands sent from the console are broadcast to all available computers on the installation.
This function is particularly useful for operations that need to be performed on multiple computers, such as performing a system-wide 

shutdown, installing or upgrading software, etc.
BRC works in conjunction with the

 F2 LIST


function. The LIST function (see page 15) lets you tailor

 the list of ports the OSD will display on the 

OSD Main Screen. When a command is broadcast, it is done only to the ports currently displayed on the OSD Main Screen.
•  A Speaker symbol appears before the Port ID Display to indicate BRC Mode is in effect.
•  The mouse will not function while the BRC Mode is in effect. You must exit the BRC Mode in order to regain control of the mouse.
•  To exit BRC Mode, invoke the OSD (with the OSD hotkey), then click the 

F6


field, or press 

[F6]

.

F7 Scan (SCAN)

Invoke the Auto-Scan Mode by clicking the 

F7

 field or pressing 

[F7]

. This function allows you to cycle through available computers at regular 

intervals so that you can monitor their activity without having to take the trouble of switching yourself.
•  The selection of computers to be included for Auto-Scanning is made with the Scan/Skip Mode setting under the 

F3 SET

 function (see 

page 15).

•  The amount of time that each port displays for is set with the Scan Duration setting under the 

F3 SET

 function (see page 15). When you 

want to stop at a particular location, press the 

[Spacebar]

 or 

[Esc]

 to stop scanning.

•  If the scanning stops on an empty port, or one where the computer is attached but is powered off, the monitor screen will be blank, and 

the mouse and keyboard will have no effect. After the 

Scan Duration 

time is up, the Scan function will move on to the next port.

•  As each computer is accessed, an 

S


appears in front of the Port ID display to indicate that it is being accessed under 

Auto-Scan Mode

.

•  While Auto-Scan Mode is in effect, the keyboard and mouse will not function. You must exit Auto-Scan Mode in order to regain control of 

the console.

•  While in Auto-Scan Mode, the scanning can be paused in order to keep the focus on a particular computer either by pressing 

P

, or with a left 

click of the mouse.

•  To exit Auto-Scan Mode, press the 

[Spacebar]

 or 

[Esc]

.

F8 Log Out (LOUT)

Clicking the F8 field or pressing 

[F8]

 logs you out of the KVM switch and blanks out the Console screen. This is different from simply pressing 

[Esc] to deactivate the OSD. With this function you must log in again to regain access to the KVM, whereas with [Esc], you are only logged out 

of the OSD screen.

Note:  

1.  When you reenter the OSD after logging out, the screen stays blank except for the OSD Main Menu. You must input your password before you can continue.


  2.  If you reenter the OSD after logging out and immediately use 

[Esc]

 to deactivate the OSD without having selected a port from the OSD menu, a Null Port message 

displays on the screen.The OSD Hotkey will bring up the Main OSD Screen.

9.1 Before You Begin

To prepare for the firmware upgrade, do the following:

1.  From a computer that is not part of your KVM installation go to 

the support section on Tripplite.Eaton.com and choose the 

model name that relates to your device to get a list of available 

Firmware Upgrade Packages.

2.  Choose the Firmware Upgrade file you want to install (usually the 

most recent) and download it to your computer.

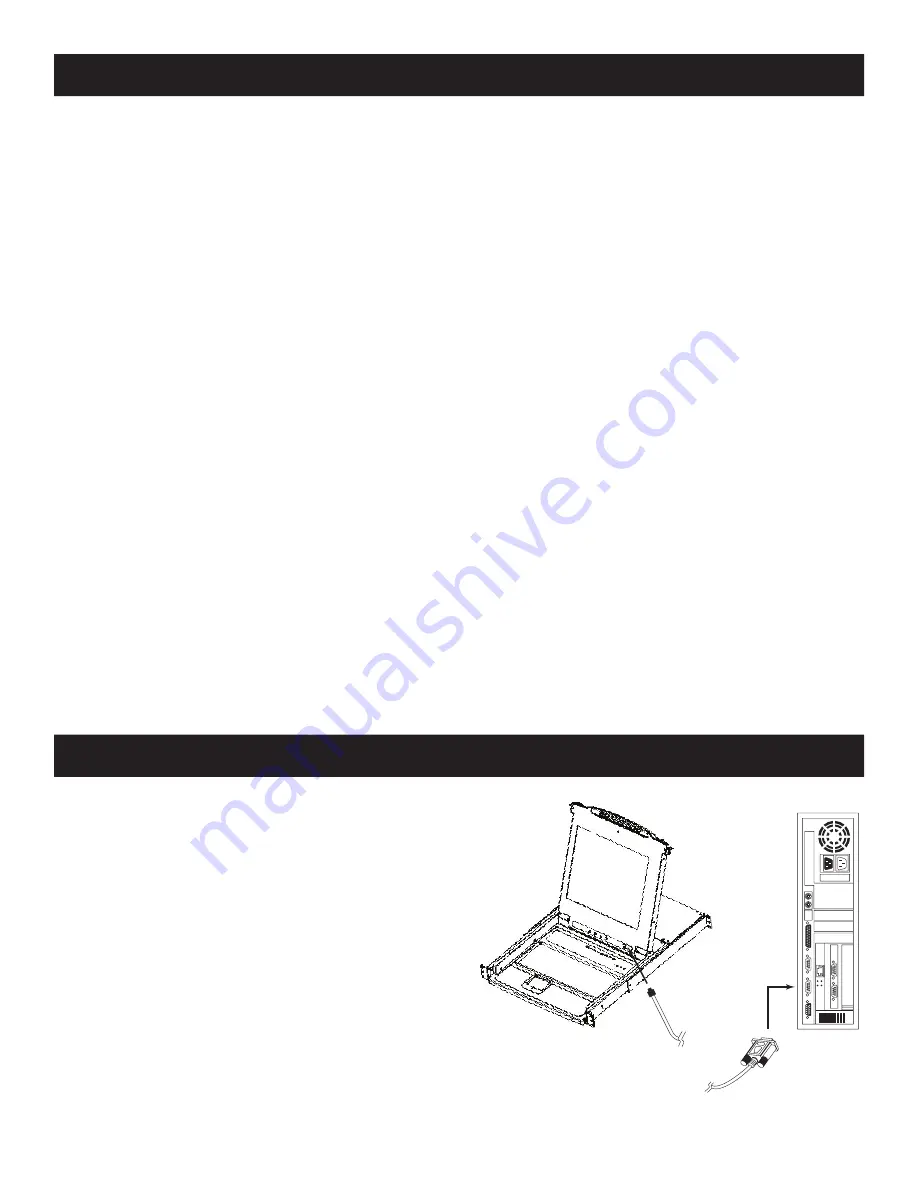
3.  Use the Firmware Upgrade Cable (provided with this unit), to 

connect a COM port on your computer to the Firmware Upgrade 

Port of your switch.

Note:

 When daisy-chaining KVM Switches, a firmware upgrade to station-1 will 

upgrade all connected KVMs. 

4.  Shut down all of the computers.
5.  From your KVM switch console, bring up the OSD and select the 

F4 ADM

 function. (See page 16.)

6.  Scroll down to 

FIRMWARE UPGRADE

. Press 

[Enter]

, then press 

[Y] 

to invoke Firmware Upgrade Mode. For your reference, the 

current firmware upgrade version displays on the screen.

9. Firmware Upgrade Utility

Summary of Contents for NetDirector TRIPP LITE Series

Page 1: ...1 Owner s Manual Purchased product may differ from image B020 U16 19 KG B020 U16 19 KF NetDirector Console KVM Switch 16 Port...

Page 2: ...8 OSD On Screen Display Operation 13 8 1 OSD Overview 13 8 2 Logging In for the First Time 13 8 3 OSD Invocation Sequence 13 8 4 OSD Navigation 13 8 5 OSD Main Screen Headings 13 8 6 OSD Functions 14...

Page 3: ...rds and mice Keyboard and mouse emulation PS 2 and USB allows for simultaneous booting of computers even when the console focus is elsewhere The B020 U16 19 KG uses a German QWERTZ keyboard layout and...

Page 4: ...o indicate that the unit is receiving power 9 Rackmounting Tabs The rackmounting tabs located at each corner of the unit secure the chassis to a system rack Refer to page 7 for rackmounting details 10...

Page 5: ...er spill liquid of any kind on the device Unplug the device from the wall outlet before cleaning Do not use liquid or aerosol cleaners Use a damp cloth for cleaning The device should be operated from...

Page 6: ...ic mixture with air oxygen or nitrous oxide Rack Mounting Safety Instructions Before working on the rack make sure that the stabilizers are secured to the rack extended to the floor and that the full...

Page 7: ...d installation 1 Ensure that power to all the connected devices has been turned off 2 Connect the included USB PS2 Combo Console Cable Kit to the console connector on the back of the unit then connect...

Page 8: ...or and mouse can all be hot plugged When hot plugging the mouse 1 You may unplug the mouse and plug it back in again to reset the mouse for example as long as you use the same mouse 2 If you plug in a...

Page 9: ...e Console KVM Switch s LCD panel can be used to share USB peripherals between connected computers Simply connect a USB peripheral device to this port and any connected computer you switch to will have...

Page 10: ...While the Ctrl key is held down press and release the F12 key 3 After releasing the F12 key release the Ctrl key When Hotkey Mode has been invoked The monitor goes blank and the hotkey command line i...

Page 11: ...nvoke Previous Next Switching 5 Invoke Hotkey Mode 6 Key in Arrow refers to any of the arrow keys on the keyboard After you press Arrow you automatically exit Hotkey Mode and enter Skip Mode You can s...

Page 12: ...7 13 Restore Default Values This Administrator ONLY hotkey restores the KVM switch to its default values See page 17 for details on restoring the KVM default values via OSD To restore the default val...

Page 13: ...rently logged in User are visible see SET ACCESSIBLE PORTS page 16 for details 4 If the port list is collapsed into stations simply click on the plus sign next to the desired station number or highlig...

Page 14: ...to indicate that it is currently selected F3 Set Environment SET This function allows each User and the Administrator to set up their own working environment A separate profile for each is stored by t...

Page 15: ...your changes have been saved Usernames and passwords can be up to 16 characters long using any combination of letters and numbers A Z 0 9 and the following characters Asterisk Parentheses Plus Minus C...

Page 16: ...the following 1 Highlight the desired port or click on it using the touchpad 2 Press the Spacebar to toggle between four options WIN MAC SUN and OTHER Each port is set to WIN by default 3 You do not n...

Page 17: ...an S appears in front of the Port ID display to indicate that it is being accessed under Auto Scan Mode While Auto Scan Mode is in effect the keyboard and mouse will not function You must exit Auto S...

Page 18: ...ice s firmware levels with that of the upgrade files If it finds that the device s version is higher than the upgrade version it brings up a dialog box informing you of the situation and gives you the...

Page 19: ...he Normal position 4 Upgrade your firmware using the steps from pages 18 19 10 1 Specifications Specification B020 U16 19 KG B020 U16 19 KF Keyboard Type German Keyboard French Keyboard Port Selection...

Page 20: ...hen using key combinations press and release the first key Ctrl then press and release the activation key PC Keyboard Mac Keyboard Shift Shift Ctrl Ctrl Ctrl 1 Ctrl 2 Ctrl 3 Ctrl 4 Alt Alt Print Scree...

Page 21: ...iance Identification Numbers For the purpose of regulatory compliance certifications and identification your product has been assigned a unique series number The series number can be found on the prod...

Reviews: