


16
XCHARGEIN DC 22 INSTALLATION MANUAL
MN192004EN September 2021 www.eaton.com
00 Title
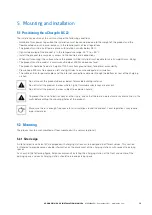
Drilling holes in the metal enclosure or making any modification not described or authorized in the present
document will end the warranty of the product.
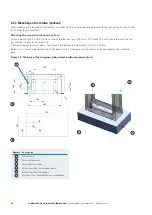
Follow these steps to install the unit onto the wall:
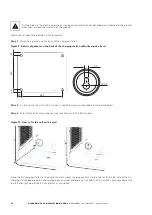
Step 1.
Place the 4 gaskets on the back of the charging station.
Figure 9. Details of gaskets on the back of the charging station with dimensions (mm)
Ø10.0
5.2
532
49
45
440
35
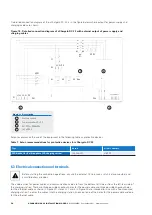
Step 2.
Fix the unit to the wall with 4 stainless steel M6 screws as described in the picture below.
Step 3.
Screw the 4 M6 screws and securely lock them with the flat washers.
Figure 10. How to fix the unit on the wall
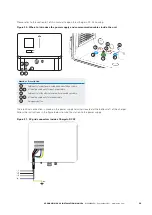
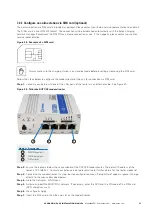
Once the EV charging station is fixed onto the wall, mount the plug socket(s) to the right or to the left side of the EV
charging station depending on site configuration and user preferences. Consider a 300 mm free space requirement to
the left and right side of the EV charger for air circulation.


