


Important ! Safety Instructions, Care and Handling
1. Before starting, take a few minutes to
read this manual, read all of these instructions
and save this manual for later reference.
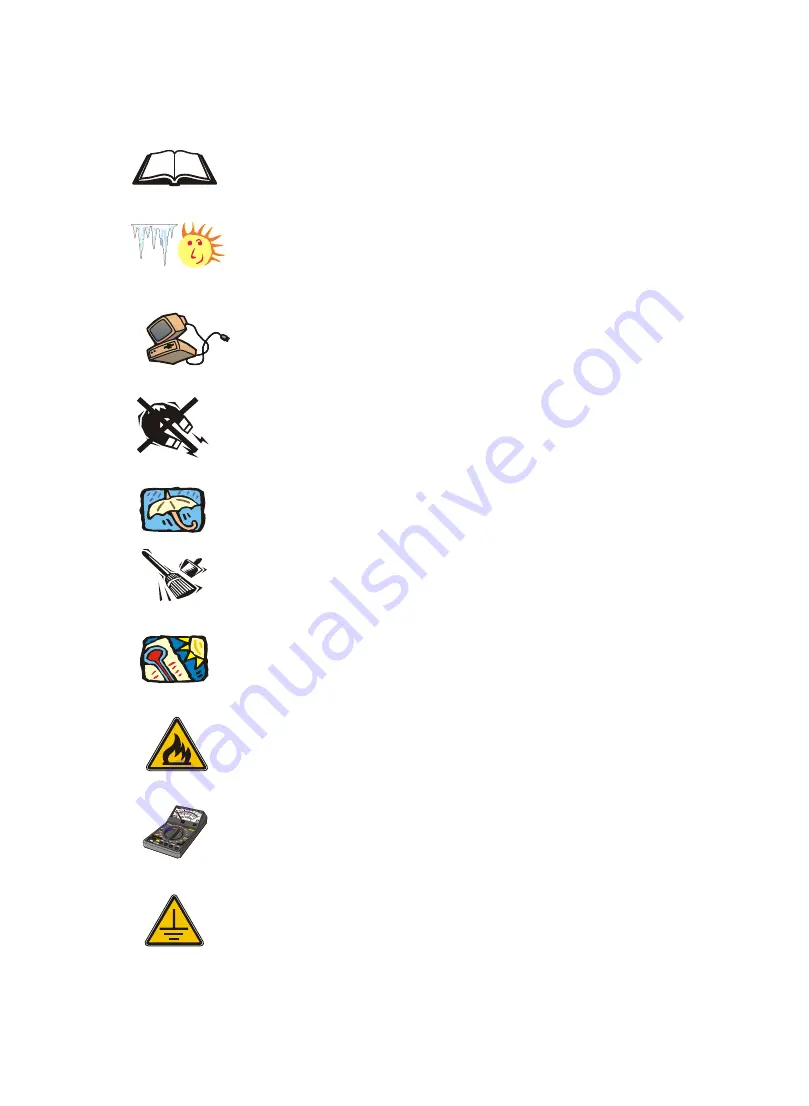
2. Protect the Disk Array from extremely high or low
temperatures. Let the Disk Array warm (or cool ) to
room temperature before using it.
3. Protect the Disk Array from being bumped or
dropped. Do not place this product on an
unstable cart, stand, or table. It may fall, causing
serious damage to the product.
4. Keep the Disk Array away from magnetic forces.
5. Do not use this product near water.
6. Keep the Disk Array away from dust, sand, or dirt.
7. Gaps and openings in the cabinet and the back
are provided for ventilation. To ensure reliable
operation and to protect it from overheating, the
gaps and openings should never be blocked
or covered by placing the product on a bed,
sofa, rug, or other similar surface.
8. Do not place this product near or over a radiator
or heat register.
9. Refer to rating plate for voltage and check that
the appliance voltage corresponds to the supply
voltage.
10. The appliance must be grounded. This product is
equipped with a 3wire grounding-type power
cord, this power cord will only fit into a
groundingtype power outlet.
Summary of Contents for E6
Page 45: ...3 9 Configuration Main Screen ...
Page 60: ...Advanced Information 4 8 Step 2 ...
Page 61: ...Advanced Information 4 9 Step 3 Enter a name for your Terminal ...
Page 62: ...Advanced Information 4 10 Step 4 Select a connecting port in your Terminal ...
Page 63: ...Advanced Information 4 11 Step 5 Port parameter settings ...
Page 64: ...Advanced Information 4 12 Step 6 ...
Page 68: ...4 16 Advanced Information 3 Select transfer Send Text File and press Enter ...
Page 69: ...4 17 Advanced Information 4 Locate the new Firmware file on your PC ...
Page 70: ...4 18 Advanced Information 5 Press Go to confirm to download the new firmware ...
Page 76: ...5 3 Hot Swap b Gently pull out the HDD tray Figure Swap HDD Pull out ...


