


FXS Gateway Overview
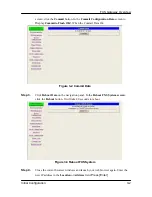
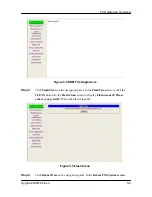
Figure 4-4 Phone Book
Step 5.
Click
Commit Data
on the navigation panel. In the
Commit Data
screen, click the
Commit
button. In the
Commit Data
screen to Display
Commit to Flash OK!
,
When the Commit Data Ok.
Step 6.
Click
Reboot Data
on the navigation panel. In the
Reboot FXS System screen
,
click the
Reboot
button. It will take 40 seconds to reboot.
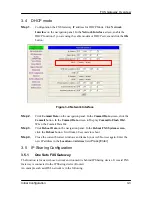
4.2 Configure the gateway into the Proxy routed mode
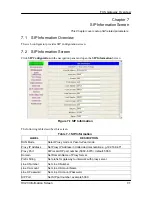
Step 1.
Configuration the FXS Gateway SIP Configuration. Click
SIP Information
on the
navigation panel. In the
SIP Information
screen, select
Proxy routed
Mode
function.
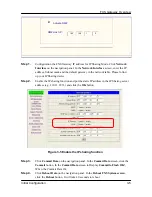
Step 2.
To change the SIP information from your service provider Proxy IP Address, Line1
Number, Lin1 Account, Line1 Password, (e.g. Proxy IP Address: 192.168.4.192,
(e.g. Line1 Number: 60925, Line1 Account: 60925, Line1 Password: 609, Line2
Number: 60926, Line2 Account: 60926, Line2 Password: 609)
,
and click the
OK
button.
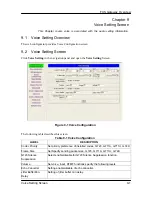
Making a VoIP Call Screen
4-3


