


Maintenance
Operating Instructions 868-M - 01.0 - 12/2020
95
6
Maintenance
This chapter describes maintenance work that needs to be carried
out on a regular basis to extend the service life of the machine
and achieve the desired seam quality.
Advanced maintenance work may only be carried out by qualified
specialists (
Service Instructions)
.
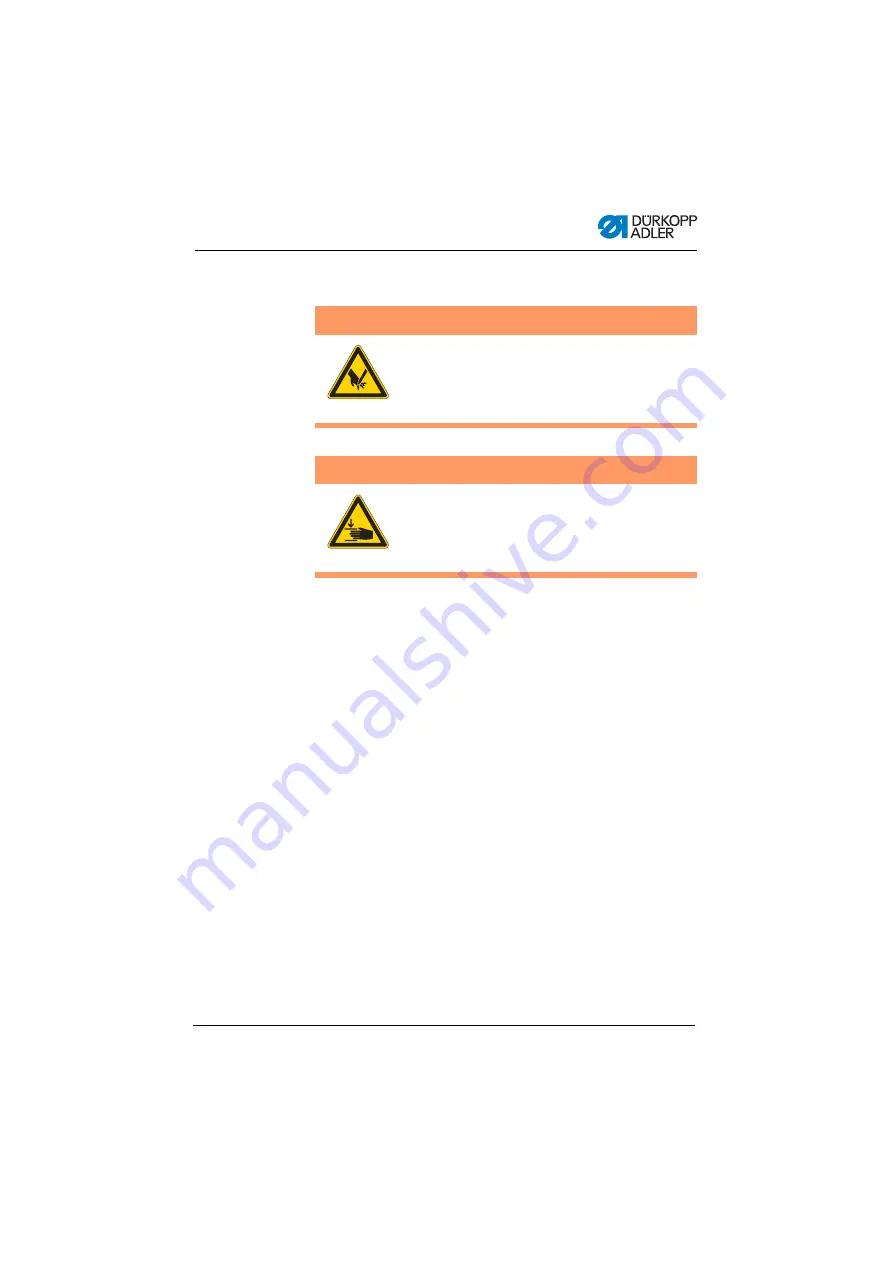
WARNING
Risk of injury from sharp parts!
Punctures and cutting possible.
Prior to any maintenance work, switch off the
machine or set the machine to threading mode.
WARNING
Risk of injury from moving parts!
Crushing possible.
Prior to any maintenance work, switch off the
machine or set the machine to threading mode.
Summary of Contents for 868-M
Page 1: ...868 M Operating Instructions...
Page 6: ...Table of Contents 4 Operating Instructions 868 M 01 0 12 2020...
Page 16: ...Safety 14 Operating Instructions 868 M 01 0 12 2020...
Page 20: ...Machine description 18 Operating Instructions 868 M 01 0 12 2020...
Page 134: ...Setup 132 Operating Instructions 868 M 01 0 12 2020...
Page 136: ...Decommissioning 134 Operating Instructions 868 M 01 0 12 2020...
Page 138: ...Disposal 136 Operating Instructions 868 M 01 0 12 2020...
Page 150: ...Troubleshooting 148 Operating Instructions 868 M 01 0 12 2020...
Page 154: ...Technical data 152 Operating Instructions 868 M 01 0 12 2020...
Page 162: ...Appendix 160 Operating Instructions 868 M 01 0 12 2020 Fig 104 Tabletop drawing 1...
Page 163: ...Appendix Operating Instructions 868 M 01 0 12 2020 161 Fig 105 Tabletop drawing 2...
Page 164: ...Appendix 162 Operating Instructions 868 M 01 0 12 2020 Fig 106 Tabletop drawing 3...
Page 165: ...Appendix Operating Instructions 868 M 01 0 12 2020 163 Fig 107 Tabletop drawing 4...
Page 166: ...Appendix 164 Operating Instructions 868 M 01 0 12 2020...
Page 167: ......


