


Winder
Service manual 567 classic - 01.0 - 10/2015
53
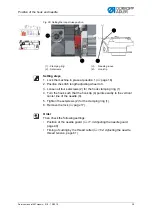
Setting steps
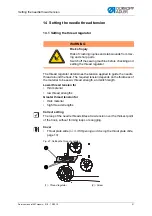
1. Loosen the screw (4).
2.
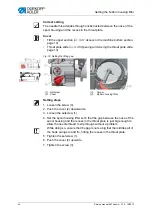
Setting the spring travel:
Turn the stop collar (1):
•
Longer spring travel:
Turn anticlockwise:
•
Shorter spring travel:
Turn clockwise:
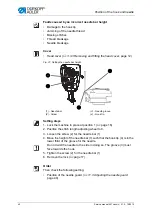
3.
Setting the spring tension:
Turn the tension disc (3):
•
Greater spring tension:
Turn anticlockwise:
•
Less spring tension:
Turn clockwise:
Do not twist the stop collar in doing so.
4. Tighten the screw (4).
15 Winder
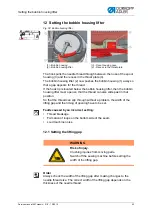
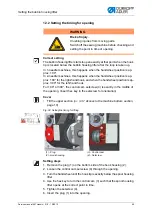
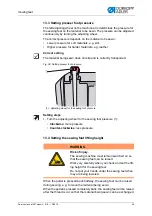
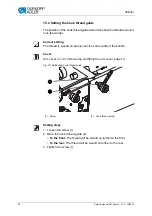
15.1 Setting the winder
Correct setting
The winder wheel runs smoothly and without axial play.
The winding process will stop automatically when the required filling quan-
tity of the bobbin is reached.
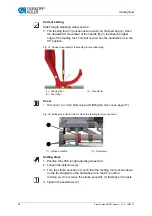
Cover
•
3.3.2 Removing and fitting the arm cover
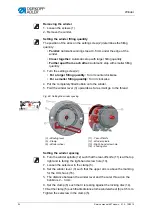
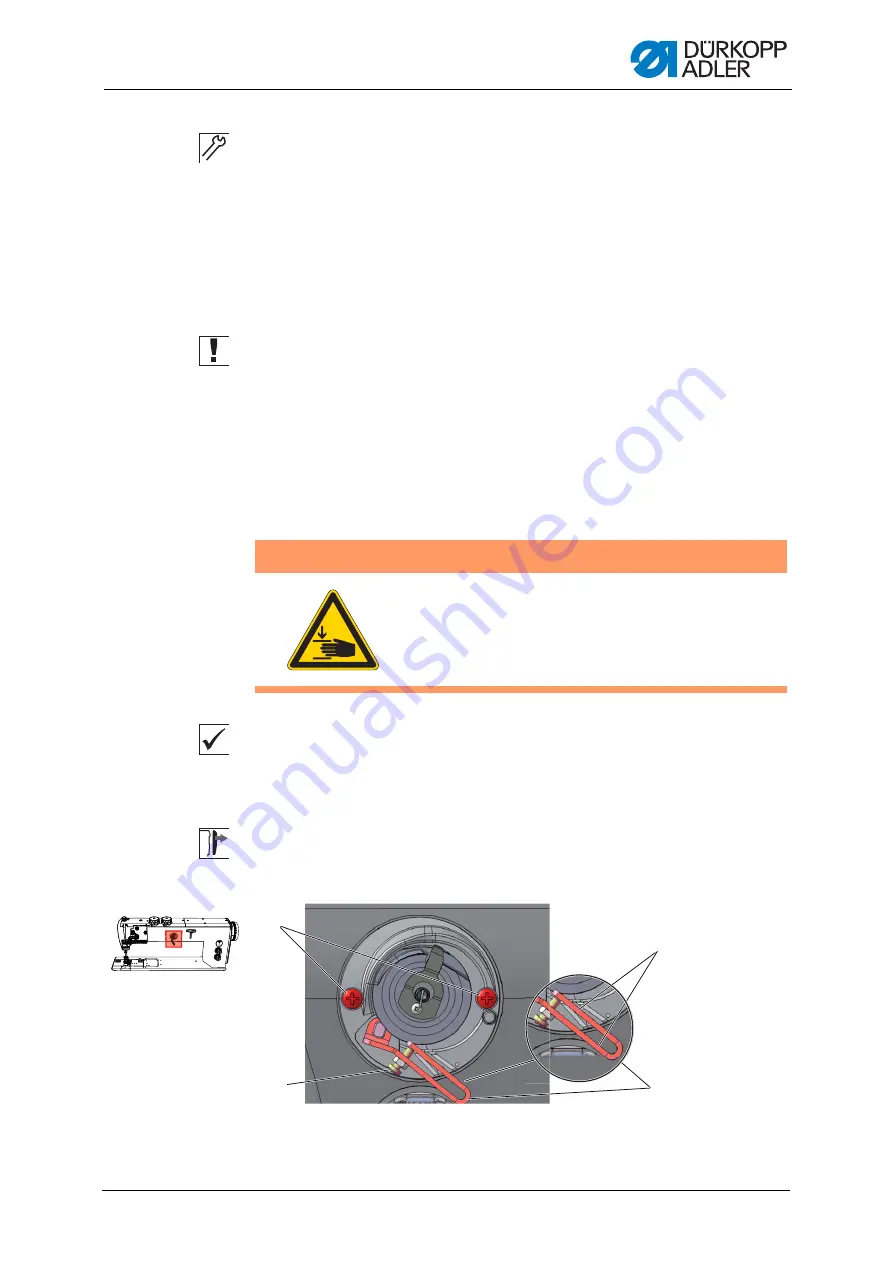
Fig. 43: Removing the winder and setting the winder filling quantity
WARNING
Risk of injury.
Crushing injuries from moving parts.
Switch off the sewing machine before setting the
winder.
2
3
4
1
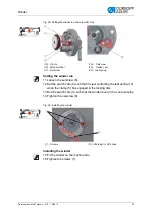
(1) - Screws
(2) - Setting screw
(3) - Winding lever
(4) - Arm
Summary of Contents for 567 CLASSIC
Page 1: ...567 classic Service manual...
Page 20: ...Working basis 18 Service manual 567 classic 01 0 10 2015...
Page 79: ......


