ph: 519-923-9813 | [email protected]| web: www.dundalkleisurecraft.com
Fig 2a
Fig 2b
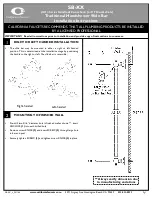
Make sure the panel and post are flush and secure the
panel to the post using the 2 ¾” (70mm) lag screws in
the pre drilled holes.
* Note that the solid privacy panels are labeled “TOP”.
To start the assembly of your indoor Pure Cube sauna,
place a wide wall panel and a corner post together
ensuring they are flush.
* Depending on your sauna layout, this may be a large
or a small panel.
Continue to secure the panel to the post in the
remaining pre drilled holes in the same manner
ensuring the panel and post are flush to each other.
Indoor Pure Cube Sauna
Assembly Instructions
3
Fasten a narrow wall panel to the post in the same
manner ensuring the panel and post are flush.


