-34-
7. External eSATA Hard Disk
Note:
All options described in this chapter are only available if you have connected an external SATA hard
disk to the eSATA connector at the rear of your Dreambox DM500 HD.
7.1 Management
If no OSD menu is visible on your screen, press the Menu-Button to open the main OSD menu. Navigate to
the option “Setup” and press the OK-Button to select.
1. Navigate to the option “System” and press the OK-Button
•The “System” menu will open up.
2. Navigate to the option “Harddisk…” and press the OK-Button
3. Navigate to the “Harddisk setup” option and press the OK-Button
7.1.1 Initialization
If no OSD menu is visible on your screen, press the Menu-Button to open the main OSD menu. Navigate to
the option “Setup” and press the OK-Button to select.
1. Navigate to the option “System” and press the OK-Button
• The “System” menu will open up.
2. Navigate to the option “Harddisk…” and press the OK-Button
3. Navigate to the “Harddisk setup” option and press the OK-Button
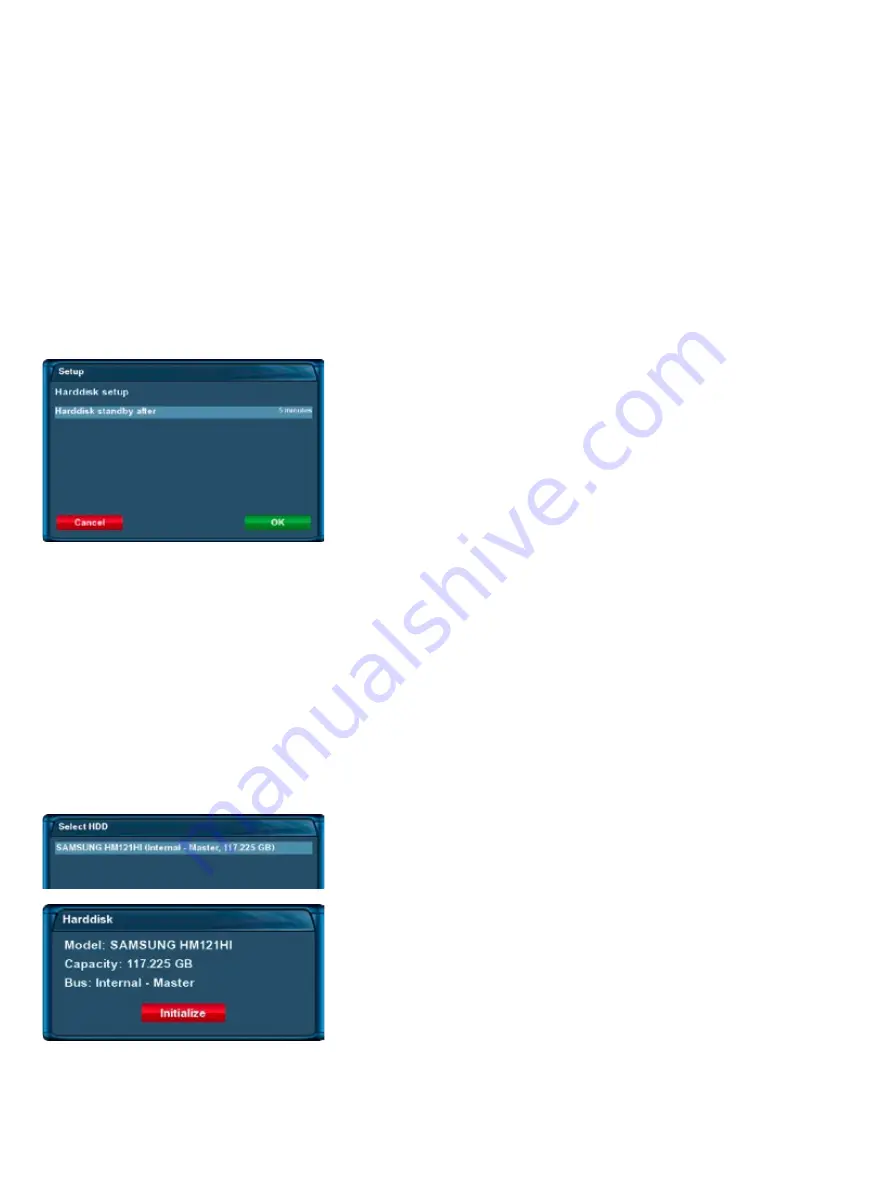
You now can set the duration of time after which the harddisk will
be put into standby-mode.
You can select from:
- No standby
- 10 or 30 seconds
- 1, 2, 5, 10, 20 or 30 minutes
- 1, 2 or 4 hours
Once you have selected the desired time press the
OK-Button
or
the green Options-Button to get back into the harddisk menu.
Navigate to the desired HDD option and press the
OK-Button
.
If you have connected hard disk this option willdiffer from the one
depicted!
By pressing the
red Options-Button
you will initialize (format) the
hard disk. After you confirm the safety question the initialization
process starts.
!!! WARNING !!!
All data stored on the HDD will be lost.


