background image

Activate/deactivate.service.number

Use the arrow buttons 

 to 

navigate to the sub menu «SHOW

SHOW 

SERVICE NR».

».

Press the enter button   to access 

the sub menu.

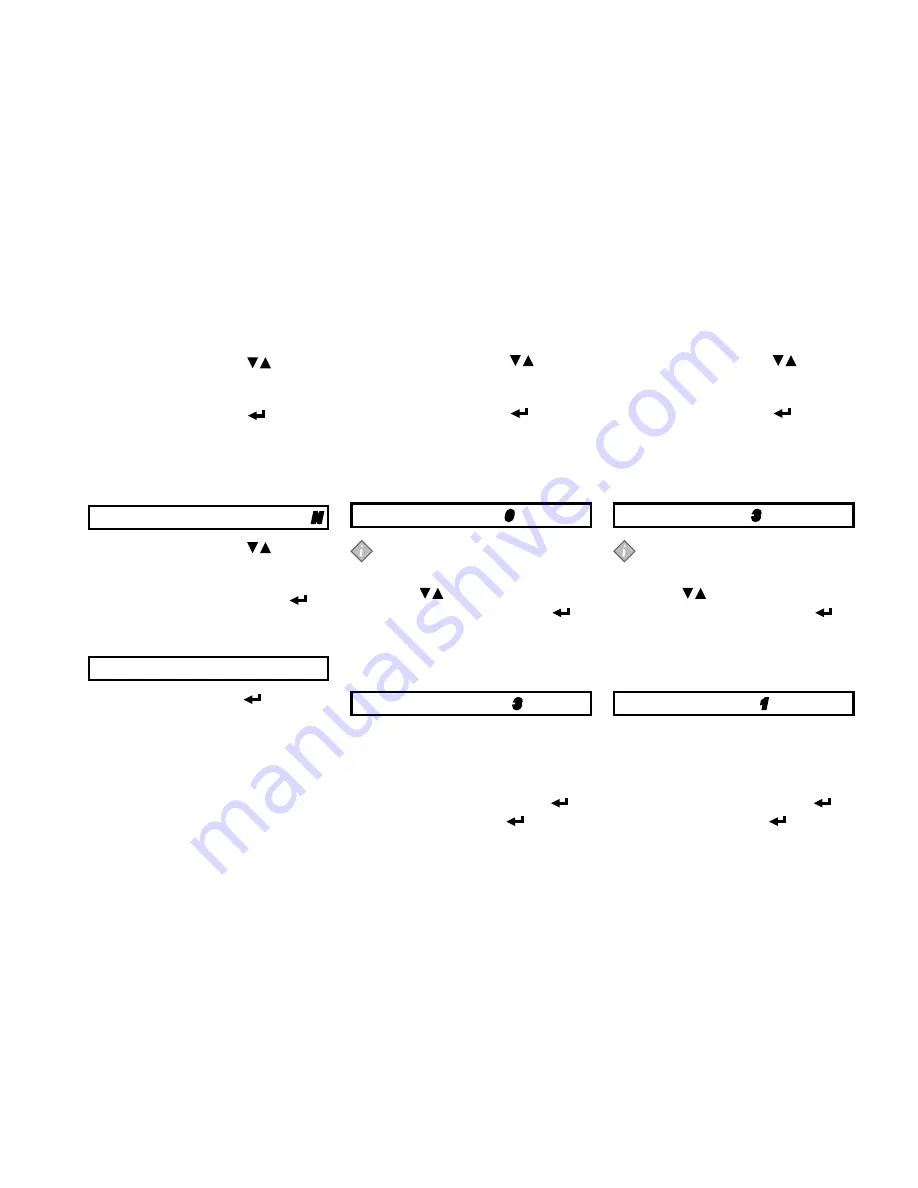
The display show the settings «Y» 

(Yes) or «N» (No), it flashes and is 

active, e.g.:

SHOW.SERVICE.NR.:.

N

Use the arrow buttons 

 to select 

«Y» to show the number display or 

«N» to hide the number display.

Confirm with the enter button 

.

The new setting is displayed 

continuously on the display, e.g.:

SHOW.SERVICE.NR.:.Y

Press the enter button   again, if 

you would like to restart the setting.

1.

2.

3.

4.

Enter.the.operator.number

Use the arrow buttons 

  to 

navigate to the sub-menu 

«OPERATOR NR».

Press the enter button   to access 

the sub menu. 

The display shows the operator 

telephone number. The first digit is 

active and flashes:

O:.

0

301234567

  Note:

O = operator, S = service

Enter the first digit using the arrow 

buttons 

 .

Confirm with the enter button 

.

The first digit is displayed continuously, 

the second digit is activated and starts 

flashing.

O:.5

3

01234567

Repeat steps 3. and 4. until you 

have input the last digit of the 

telephone number.

Confirm the complete telephone 

number with the enter button  .

Press the enter button   again, if 

you would like to restart the setting.

1.

2.

3.

4.

5.

6.

Enter.the.service.number

Use the arrow buttons 

  to 

navigate to the sub-menu 

«SERVICE NR».

Press the enter button   to access 

the sub menu. 

The display shows the operator 

telephone number. The first digit is 

active and flashes:

S:.

3

18051234567

  Note:

O = operator, S = service

Enter the first digit using the arrow 

buttons 

 .

Confirm with the enter button 

.

The first digit is displayed continuously, 

the second digit is activated and starts 

flashing.

S:.0

1

8051234567

Repeat steps 3. and 4. until you 

have input the last digit of the 

telephone number.

Confirm the complete telephone 

number with the enter button  .

Press the enter button   again, if 

you would like to restart the setting.

1.

2.

3.

4.

5.

6.

2011 - 01 

37


6 PROGRAMMING THE DISPENSER 

l

Summary of Contents for Cafitesse 300 Next Generation

Page 1: ...Cafitesse 300 Next Generation Operator manual 36416008 2011 01 ...

Page 2: ...The English version is the original version of the operator manual Other languages are translations of the original operator manual Copyright 2011 Sara Lee International Foodservice Netherlands ...

Page 3: ... 15 Inserting and removing product packs 17 Switching on the dispenser 19 Switching off the dispenser 19 Locking unlocking the dispenser 20 Cleaning the dispenser 21 Cleaning procedures 21 Clean Flush 21 Flush 23 Manual daily cleaning 24 1 2 3 4 5 Programming the dispenser 25 Starting the operator mode 25 Counter readings 27 Changing cup volumes 29 Changing drink strength 30 Setting date and time ...

Page 4: ... dispenser please read this operator manual to ensure that you have understood the operation of the machine and the safety instructions You will find the following symbols throughout this operator manual please pay attention to them Note Additional information which may be helpful during the dispenser operation Caution Information to which you should pay careful attention in order to ensure food s...

Page 5: ...ained personnel Warning The liquids delivered by the dispenser are hot Avoid scalding Keep hands and other body parts away from the dispenser while drinks are being dispensed and during the rinsing program Warning Do not place cups pots or containers filled with hot liquids on top of the dispenser There is the risk of being scalded in case the cups pots containers fall down Warning Keep sufficient...

Page 6: ...and servicing Connect the dispenser to the drinking water supply in compliance with local regulations Caution Only hose sets as per EN 61770 may be used to connect the water supply Caution If you intend to use the dispenser to deliver cold drinks please check the drinking water quality according to local regulations beforehand to ensure that you obtain cold drinks that pose no health risks Connect...

Page 7: ... subject to frost during operation storage or transport If you suspect there is frost damage following storage or transport contact your Cafitesse system supplier to have the dispenser checked and a function test implemented Servicing the dispenser The servicing repair and programming of the dispenser may only be carried out by authorised and appropriately trained service technicians assigned by y...

Page 8: ...ply therefore with the following instructions in order to meet the food safety standards Storage of product packs Store the product packs according to the description on the packaging Fig 1 Please note the Best before date printed on the packaging Fig 2 Always use the product packs according to the first in first out principle product packs stored first must be used first Do not use a product pack...

Page 9: ...ls out onto clothing the floor or other equipment 6 Caution Do not touch the tip of the doser with your hands or the cleaning cloth If the doser needs cleaning rinse with clear water only fig 5 If you do not use the dispenser for a longer period e g during a company holiday follow the instructions in the chapter Switching the dispenser on off 2011 01 2 SAFETY INSTRUCTIONS l ...

Page 10: ...hem 1 2 3 4 5 Danger DO NOT SPRAY OR SPLASH THE DISPENSER WITH WATER DO NOT USE A WATER JET FOR CLEANING NEVER IMMERSE THE DISPENSER IN WATER Danger NEVER TILT THE DISPENSER TO CLEAN BEHIND OR BELOW IT AVOID SCALDING THE BOILER CONTAINS VERY HOT WATER THAT CAN SPILL OUT IF YOU TILT OR MOVE THE DISPENSER Training Train new staff regarding food safety instructions HACCP Inform new staff about schedu...

Page 11: ...OP button 4 Drink buttons 5 Preselection buttons 6 Door lock with key option 7 Port for USB key 8 Door release button 9 LOCK Clear Error switch 10 Cooling compartment 11 Cup tray 12 Drip grid 13 Drip tray Rear of the dispenser 14 Condensate grid 15 Water supply hose 16 Power cord 17 Water supply hose for cold drinks cold water option 2011 01 11 ...

Page 12: ... c d e f LOCK the dispenser is locked an cannot dispense drinks TEMPERATURE water temperature in the boiler is too low and the dispenser is heating up DELIVERY BLOCKED the dispenser cannot deliver the selected drink VOLUME preselection select a small medium or large drink ECO the energy saving mode is active g h i k l STRENGTH preselection select a mild normal or strong drink CLEANING the dispense...

Page 13: ...ig 11 Place the pot on the drip tray Fig 12 A special dispenser foot may be required for larger pots Drink delivery Warning The liquids dispensed by the dispenser are hot Avoid scalding Keep hands and other body parts away from the dispenser while drinks are being delivered Never leave children unsupervised near the dispenser To deliver a drink Place your cup on the cup tray Fig 10 Press the drink...

Page 14: ...s can be programmed by the service technician Caution Press the STOP button if the cup or pot is too small for the delivered drink volume and when there is the risk of scalding by spilling of hot liquids Continuous delivery The drink button must be kept pressed until the cup or pot is full Fig 14 The dispenser stops when you release the drink button Note We recommend portioned delivery with fixed ...

Page 15: ...ress the preselection button ICED to activate this preselection The icon for iced is displayed Fig 15 Press a drink button The iced drink is delivered Press the STOP button to return to the default state 1 2 3 4 VOLUME preselection Place your cup on the cup tray Press the preselection button VOLUME to activate this preselection Three cup icons small medium large are displayed Fig 15 Press the pres...

Page 16: ... beans strong 1 2 3 Press a drink button The drink will be delivered with the selected strength Press the STOP button to return to the default state Note All preselection buttons can be combined with one another Warning The liquids dispensed by the dispenser are hot Avoid scalding Keep hands and other body parts away from the dispenser 4 5 Note If you press a preselection button but do not press t...

Page 17: ...r drinks from the other product pack With two empty product packs the delivery of hot or iced option water is still possible If the operator menu OPERATOR NR shows the setting SHOW OPERATOR NR set to YES the entered telephone number will be shown on the display Fig 17 The following text will scroll in the message line PRODUCT EMPTY 123456789 Call the operator when necessary Note You can enter the ...

Page 18: ...re touching a product pack Do not use a frozen product pack Caution Read the instructions on the product pack Never use a damaged product pack Do not use a product pack if the Best before date has expired Fig 18 1 2 Shake the product pack at least 10 times Fig 18 Remove the plastic wrapper and write the Expiry date on the product pack Fig 19 Follow the instructions on the product pack to open the ...

Page 19: ...take 24 hours or more 1 2 Note If the dispenser has been shut down for longer periods the date and time must be set so that the dispenser and the programmed cleaning cycles are reactivated Once the water has reached the preset temperature the display shows the animated symbol illustrated below The dispenser is now ready for operation Switching off the dispenser Please take the following preparatio...

Page 20: ...remain in operation 1 2 To unlock the dispenser press the LOCK Clear Error switch switch again to enable drink delivery Fig 22 3 Drink delivery in locked mode option Insert the USB release key into the USB port on the dispenser to enable temporary drink delivery Fig 23 As long as the USB release key is inserted drinks can be delivered When the key is removed the locked mode is reactivated and the ...

Page 21: ...e cleaning mode Fig 24 Follow the instructions on the display PLEASE REMOVE ALL PRODUCT PACKS Open the dispenser door Remove the product packs 1 2 3 Clean Flush The dispenser has a built in timer that will prompt you at least one day a week to Clean Flush The service technician can enable or disable the the built in timer according to your needs When the built in timer is enabled you can select or...

Page 22: ...LEASE PLACE FLUSH BIN MIN 4L AND PRESS FOR OK Place the flush bin under both product outlets and press the input button Warning The liquids dispensed by the dispenser are hot Avoid scalding Keep hands and other body parts away from the dispenser 7 The following message appears on the display PRESS TO FLUSH Press the enter button to start the flushing process The flush process starts fig 26 CAUTION...

Page 23: ...ter button and hold them pressed simultaneously for 3 4 seconds to enter the cleaning mode Follow the instructions on the display see also page 22 PLEASE PLACE FLUSH BIN MIN 4L AND PRESS FOR OK Place the flush bin under both product outlets and press the enter button 1 2 Warning The liquids dispensed by the dispenser are hot Avoid scalding Keep hands and other body parts away from the dispenser Th...

Page 24: ...loth Fig 28 3 4 5 6 Manual daily cleaning of external parts Open the dispenser door and press the CLEAR ERROR switch to set the dispenser to locked mode Note This avoids to dispense drinks or hot water accidentally when cleaning the external parts Remove cup tray a drip grid b and drip tray c Fig 27 1 2 Note The parts can also be cleaned in a dishwasher Note Comply with the safety instructions and...

Page 25: ...starts the operator mode which offers a series of functions Operation in the operator mode fig 30 Display Three preselection buttons Arrow button UP scroll up or increase input values Arrow button DOWN scroll down or decrease input values Enter button for confirmation or activation STOP button navigate back or hold down for 2 seconds to display the start menu a b c d e f 2011 01 25 ...

Page 26: ...E set time CLEANING DAYS set weekdays for cleaning and flushing ECO SETTINGS optimize power consumption TELEPHONE show hide and set telephone numbers for service and operator When the operator mode has started the menu COUNTERS is displayed in the message line Fig 32 Operator mode is active Arrow buttons can be used to activate the menus before and after the current menu Display of the currently a...

Page 27: ...d counter readings you can now press a drink button e g coffee to display the counter reading of all coffee drinks a preselection button e g VOLUME to display the counter reading of all small medium or large drinks Subtotals per drink button In the COUNTERS menu press a drink button e g coffee The number of deliveries for the selected drink button e g coffee appears on the display COFFEE 543210 Yo...

Page 28: ...play COFFEE 23456 Note If you continue to press the preselection button ICED the display shows cyclic counter reading for the hot total and iced drinks in combination with the respective volume selection Or you have the choice to press the STOP button to go back to the higher level of the COUNTERS menu another drink button to display the respective counter readings for this button 3 Total number o...

Page 29: ...e enter button to access the VOLUME menu Fig 34 1 The following message appears on the display VOLUME 8 Increase or decrease the cup volume using the arrow buttons Confirm the required value with the enter button The new cup volume will be accepted immediately 2 3 Note If you would like to modify the drink volume again press again the enter button and then Increase or decrease 2011 01 29 6 PROGRAM...

Page 30: ... button to access the STRENGTH menu Fig 35 1 The following message appears on the display DRINK STRENGTH 8 Increase or decrease the drink strength using the arrow buttons Confirm the required value with the enter button The new drink strength will be accepted immediately 2 3 Note If you would like to modify the drink strength again press again the enter button and then Increase or decrease 30 2011...

Page 31: ...with the enter button The option MONTH stays lit and the option DAY starts to flash JUL 29 2007 10 10 Use the arrow buttons to select the correct day 1 31 Confirm with the enter button The option DAY stays lit and the option YEAR starts to flash JUL 06 2007 10 10 Use the arrow buttons to select the correct year Confirm with the enter button 2 3 4 5 6 7 The option YEAR stays lit and the option HOUR...

Page 32: ...y for cleaning Monday is the default setting Sun Mon Tue Wed Thu Fri Sat CLEAN Press the enter button to access the CLEAN submenu The cursor icon is displayed it is positioned under Sun Sunday Sun Mon Tue Wed Thu Fri Sat CL SET Use the arrow buttons and move the cursor icon to the weekday you would like to select for cleaning Press the enter button to activate the selected weekday The status icon ...

Page 33: ... Thu Fri Sat FL SET Use the arrow buttons and move the cursor icon to the weekday you would like to select for flushing Press the enter button to activate the selected weekday The status icon appears under activated weekdays 1 2 3 4 Note Several days for flushing can be defined in sequence Select additional weekday s if requested by repeating steps 3 and 4 Note The flushing settings are optional I...

Page 34: ...BLED is flashing on the display ECO DISABLED Use the arrow buttons to select the status ENABLED or DISABLED Press the enter button to select the required status ECO ENABLED Press the STOP button to return to the main menu 1 2 3 4 Setting the START time when status ECO ENABLED Use the arrow buttons to navigate to submenu ECO START The ECO START time is shown on the display Press the enter button to...

Page 35: ...again if you would like to restart the setting 1 2 3 4 5 6 Setting the TEMPERATURE when status ECO ENABLED Use the arrow buttons to navigate to sub menu ECO TEMP The ECO TEMPERATURE is shown on the display ECO TEMPERATURE 63 C 145 F Press the enter button to access the ECO TEMP sub menu The temperature setting flashes on the display ECO TEMPERATURE 63 C 145 F Use the arrow buttons to select the de...

Page 36: ...R SERVICE NUMBER Press the enter button to access the TELEPHONE menu Fig 39 The status OPERATOR NUMBER is shown on the display OPERATOR NR 030123457 Activate deactivate operator number Use the arrow buttons to navitate to the sub menu SHOW OPERATOR NR Press the enter button to access the sub menu The display shows the setting Y Yes or N No it flashes and is active e g SHOW OPERATOR NR N Use the ar...

Page 37: ...ter button The first digit is displayed continuously the second digit is activated and starts flashing O 5301234567 Repeat steps 3 and 4 until you have input the last digit of the telephone number Confirm the complete telephone number with the enter button Press the enter button again if you would like to restart the setting 1 2 3 4 5 6 Enter the service number Use the arrow buttons to navigate to...

Page 38: ...d because the dispenser was not cleaned as scheduled Start the cleaning program immediately see page 21 PLEASE WAIT BOILER IS HEATING UP The water in the boiler has not yet reached the preset temperature The drink delivery of the dispenser is blocked until the temperature reaches the correct value The drink delivery is blocked because the LOCK Clear Error switch on the dispenser was pressed Press ...

Page 39: ...d on Press a drink button The boiler temperature increases and the drink is dispensed as soon as the correct temperature is reached The energy saving mode becomes active again 10 minutes after the boiler was heated up or the last drink was dispensed If you have set an end date the energy saving mode ends automatically see page 34 35 The water filter of the dispenser must be replaced Replace the wa...

Page 40: ...ress the LOCK Clear Error switch Contact service if the error persists Water leaks from the hot water outlet or a product outlet Scale particles block the respective outlet valve it cannot close completely Perform the program Flushing Contact service if the problem persists The dispenser does not respond to pressing a button or touch screen input A software jam has occured Reset the dispenser Disc...

Page 41: ...Pots 210 mm 8 3 in with cup tray folded Pots 260 mm 10 2 in without drip tray Air pots 33 cm 13 4 in when using the optional air pot extension Options Ingredient capacity 2 disposable Bag in Box BIB ingredient packs with a capacity of 2 litre 0 53 gal or 1 25 litre 0 33 gal Use the optional adapters for ingredient packs Options Drink capacity 100 cups at 100 cc 3 3 fl oz USA per hour per kW heatin...

Page 42: ... connection according to the Safety Instructions For the connected loads refer to the rating plate 1 phase operation Europe max 3 5 kW at AC 230V 240V 3 phase operation Europe max 9 6 kW at 3N AC 400V Environmental specifications Acoustic Emission The A weighted sound pressure level of the dispenser is below 70 dB Ambient Temperature for installation operation Between 5 C 41 F and 32 C 90 F Compli...

Page 43: ... cleaning settings according to your preference Custom settings of operator and service telephone numbers Enable disable preset selections such as drink strength mild normal strong or cup size small medium large Hardware accessories Adapters for small ingredient packs To use the dispenser with 1 25 litre 0 33 gal ingredient packs your Cafitesse system supplier can provide special magnetic adapters...

Page 44: ...rding to local regulations Payment system If you would like to enable your dispenser for vending of drinks the service technician can extend your dispenser with various payment systems At your request the service technician can program specific prices per drink High flow To increase the delivery speed of the dispenser the service technician can install the high flow option Two product packs of the...

Page 45: ...CP 8 10 18 Hot water 4 I ICED preselection 12 15 17 27 30 Installation 6 M Manual daily cleaning 24 O Operator mode 12 25 27 Operation 4 5 7 8 P Power consumption 26 34 Power cord 6 11 Power supply 19 40 Portioned delivery 14 Portion size 15 Preselection 11 12 15 16 27 29 Product pack 4 7 9 12 17 19 38 Programming 5 7 17 25 R Rear of the dispenser 6 12 Refrigerator 7 19 S Safety instructions 4 5 8...

Page 46: ...optional 1 2 3 4 5 6 7 8 CLEANING PROCEDURE CLEANING weekly FLUSHING 46 2011 01 ...

Page 47: ......

Page 48: ......

Reviews: