3. OPERATION
Page 49
© 2007 DH Instruments, a Fluke Company
OPERATION
To reach the CYCLE function, press
[PRIME]
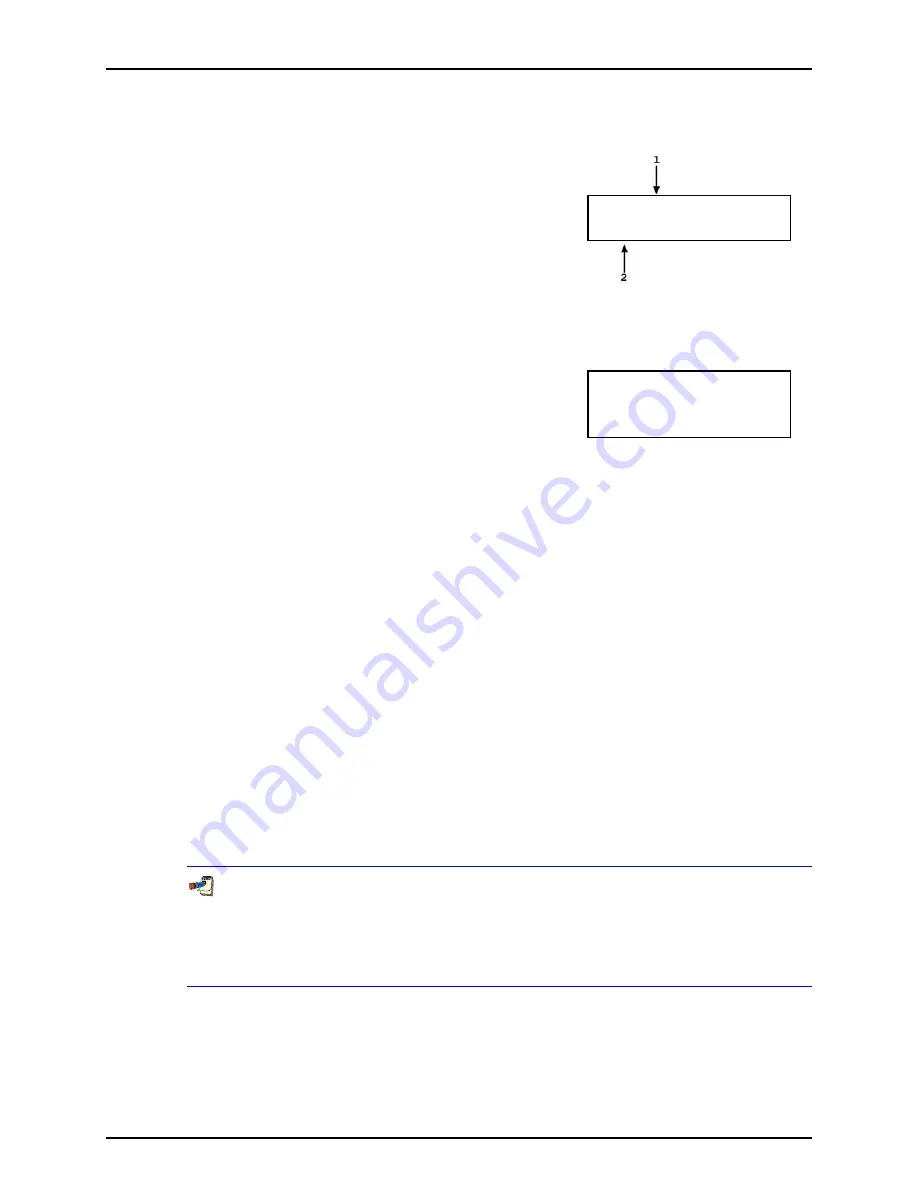
from the MAIN RUN screen. The display is:
1. Edit field for the number of times to cycle the pressure.
Default is 1.
2.
Edit field for cycle high pressure. Default is 100 % of active
range.
Cycle 1 times to
20 MPa approx
Edit the number of cycles and the cycle pressure as desired. Check carefully that the
pressure value entered is acceptable for all the hardware that is connected to the
TEST
port.
Press
[ENT]
to begin cycling. The display is:
The top line is the regular run screen displaying the
actual pressure. The second line alternates between
a display of the target purge pressure (or
<Venting>
)
and a display of the current cycle and total number of
cycles to be executed.
1.005 MPa g IH
Purging to 20.000
Cycle 1 of 3
To interrupt the CYCLE routine and return to the CYLE menu, press
[ENT]
or
[ESC]
. When
all cycles of the purge routine have completed, PPCH beeps three times and displays
<Cycling complete>
. Press
[ESC]
to go to the MAIN RUN screen or
[ENT]
repeat the cycle
process.
3.3.9
[LEAK CK]
PURPOSE
To run an automated pressure decay based leak check routine to determine the leak rate of
the system connected to the PPCH-G
TEST
port.
PRINCIPLE
Leaks in the system connected to PPCH-G’s
TEST
port can cause differences between the
pressure measured by the PPCH-G Q-RPTs and pressure in other parts of the test system.
A large leak can cause the PPCH-G to be unable to set and control pressures reliably.
The LEAK CHECK function is provided as a means of checking and quantifying leaks that
may be present in the system.
The principle of the LEAK CHECK function is the measurement of the decrease or increase
in pressure in a fixed volume over time. The LEAK CHECK function allows a leak check time
to be set. The total pressure change and the average rate of change over the leak check
time are calculated and displayed.
Changing the pressure in a test system causes adiabatic temperature change in the
pressurized fluid that need to have dissipated before a valid leak measurement can be made. In
general, a 3 to 5 minute wait before running a leak check is adequate to allow the adiabatic
temperature change to dissipate and valid leak measurements to be made. However, stabilization
time may be longer as volume and/or pressure increases.
OPERATION
To run a leak check, first set the pressure to the desired leak check pressure using the direct
pressure control keys (see Section 3.1.3) or automated pressure control (see Section 3.3.10).


