


ENGLISH
38
6
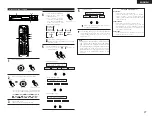
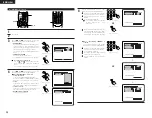
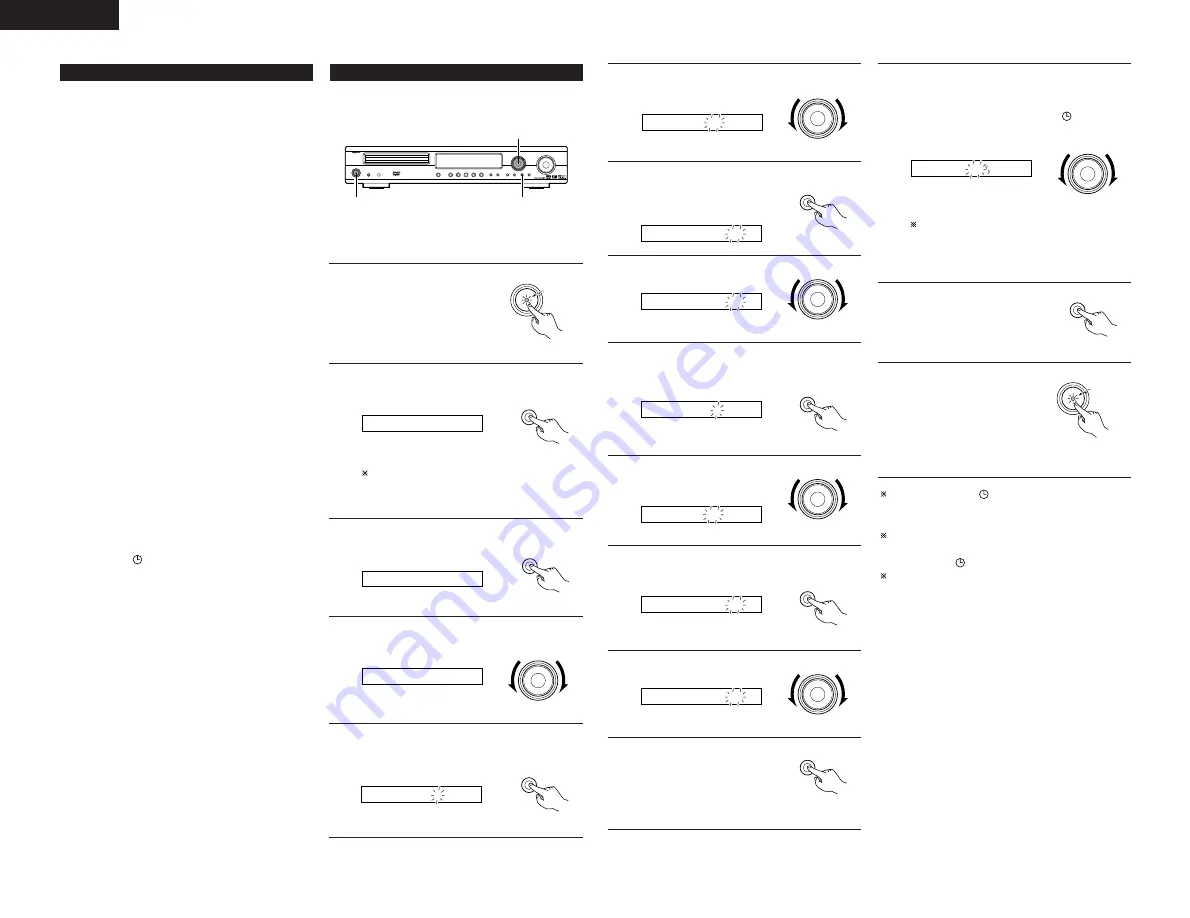
Setting the timer start time
Set the hours’ place to “12”.
FUNCTION
/ SELECT
Main unit
On 12:00
7
Press the TIMER/SET button.
•
The “12” in the hours’ place is
stored in the memory.
TIMER/SET
Main unit
On 12:00
8
Set the minutes’ place to “35”.
FUNCTION
/ SELECT
Main unit
On 12:35
9
Press the TIMER/SET button.
•
The start time is stored in the memory, and the end
time can now be set.
TIMER/SET
Main unit
Off 0:00
10
Setting the timer end time
Set the hours’ place to “12”.
FUNCTION
/ SELECT
Main unit
Off 12:00
11
Press the TIMER/SET button.
•
The “12” in the hours’ place is stored in the memory.
TIMER/SET
Main unit
Off 12:00
14
Set the timer standby mode to on or off.
•
“ON” or “OFF” (the one that has been selected)
flashes. Select “ON” if you want the timer to
operate. (When set to “ON”, the
mark appears
on the display.)
FUNCTION
/ SELECT
Main unit
T.StdbyON OFF
Select ON/OFF. If an operation is not performed
within 4 seconds, the setting will be made
automatically and there will be a return to the
normal display. (Operation 15 is not necessary.)
15
Press the TIMER/SET button.
•
This completes the setting of
the timer.
TIMER/SET
Main unit
16
Turn off the main unit’s power.
•
The power is set to the
standby mode.
•
If the timer standby mode is
set to “ON”, the power LED is
lit orange.
•
The disc starts playing when
the timer start time is reached.
ON / STANDBY
Main unit
Orange
12
Set the minutes’ place to “56”.
FUNCTION
/ SELECT
Main unit
Off 12:56
13
Press the TIMER/SET button.
•
The end time is stored in the
memory
•
“T.Stdby” is displayed and the
timer can now be turned on or
off.
TIMER/SET
Main unit
When the display’s
mark is lit or the power LED is lit
orange when the power is in the standby mode, the timer
will operate at the same times every day. (Everyday timer)
If you do not want the timer to operate, press the
TIMER/SET button to display “T.Stdby” and set to “OFF”.
(The display’s mark
turns
off.)
If you make a mistake when setting the timer, with steps 5
to 12 press the TIMER/SET button and hold it in for at least
2 seconds to return to step 3, and start over from there.
(2) Everyday timer
Description of timer
•
The timer can be used to switch the power between the ON
and STANDBY (OFF) modes once every day at the same
time. (Everyday timer)
•
The timer can be used to play DVDs, CDs or TUNER.
Before setting the timer
•
Set the current time.
Be careful to set the right time.
Checking the timer settings
•
Use the same procedure as when setting the timer to check
the timer settings.
q
Press the TIMER/SET button for at least 2 seconds to
set the timer setting mode.
w
Now press the TIMER/SET button again repeatedly to
display the timer start function, the start time and end
times.
e
After the end time (minutes) is displayed, the timer
standby setting is displayed, and when the TIMER/SET
button is pressed again the display returns to as it was
before the timer was set.
Changing the timer settings
•
Reset the timer using the new settings.
•
The previous settings are cleared when they are replaced
with the new settings.
Clearing the timer settings
•
With “Step 4 to 12” displayed, press the TIMER/SET button
for at least 2 seconds. All the timer settings are cleared.
•
Press the TIMER/SET button again for a least 2 seconds, the
display returns to as it was before the timer was set.
Turning the timer off
•
Press the TIMER/SET button, and when “T.Stdby” is
displayed, turn the FUNCTION/SELECT dial to select “OFF”.
(The display’s mark
turns
off.)
If there is a power failure
•
If there is a power failure or if the power cord has been
unplugged, the clock display flashes once the power comes
back on, the clock resumes counting, and if the timer was
set the timer operates according to the clock. Be sure to
correct the current time setting.
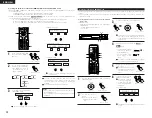
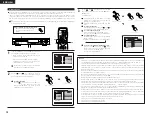
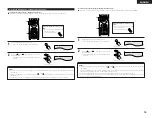
(3) Setting the Everyday timer
Example: To listen to a CD from 12:35 to 12:56.
2,3,5,7,9,11,13,15
1,16
4,6,8,10,12,14
•
Perform this operation after setting the current time (steps
1 to 7 on page 37).
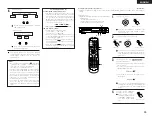
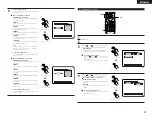
1
Turn on the power
•
Load a CD into the main unit
for the purpose of timer play.
ON / STANDBY
Main unit
Green
2
Press the TIMER/SET button for at least 2 seconds.
•
If the time is set, “EVERYDAY” is displayed.
TIMER/SET
Main unit
EVERYDAY
“SET TIME” is displayed when the time setting has
not been made. Perform operations 3 to 7 of Page
37, then perform the timer setting again
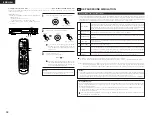
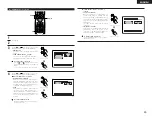
3
Press the TIMER/SET button.
•
“Timer FUNC” is displayed.
TIMER/SET
Main unit
Timer FUNC
4
Setting the timer start function.
Set the function to “DVD”.
FUNCTION
/ SELECT
Main unit
Timer DVD
5
Press the TIMER/SET button.
•
The timer setting mode is set and the timer start
time setting can be made.
TIMER/SET
Main unit
On 0:00


