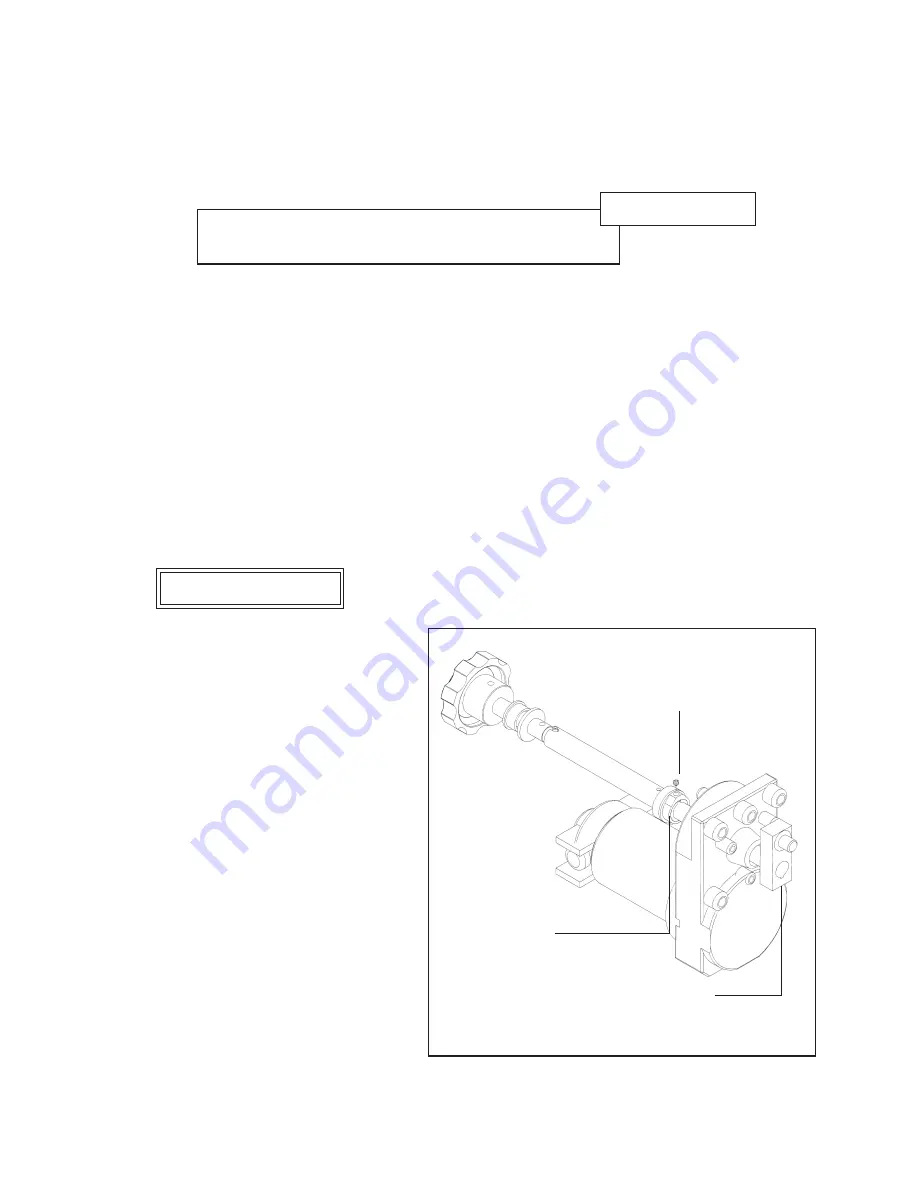
Timing (Figure 15)
The timing in a MiniStitcher
determines the knock-off point of the Crank
(MG10031A). The timing is set before the
MiniStitcher leaves the factory, but the
following instructions can be used if the
timing has to be changed or re-adjusted.
The end of the Crank without the Screw
(CB651) should stop at a position
comparable to 11:00 or 12:00 o’clock on a
face of a clock. To adjust this position,
loosen the Screw (PG10326) in the Control
Cam (MG10032) and rotate it in the
direction opposite of the way the Crank
needs to move so that it stops between
11:00 and 12:00 o’clock.
NOTE: A clock-
wise rotation will result in a earlier
knock-off point while a counter-clock-
wise rotation will result in a later knock-
off point.
Trip the MiniStitcher to double-
check the ending position of the Crank.
Remember to tighten the Screw (PG10326)
after the adjustments have been made.
Figure 15 - Timing
MG10031A
PG10326
MG10032
Modifications
21
Replacing the Stitcher Head (Figure 9)
Once the replacement parts have been installed or the existing wear parts have been reversed, the
Stitcher Head can be mounted back on the MiniStitcher. The following steps will make the process
easier: Make sure the upper end of the Driving Shaft Connection Link (2215) is attached to the Crank
(MG10031A) with the oil hole up and the lower end is attached to the Driving Slide Pin (2103B).
Position the Bonnet Clamp Eccentric (9003A) at an 11:00 position and slide the Head onto the Bonnet
Clamp Block (9002) against the Head Mounting Plate (MG10026). Once the Head is lined up, pull
the Bonnet Clamp Eccentric down, to approximately a 9:00 position, or until the Head is firmly
fastened.
!
Always disconnect the power supply before
assembling the MiniStitcher or making any adjustments.
CAUTION
!
MiniStitcher over until the Driver (9009-25 or 9009-21x25) is at the lowest
position of its stroke. Adjust the leveling Screws so that the Solid Clincher is brought up level with
the bottom of the Driver. Center the Solid Clincher under the Driver and
tighten the Screws (UA4808.3).
Summary of Contents for IMSHP-A25
Page 2: ...0...
Page 28: ...26 The MiniStitcher...
Page 29: ...27...
Page 54: ...52 NOTES...
Page 55: ...53...


