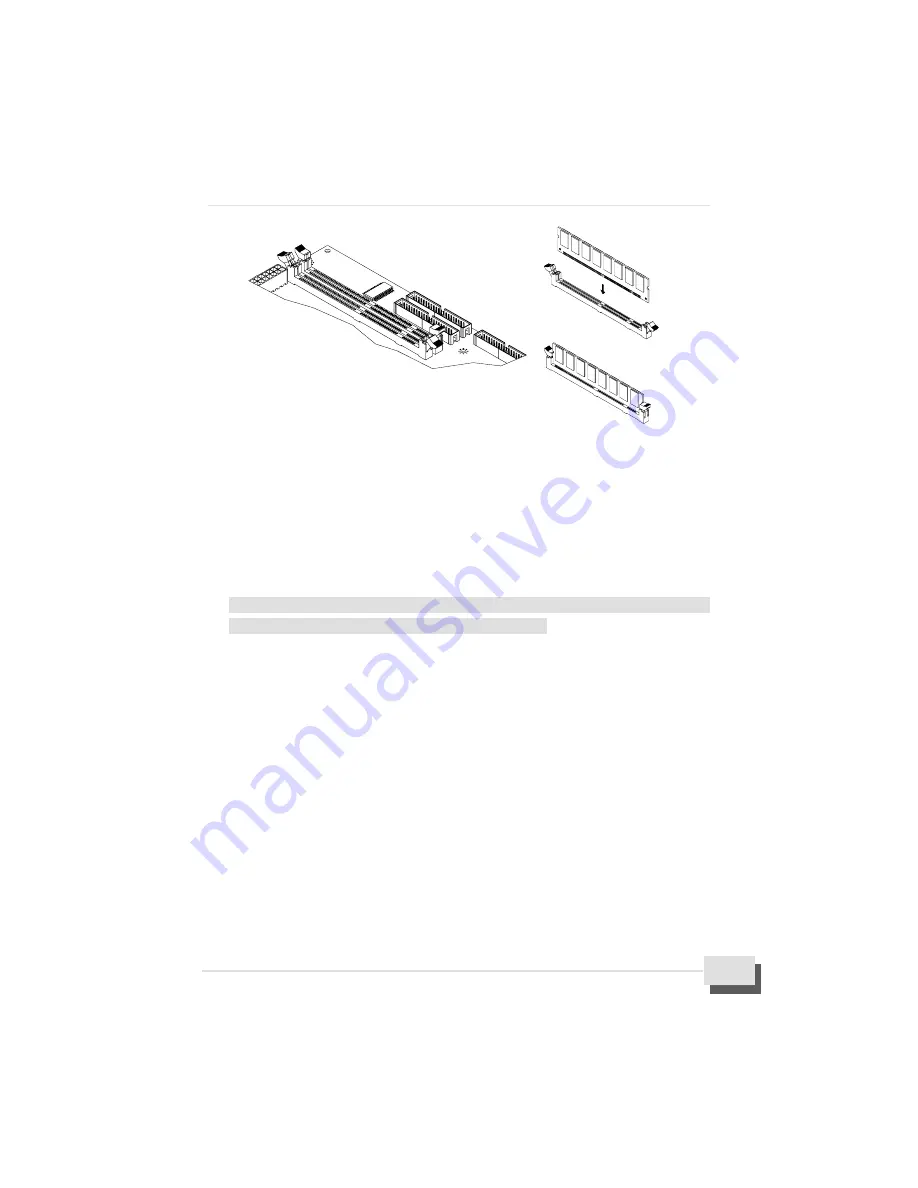
5. Function Illustrations
M81E-X Series User’s Manual
21
5.4 Install the motherboard in a chassis
After you have prepared the motherboard by installing a processor, one or more memory
modules and have set the jumpers correctly, install the motherboard into a chassis and
begin connecting essential peripheral items to the connectors on the motherboard.
Follow the instructions given with the chassis to install the motherboard into the mounting
brackets inside the chassis. The motherboard has several holes drilled through it and you
should be able to drive a screw through some of these holes into the mounting brackets in
the chassis. Don’t overtighten the screws as this can stress the motherboard.
Note: Make sure that the power supply unit in the chassis is not connected to a power
outlet while you are carrying out the installation procedure.
We will begin the installation of the motherboard. Please follow the procedure step by step
which designed to guide you to a complete and correct installation.
Step1:
Install the Expansion Card
!
!
!
!
!
This motherboard has three PCI, and an AMR slot. You can use the expansion
slots to install expansions card that add new feature to your system.
!
The PCI slots support current add-on cards which have a 32 bit PCI (Peripheral
Components Interconnect) edge slot.
!
!
!
!
!
The AMR slot support an Audio Modem Riser card which have a 46-Pin AMR
edge slot. Main processing is done through software and controller by
motherboard’s I/O Controller Hub. This provides an upgrade able audio/modem
solution at an incredibly low cost.
!
!
!
!
!
Follow the steps mentioned below to install the PCI Expansion card :
!
Locate the PCI expansion slots on the motherboard. Select which slot you
plan to use according to the kind of add-on card you are going to install.


