Back to Contents Page
Diagnostics
Dell™ Vostro™ 1520 Service Manual
Device Status Lights
LED Error Codes
Power Button Light Codes
Device Status Lights
If your computer is connected to an electrical outlet, the
light operates as follows:
l
Solid blue
—
The battery is charging.
l
Flashing blue
—
The battery is almost fully charged.
If your computer is running on a battery, the
light operates as follows:
l
Off
—
The battery is adequately charged, or the computer is turned off.
l
Flashing orange
—
The battery charge is low.
l
Solid orange
—
The battery charge is critically low.
LED Error Codes
If your computer does not perform a Power-On Self-Test upon boot up, there are various things to look for:
1.
Check that the computer power light is on.
2.
If the power light is not on, ensure that your computer is plugged into AC power. Remove the
battery
.
3.
If your computer is powered on but is not performing a POST, check to see whether or not the keyboard status lights flash to indicate a successful POST
but no video or if the keyboard status lights are lit in a sequence indicating a system problem.
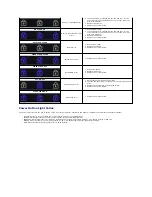
The following table shows the possible LED codes that may display in a no-POST situation.
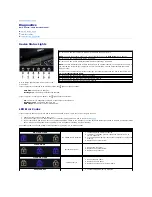
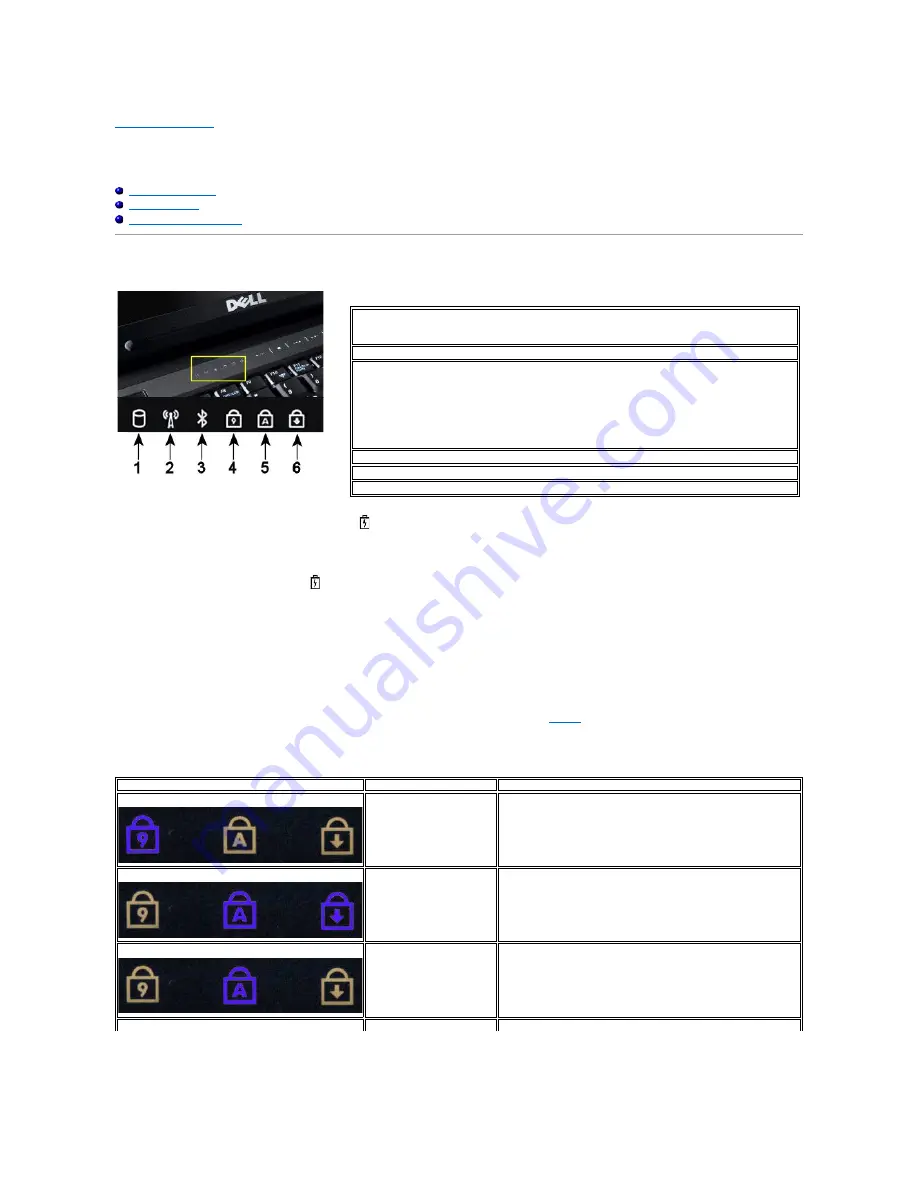
Device status lights located in the center of the
hinge cover.
1
—
Turns on when your computer reads or writes data to the hard drive.
NOTE:
To avoid loss of data, never turn off your computer while the
Hard Drive
light is flashing.
2
—
Turns on when wireless networking is enabled.
3
—
Turns on when a card with Bluetooth
®
wireless technology is enabled.
NOTE:
The card with Bluetooth wireless technology is an optional feature, so the light turns on only if
you ordered the card with your computer. For more information, see the documentation that came
with your card.
To turn off only the Bluetooth wireless technology functionality, right-click the icon in the system tray
and click
Disable Bluetooth Radio
.
4
—
Turns on when the numeric keypad is enabled.
5
—
Turns on when the uppercase letter function is enabled.
6
—
Turns on when the scroll lock function is enabled.
Appearance
Description
Next Step
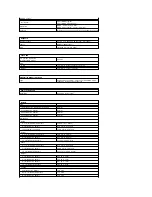
ON-FLASH-FLASH
No SODIMMs are installed
1.
Install supported memory modules.
2.
If memory is already present, reseat the module(s) one at
time in each slot.
3.
Try known good memory from another computer or replace the
memory.
4.
Replace the system board.
FLASH-ON-ON
System board error
1.
Reseat the processor.
2.
Replace the system board.
3.
Replace the processor.
FLASH-ON-FLASH
LCD Panel Error
1.
Reseat the LCD cable.
2.
Replace the LCD panel.
3.
Replace the video card / system board.
OFF-FLASH-OFF
1.
Install compatible memory modules.
Summary of Contents for Vostro 1520
Page 12: ...4 Slide the battery itself toward the back of the computer and remove ...
Page 14: ......
Page 16: ...5 Remove the bezel from the display assembly ...
Page 19: ......
Page 22: ......
Page 25: ......
Page 27: ......
Page 31: ......
Page 33: ...6 Lift the fan and remove it from the computer ...
Page 36: ...15 Remove the fingerprint reader from the palm rest ...
Page 40: ......
Page 42: ...5 Remove the hard drive and mini card access panel ...
Page 45: ......
Page 47: ...5 Remove the memory module from the socket ...
Page 49: ...6 Remove the optical drive from the computer ...
Page 53: ......
Page 55: ...5 Remove the access panel ...
Page 58: ......
Page 60: ......
Page 63: ......
Page 66: ...15 Lift the inside edge of the USB board and remove the board from the computer ...
Page 67: ......
Page 69: ......
Page 72: ......
Page 74: ......


