Steps
1. Use the cable labels to reconnect the cables in the same configuration as they were before starting the replacement
procedure.
CAUTION:
When connecting SAS cables to the SAS cards, ensure there is sufficient slack in the cable to
avoid unnecessary strain on the cable connector and the SAS card when the controller is fully extended from
the rack.
2. Close the cable management arms.
3. Reconnect the serial console cable to the system serial port, and prepare the terminal session.
4. Reconnect the AC power cords to the power supplies.
NOTE:
The system may not power on automatically after plugging in the AC power cords.
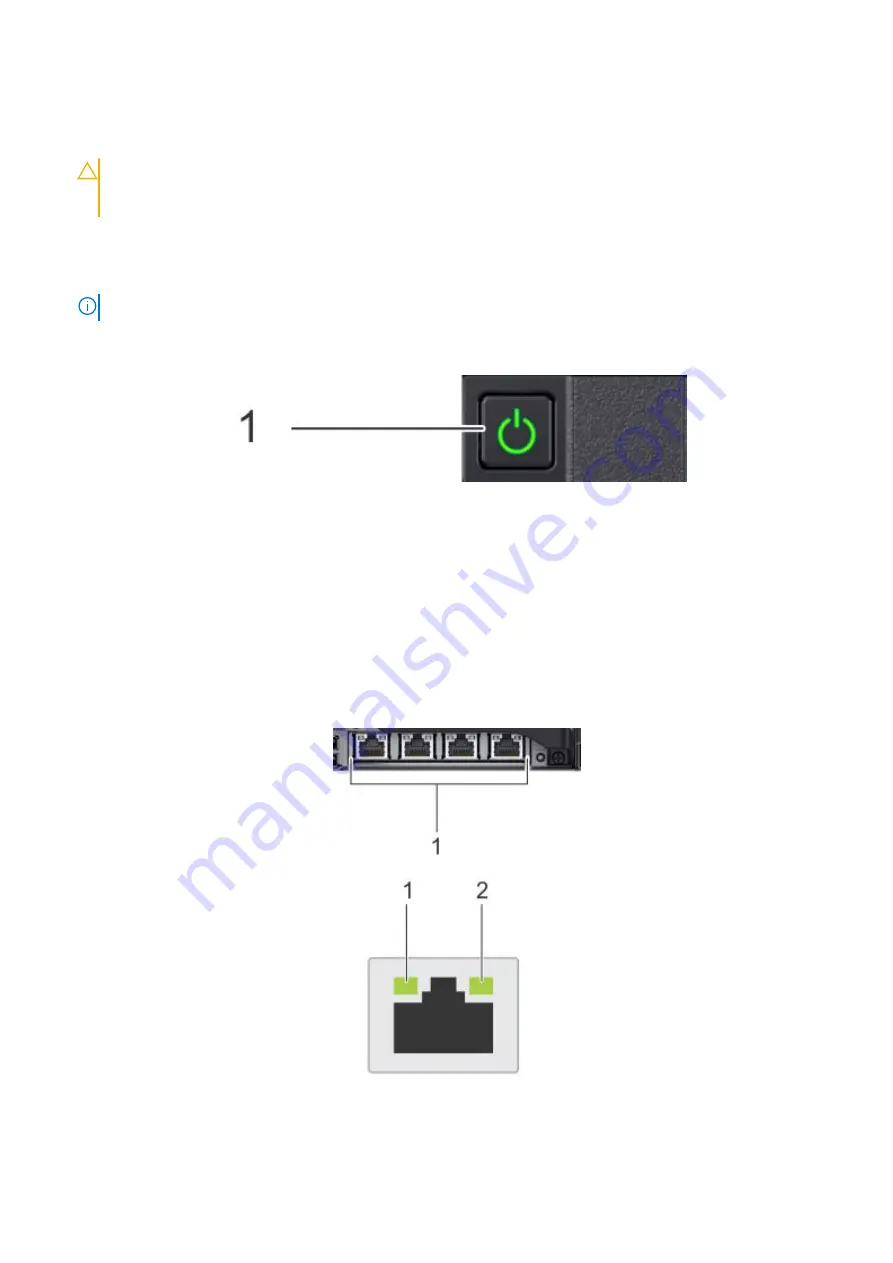
5. If the system does not power on when the AC power cords were reconnected, press the power button on the right control
panel at the front of the system.
6. When the system boots, log in as sysadmin.
Verify the replacement network daughter card
About this task
Complete the following steps to verify the operation of the replacement network daughter card.
Steps
1. Verify the link and activity LEDs on all ports are lit on the active ports.
The network daughter card is located at the rear of the chassis, at the bottom.
Figure 18. NIC LEDs
1. Link LED indicator
Replace the Network Daughter Card
43


