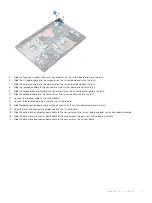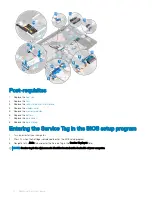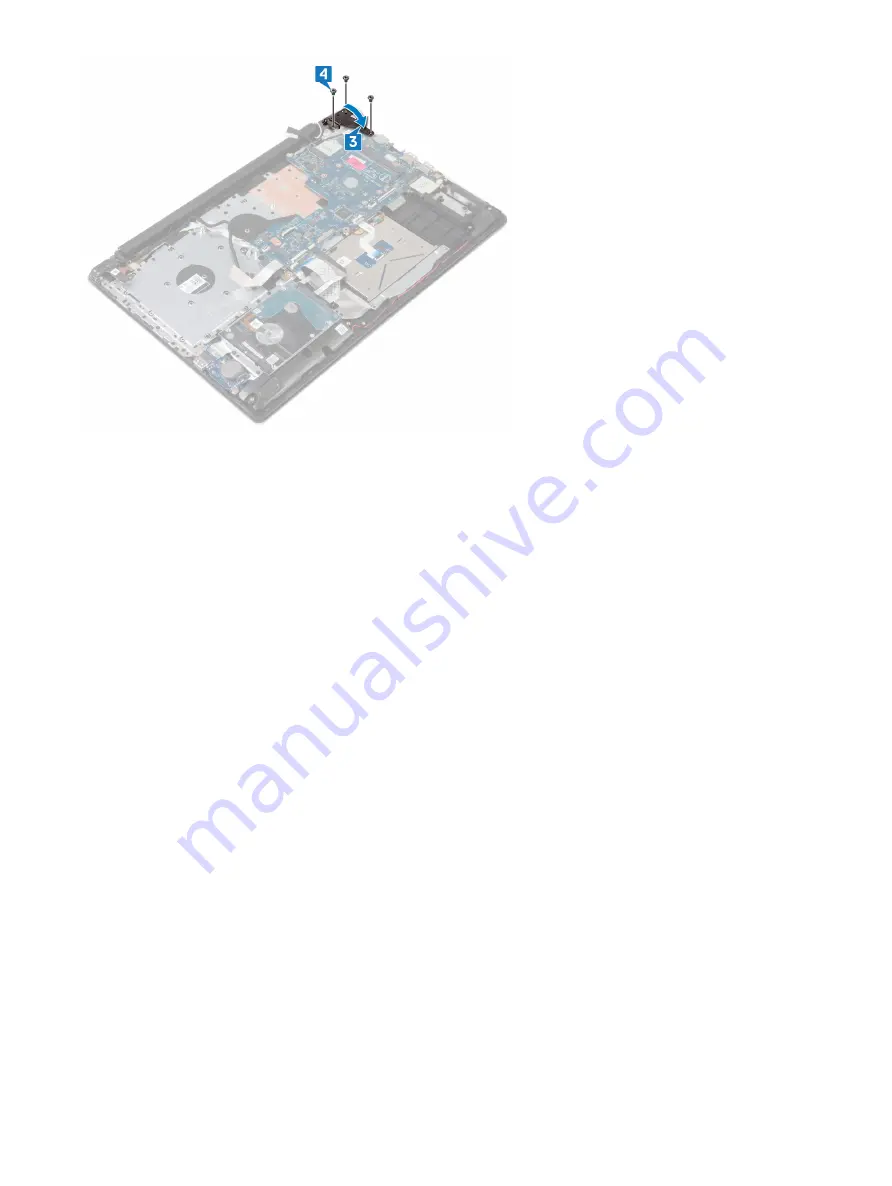
5
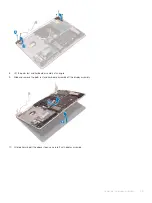
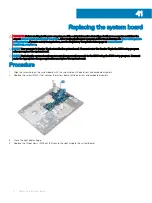
Slide the finger-print reader cable into the connector on the system board and close the latch.
6
Slide the I/O-board cable into the connector on the system board and close the latch.
7
Slide the hard-drive cable into the connector on the system board and close the latch.
8
Slide the touchpad cable into the connector on the system board and close the latch.
9
Slide the keyboard back-light cable into the connector on the system board and close the latch.
10 Slide the keyboard cable into the connector on the system board and close the latch.
11 Connect the speaker cable to the system board.
12 Connect the power-adapter port cable to the system board.
13 Slide the power-button board cable into the connector on the system board and close the latch.
14 Open the latch and connect the display cable to the system board.
15 Align the optical-drive connector-board cable to the connectors on the system board and palm rest and keyboard assembly .
16 Slide the optical-drive connector-board cable to the connector on the palm rest and keyboard assembly .
17 Slide the optical-drive connector-board cable to the connector on the system board .
Replacing the system board
73
Summary of Contents for Inspiron 3580
Page 1: ...Inspiron 3580 Service Manual Regulatory Model P75F Regulatory Type P75F106 ...
Page 18: ...18 Removing the optical drive ...
Page 20: ...20 Replacing the optical drive ...
Page 24: ...Post requisites Replace the optical drive 24 Replacing the base cover ...
Page 26: ...26 Removing the battery ...
Page 28: ...Post requisites 1 Replace the base cover 2 Replace the optical drive 28 Replacing the battery ...
Page 32: ...32 Removing the wireless card ...
Page 39: ...Removing the fan 39 ...
Page 41: ...Post requisites 1 Replace the base cover 2 Replace the optical drive Replacing the fan 41 ...
Page 49: ...Removing the touchpad 49 ...
Page 60: ...60 Removing the display assembly ...
Page 66: ...66 Removing the power button board ...
Page 71: ...Removing the system board 71 ...
Page 76: ...76 Removing the power button with fingerprint reader ...
Page 78: ...9 Replace the optical drive 78 Replacing the power button with fingerprint reader ...
Page 80: ...80 Removing the palm rest and keyboard assembly ...
Page 88: ...88 Removing the display panel ...

