white balance
recovering old images (old photos with faded colours can be scanned and then processed by this filter)
printing with sepia tonality
red eyes correction
A preview of the result is displayed in the
Image preview
frame on the screen.
4. To print the modified photos, select
to open the dialogue for choosing the print quality, layout, paper type and
size.
5. The images are printed, applying the settings indicated.
NOTE:
The original photos are not modified, the result of the operation is only visible in the Preview frame and when
printed.
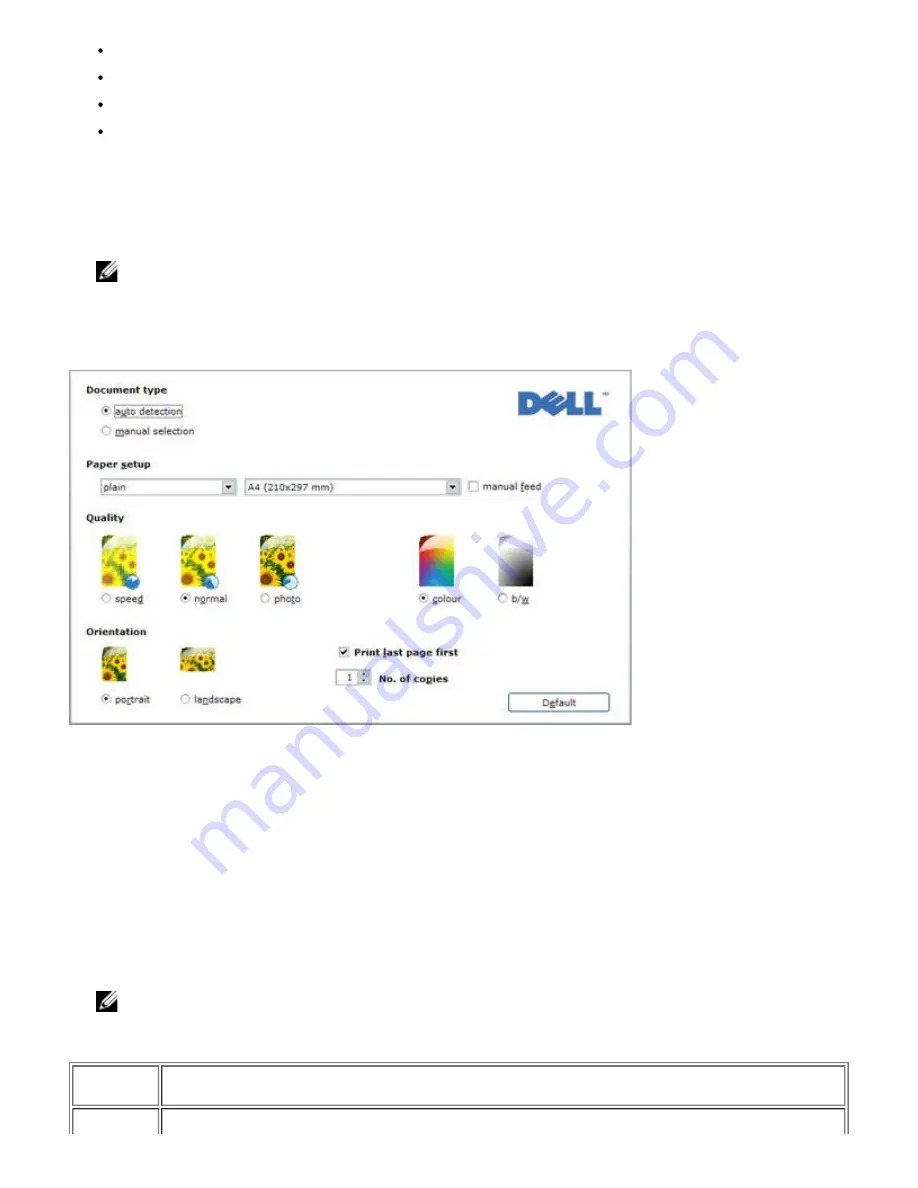
Using Printing Preferences
To access the
Printing Preferences
dialogue when a document is open:
1. Click
Fileg
. The
dialogue opens.
2. Depending on the program or operating system you are using, in the
dialogue click
Preferences
,
Properties
,
Options
or
Setup
.
The
Printing Preferences
dialogue opens.
To access
Printing Preferences
when no document is open:
1. On Windows® XP, click
StartgControl Panelg
Printers and other hardwareg
Printers and Faxes
.
On Windows 2000, click
Startg
Settingsg
Printers
.
On Windows Vista™, click
StartgControl PanelgPrinters
.
2. Right-click the printer icon and select
Printing Preferences.
NOTE:
Changes made to the printer settings in the Printers folder become the default settings for most programs.
Tabs available in the
Printing Preferences
dialogue:
Tab
Option


