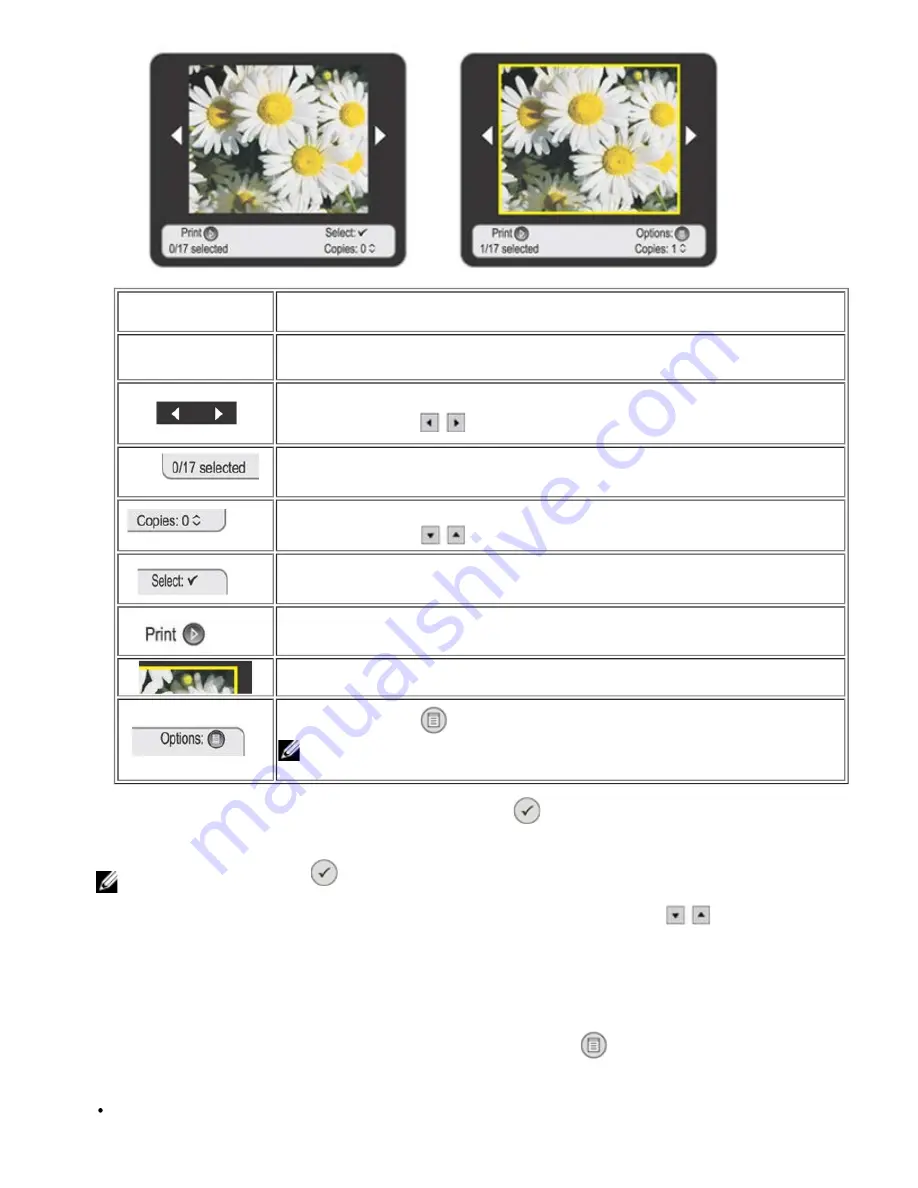
Item
Setting
Liquid Crystal Display
(LCD)
Area in which photos are displayed.
Navigation arrows for displaying the next or previous photo.
Use the
Arrow
buttons
to browse through the photos.
Photo counter: total number of photos on card, number of photos selected.
Number of copies of the selected photo.
Use the
Arrow
buttons
to set the value you require.
Photo selection indicator.
Press the
Start
button to print the current photo, or all the photos selected.
Yellow border that appears around a photo to indicate that it is selected.
Press the
Menu
button
to access the
Options
sub menu for the selected photo.
NOTE:
The Options sub menu is available for the photo only after you specify the
number of copies.
5. To select the photo shown on the display, press the
Select
button
. A yellow border appears around the photo to
confirm selection.
NOTE:
Press the Select button
again to cancel selection of the photo shown on the display.
6. Set the values that can be defined for each of the photos selected using the
Arrow
buttons
, such as the number
of copies. At the bottom of the display, information is provided on the photos, the functions available and the total number
of photos selected.
Options for Modifying Your Photos from the Browse Menu
When viewing a photo on the printer display, you can press the
Menu
button
to access the
Options
sub menu.
Options
is a sub menu of
Browse
that
contains these options:
Edit


