background image


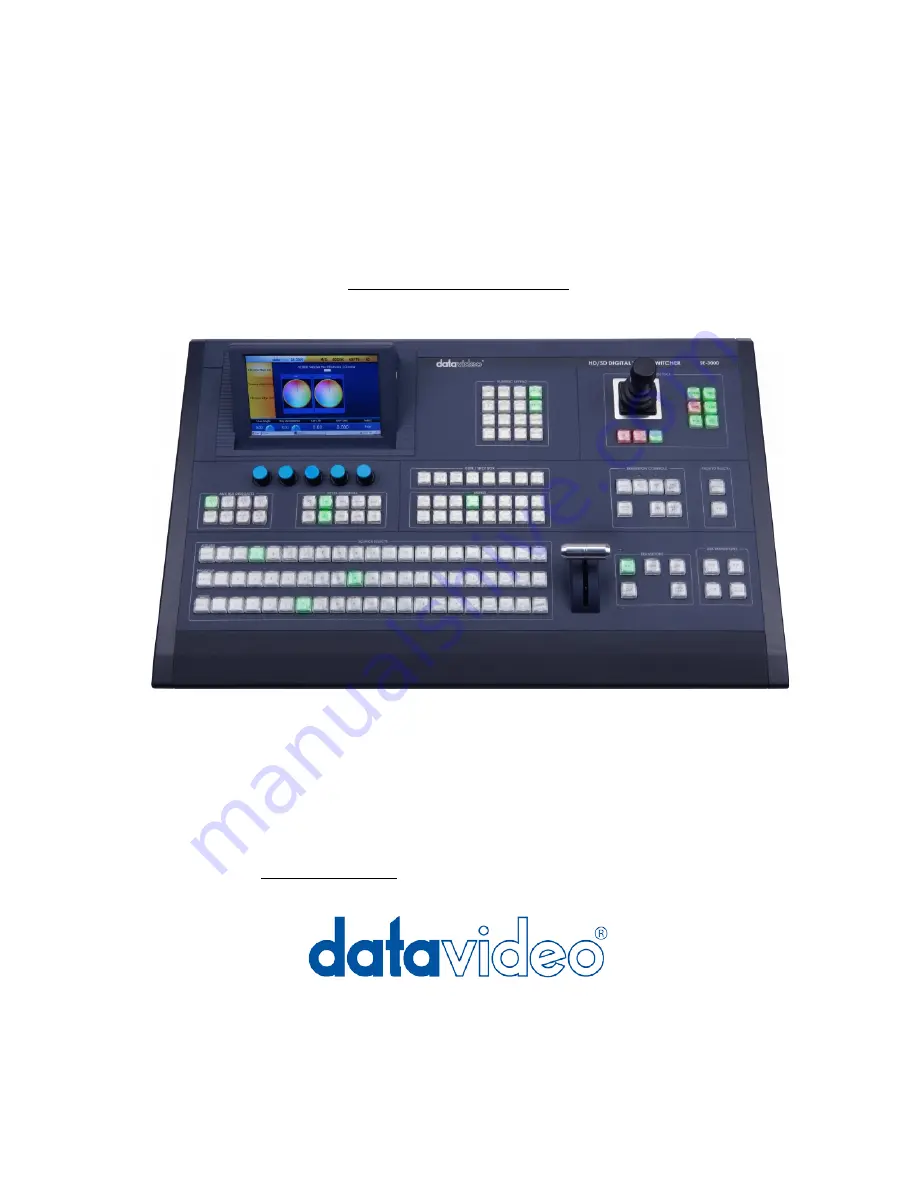
SE-3000  

VISUAL QUICK START GUIDE


UPDATED DECEMBER 2012


THIS GUIDE COVERS SE-3000 FIRMWARE VERSION 9.9.9b and ABOVE 

PLEASE UPDATE YOUR UNIT BEFORE USING THIS GUIDE.  

ALL PREVIOUS VERSIONS OF THIS GUIDE ARE NOW CONSIDERED OUT OF DATE.  

NOTE: IF YOU ARE VIEWING THIS COMPUTER ON YOUR COMPUTER AS A PDF, YOU CAN NOW USE THE TABLE OF 

CONTENTS TO JUMP TO A SECTION THAT YOU WANT TO SEE. OTHERWISE, PLEASE REFER TO THE PAGE NUMBERS. 

For more information about the SE-3000, please visit 

www.datavideo.us and visit the SE-3000 product page. 


Summary of Contents for SE-3000

Page 1: ...IDE ALL PREVIOUS VERSIONS OF THIS GUIDE ARE NOW CONSIDERED OUT OF DATE NOTE IF YOU ARE VIEWING THIS COMPUTER ON YOUR COMPUTER AS A PDF YOU CAN NOW USE THE TABLE OF CONTENTS TO JUMP TO A SECTION THAT Y...

Page 2: ...2 This page is intentionally blank...

Page 3: ...luded DOWNLOAD THE FIRMWARE 1 Download the latest firmware revision from the SE 3000 product page on our website www datavideo us It will be shown as a zip file Click on the Product Downloads Tab to s...

Page 4: ...000 processor and the control panel 2 Remove the front panel from the processor by unscrewing the four perimeter thumb screws Insert the USB extension cord that came with the SE 3000 into the USB slot...

Page 5: ...the firmware version number You have now successfully updated the firmware on the SE 3000 processor now you can update the SE 3000 Control Panel The latest firmware version number will appear under th...

Page 6: ...irmware information on the LCD Screen 5 Now remove the USB stick from the SE 3000 control panel and reboot the SE 3000 This is to verify everything has been updated After the panel initializes press t...

Page 7: ......

Page 8: ...BUTTON GROUP 10 2 6 TRANSITIONS BUTTON GROUP 11 2 7 DSK TRANSITIONS 11 2 8 FADE TO BLACK BUTTON GROUP 11 2 9 USER SHOT BOX 12 2 10 NUMERIC PAD BUTTON GROUP 12 2 11 JOYSTICK BUTTON GROUP 13 2 11 1 NOR...

Page 9: ...CHROMA GAIN CONTROL 22 3 3 2 4 CHROMA OPACITY 22 3 3 3 CHROMA COLOR SPILL MENU 23 3 3 3 1 CHROMA ACCEPTANCE 23 3 3 3 2 CHROMA SUPPRESS CONTROL 24 3 3 3 3 BACKGROUND SUPRESSION CONTROL 25 3 3 3 4 QUIC...

Page 10: ...SELECT CONTROL 38 3 9 1 2 SOFT CONTROL 39 3 9 1 3 WIDTH CONTROL 40 3 9 1 4 LEVEL CONTROL 40 3 9 1 5 SOFT BALANCE CONTROL 41 3 9 2 WIPE BORDER 41 3 9 2 1 HUE SAT LUMA FOR WIPE BORDER 42 3 9 2 2 SOURCE...

Page 11: ...3 12 USERS MENU FOR USER SETTINGS 51 3 12 1 LOAD MEMORY 52 3 12 2 DELETE MEMORY 52 3 13 STILLS MENU 53 3 13 1 LOAD STILL 53 3 13 2 GRAB AND SAVE 54 3 13 3 DELETE 54 3 14 CLIP MENU 55 3 15 AUDIO MENU 5...

Page 12: ...M PST DSK DSK PVW OUTPUTS COMPONENT ANALOG HD OUTPUT FLEXSOURCE FOR KEYING AND DIGITAL VIDEO EFFECTS OR DVE 4 AUX OUTPUT STORE 100 STILL IMAGES STORE 999 USER SETTINGS MEMORIES AUDIO MIXER SEND RETURN...

Page 13: ...EEN MENU 2 CONTROL KNOBS 3 NUMERIC KEYPAD 4 JOYSTICK BUTTON GROUP 5 JOYSTICK 6 AUX BUS DELEGATES 7 KEYER CONTROLS 8 USER SHOTBOX 9 MENU SELECTION BUTTON GROUP 10 TRANSITION CONTROLS 11 FADE TO BLACK 1...

Page 14: ...n group allows you to configure the key sources for Keyers 1 2 and DSK 1 2 The second row of buttons allows you to set your Aux Outputs AUX 1 4 KEY 1 2 By default key one is the priority keyer You can...

Page 15: ...urce Control Menu User User memory Menus Still Stills access menus Clip Clip Menus Audio Audio Menus Setup Setup Menus This button group selects which menu to display on the LCD touch screen Note See...

Page 16: ...ad of the T Bar when completing a transition that needs no special time control 2 7 DSK Trans Button Group This button group controls the DSK transitions DSK1 enables DSK1 transitions DSK2 enables DSK...

Page 17: ...see the instruction sheet How to use Flex Source and Why User Settings Make Life Easy for more info on the features of the User Shot Box 2 10 Numeric Pad Button Group This button group is used for en...

Page 18: ...y 2 11 1 Normal Key The Normal key allows menu values to be quickly set back to their Normal or Factory default state When all the values on the current menu screen are at their default the Normal but...

Page 19: ...l be mapped to the Joystick Z Axis This was designed as a faster way to control the X Y and Z Position Rotation for Flex DVE s 1 2 Pressing WIPE jumps to the Wipe Position Menu This menu is normally a...

Page 20: ...n 3 1 Home Menu The Home Menu is the top level to the menu system Here you can set the M E Mix and Effect Transition time the DSK Down Stream Keyer Transition time the FTB Fade to Black Transition tim...

Page 21: ...bs the number keypad or by the Joystick 3 2 1 1 Lift Control The Lift Control adjusts the Lift or the light or dark values of the key source against the key background Key Lift Range 100 to 100 This i...

Page 22: ...btracting gain will make it very dull almost a grayish color Key Gain Range 0 0 to 16 0 When used together lift gain allow the selected chromakey effect to be sharpened or softened as required 3 2 1 3...

Page 23: ...yer Matte Menu When the Matte button is selected in the KEYER CONTROLS button group see 2 3 the key effect will be made with a color rather than a video source The Keyer Matte Menu allows you to adjus...

Page 24: ...color More of one or the other can make a color appear lighter or darker NOTE All values can be controlled by the control knobs the number keypad or by the joystick 3 3 CHROMA MENU The Chroma Menu pr...

Page 25: ...enu Hue selects a varied shade of the color chosen Saturation Adjusts the richness or vibrancy of a color Luma Adjusts the levels of black or white in a color More black or more white can make a color...

Page 26: ...eptance Control determines the spread of hues that are used as background Colors are selected from the Chroma Color Wheel For example if you would like to key a blue background you would turn the knob...

Page 27: ...hroma Key Gain Control The Key Gain Control is used to affect the performance of the Keyer in lighter areas of the source This may happen if a light source is too bright or there are a lot of areas in...

Page 28: ...some of the apple might be keyed out because it is also red This is caused by color spill Adjusting the color spill will allow you to control exactly what is keyed out in this case just the red sheet...

Page 29: ...ly the same axis as the Chroma Hue angle This has the effect of removing the Background spill hue whilst keeping the underlying hue When set to 100 then all the Chroma Values that are captured within...

Page 30: ...gnd Supression control is set to On then the Background suppression is performed more aggressively This results in a key that is easier to set up but with harder edges which will be more obvious with...

Page 31: ...he shape and area of the screen that is being covered In this case the whole screen is being masked out 3 4 1 LRTB Controls Example coming soon These controls allow the Left Right Top Bottom Edges of...

Page 32: ...t The Bus Matte is the matte color that is selected as a source on the PGM PVW AUX source select buses 3 5 1 Matte Menu Hue Sat Luma Controls The Hue Saturation and Luma values can also be set using t...

Page 33: ...rame store is image grabbed from your live input source and frozen so you can load it back in as image 3 6 1 Input selection Example coming soon When the Freeze Menu is selected buttons for all 16 sou...

Page 34: ...On Off This sets the Freeze On or Off Modes The Freeze Mode can be set to Frame or Field In Field Mode Field 1 is repeated for both Fields 1 2 3 7 Inputs Menu This menu provides access to the various...

Page 35: ...no format conversion is needed SD Full Height This input is in SD 4 3 format The 4 3 SD Input will be positioned in the centre of the screen with black bars on the left right sides BACK TO TABLE OF CO...

Page 36: ...n a familiar way use Back to delete a character Use Enter to when you are happy with the new name The on screen name on the multiviewer will then be updated 3 7 4 Proc Amp Menu Proc Amp Menu The Proc...

Page 37: ...e input remapping menu allows you reassign your inputs For example if you have 2 chromakey scenes A and B you can set the Chromakey parameters once in the built in keyer of the SE 3000 and just reassi...

Page 38: ...he ENABLE REMAP option and it will highlight and read as ON 3 8 Output Menu This menu has two functions 1 Select outputs source for the assignable SE 3000 Outputs other than AUX 2 Select the Multiview...

Page 39: ...following sources Multiviewer Output 1 Multiviewer Output 2 PGM PROGRAM Out PVW PREVIEW Out PGM DSK1 Out PVW DSK1 Out Please see How to Assign Auxiliary Outs How to connect One or Two Monitors with Mu...

Page 40: ...the following Outputs from the SE 3000 Multi 1 Multi 2 DVI Output Analog Out 3 8 2 1 Multiviewer Outs Example coming soon Multiviewer Outputs The Multiviewer can operate in Single Output mode and Dua...

Page 41: ...16 thumbnail images showing the 16 Primary Inputs Main Inputs 1 8 Two size Outputs Main 1 Main 2 8 thumbnail images showing primary Inputs 1 8 Main Input 1 16 Two size Outputs Main 1 Main 2 16 thumbn...

Page 42: ...ut PGM DSK1 Output PVW DSK1 Output Still1 Still2 Flex Src Output 3 8 3 MULTIVIEWER INFO 3 8 3 1 AUTO NUMBER 3 8 3 2 LABEL INFO 3 8 3 3 TRANS LABEL 3 8 2 4 Multiviewer Diagram This diagram is to help y...

Page 43: ...makes the labels partially transparent so you can see the source video underneath the label 3 9 Wipe Menu The Wipe menu provides controls for the M E Wipe generator 3 9 1 Main Wipe Select Menu The Ma...

Page 44: ...The current Wipe Pattern will be highlighted with the yellow rectangle 3 9 1 2 Soft Control Soft Control This sets the softness of the wipe edge The values are the width of the wipe edge as a percent...

Page 45: ...he screen width You can adjust this value using the control knobs or by touching the control and using the numeric keypad You can also use the joystick Y Axis 3 9 1 4 Level Control This shows sets the...

Page 46: ...he inside edge is made softer If the Soft Balance is set to a negative number then the outside edge is made softer 3 9 2 Wipe Border Menu The Wipe Border Menu allows control of the Wipe Border Matte T...

Page 47: ...control knobs the numeric Keypad or the joystick 3 9 2 2 Source Control This control sets the source for the Wipe Border The following sources are available Single Color Border Dual Color Shaded Bord...

Page 48: ...Shaded Border Mode enabled two border colors will now be visible in the Wipe Border The first matte color is set by the Wipe Border Matte in the Wipe Border option The second matte color is set by the...

Page 49: ...ill only be visible when you have the Dual Color Shaded border enabled See above 3 9 4 Wipe Position Menu Certain Wipes allow the Wipe position to be controlled This menu is used to do this You can us...

Page 50: ...Y Axis The position is in terms of screen widths X 0 0 Y 0 0 is the centre of the screen To position the Wipe at the right hand edge set X 0 5 Y 0 0 To position the Wipe at the left hand edge set X 0...

Page 51: ...ou to select your DVE Transitions 16 DVE Transition icons are displayed at a time The current DVE Transition will be highlighted with the yellow rectangle You can select a new DVE Transition by touchi...

Page 52: ...VE 1 and DVE 2 menus these are not the same as the DVE transitions and the User Memory Settings The Flex Source processor allows two DVE tiles DVE 1 DVE 2 to be combined over a background This set up...

Page 53: ...s are Flex Source Background Flex Source DVE 1 Flex Source DVE 2 Flex Source Keyer Key Source Flex Source Keyer Fill Source Please see How to Use Flex Source How to Add a PiP and Why User Settings Mak...

Page 54: ...accessed using the Flex1 Flex2 Quick menus located next to the Joystick The Quick Menu Rotation button also allows rotation to be assigned to the Joystick Z axis 3 11 2 2 DVE Size This menu allows co...

Page 55: ...u allows control of the DVE Border Here the Border Color Size and softness can be adjusted 3 11 2 DVE Crop This menu allows control of the DVE Crop The Crop Left Right Top Bottom Crop Edges can be set...

Page 56: ...to correct key fill video here Using the Flex Source Keyer Menu the Key Fill sources can be selected NOTE These controls are the same as the controls on the Main Flex Source menu but are repeated here...

Page 57: ...er and any unused numbers aren t shown To load a User Memory the user can either press the appropriate Icon or select using the User Memory number select buttons and pressing the Load Memory button Wh...

Page 58: ...Menu allows still images to be stored in the Processor Unit to be loaded to either of the two Stills Frame stores The screen shows thumbnail for up to 16 stills at a time If there are more than 16 sti...

Page 59: ...kes about 15 seconds When the Still is saved a new thumbnail will be shown on the display 3 13 3 Delete The Delete Still Menu allows Stills to be deleted from the internal storage in the Processor Uni...

Page 60: ...nalog Audio Source Audio Follow means the audio will switch along with the inputs If you select an input from the menu the audio output will only be the input that you use Audio Channel Digital Audio...

Page 61: ...switcher 3 15 2 Audio Source Audio Sources sets the source of the audio being sent out of the switcher If you select Audio Follow the audio will follow the video sources If you select an input only th...

Page 62: ...e top level Setup Menu It shows the firmware version numbers for the Control Panel Software and the Processor Unit Software If the Processor Unit Version numbers are all zeros then this means that the...

Page 63: ...ired standard 3 16 2 Genlock The Genlock Menu allows control of the Genlock function By default Genlock is always off The Genlock Source can be selected using the Source Select button and you can turn...

Page 64: ...Panel can be selected using the Change Language Menu To select the language to be used press the Language Button and select the desired language from the list 3 16 4 Engineer Menu This menu will only...

Reviews: