


29
5.4 USER 2 – LED Brightness Adjustment and Memory
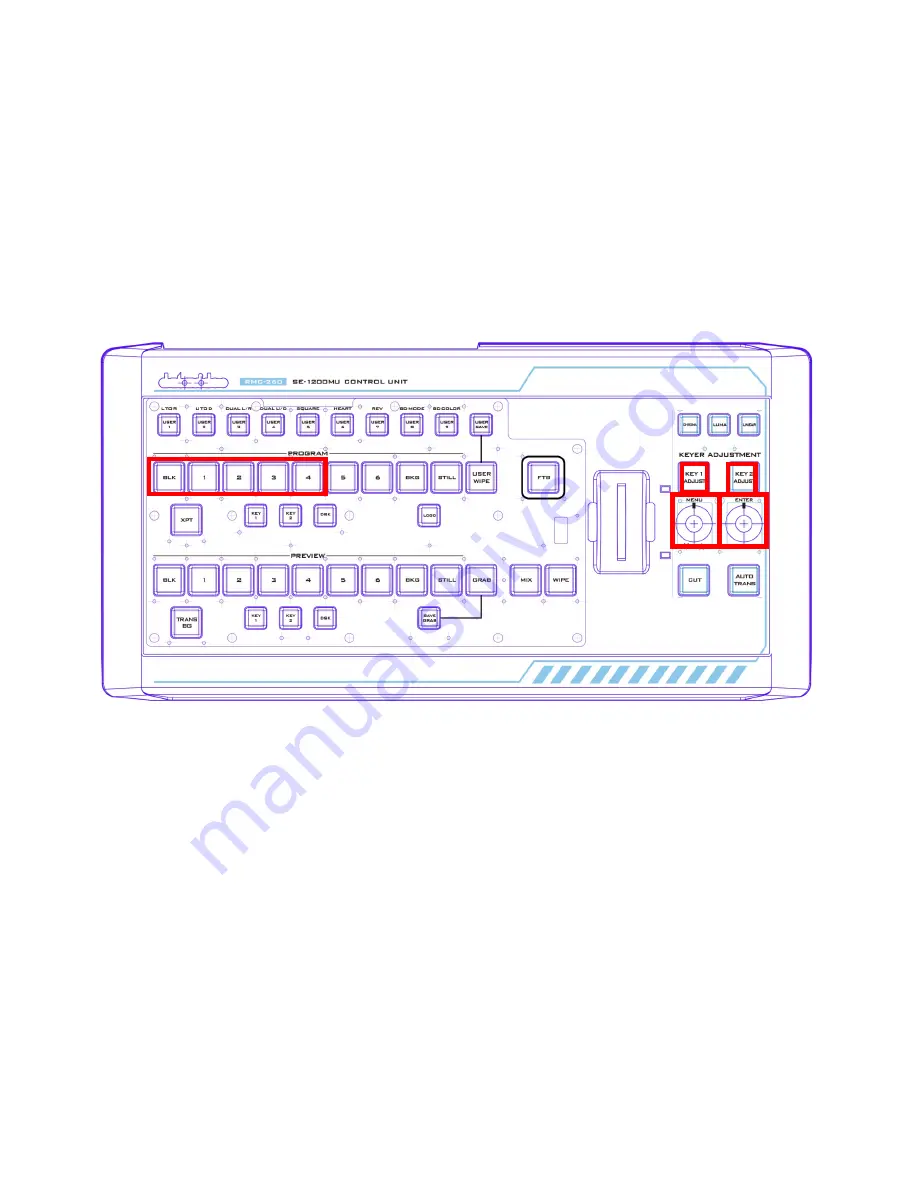
To adjust the button LED brightness, simply press the MENU knob to select
USER 2
button. Immediately
after the
USER 2
button is selected, the user will see some or all of buttons BLK/1/2/3/4 turn red along
the PROGRAM row depending on the previous brightness setting.
•
MENU Knob
– Rotate left and right to adjust the LED brightness
•
ENTER Knob
– Press to save the current brightness setting and upon the knob press,
KEY 2
ADJUST
button will start flashing red. After the new setting is saved,
KEY 2 ADJUST
button will
remain constant red.
•
DSK 2 Button
– Flashing red indicates the SAVE is in progress and constant red indicates that
brightness level is successfully saved.
•
Buttons BLK/1/2/3/4
along the PROGRAM row indicate the current LED brightness level.
5.5 USER 3 – Button Functional Check
Press the
MENU
knob to select
USER 3
button to perform button functional check and press the
MENU
knob to exit.
5.6 USER 4 – T-Bar and Knob Functional Check
Press the
MENU
knob to select
USER 4
button to perform T-Bar and knob functional check.
PROGRAM row (
BLK/1/2/3/4/5/6/BKG/STILL/USER WIPE
) indicates
T-Bar
position, so moving
T-Bar
will
turn on/off the corresponding button LEDs along the PGM row.
KEY 1 ADJUST
/
KEY 2 ADJUST
button LEDs indicate knob functionality. Rotate the knob right and the
KEY 2 ADJUST
button will turn red and the
KEY 1 ADJUST
button remains white; rotate the knob left and
the
KEY 1 ADJUST
button will turn red and
KEY 2 ADJUST
button remains white.
Summary of Contents for RMC-260
Page 1: ......
Page 34: ...34 Service and Support ...


