


Adjustments and Maintenance
2-8
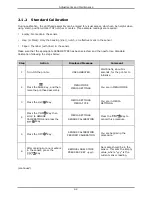
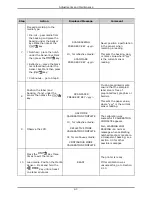
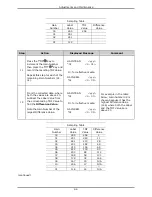
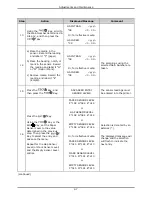
Step
Action
Displayed Message
Comment
17
After all entries have been
made, press the
Key
to back out of the menu and
then press the
Key
to
save the settings when
prompted.
Load media. Position the Media
Sensor.
SAVE CHANGES?
ENTER KEY = YES
Press and hold the
Key until at least
one label advances.
Note:
If the Advanced Entry Calibration is unsuccessful, enter MEDIA SETTINGS / CALIBRATION
/ ADVANCED ENTRY / SENSOR GAIN and lower the selected Gain Number by one. Select
the new Gain Number then save the changes and exit the menu. Retest your media. If
unsuccessful, repeat the procedure until a usable gain is obtained.
2.2 Printhead Adjustments
To ensure even and consistent print quality across a wide range of media types and sizes, the
printhead is adjustable.
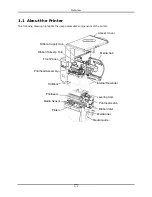
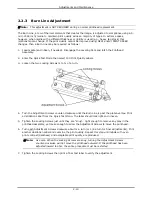
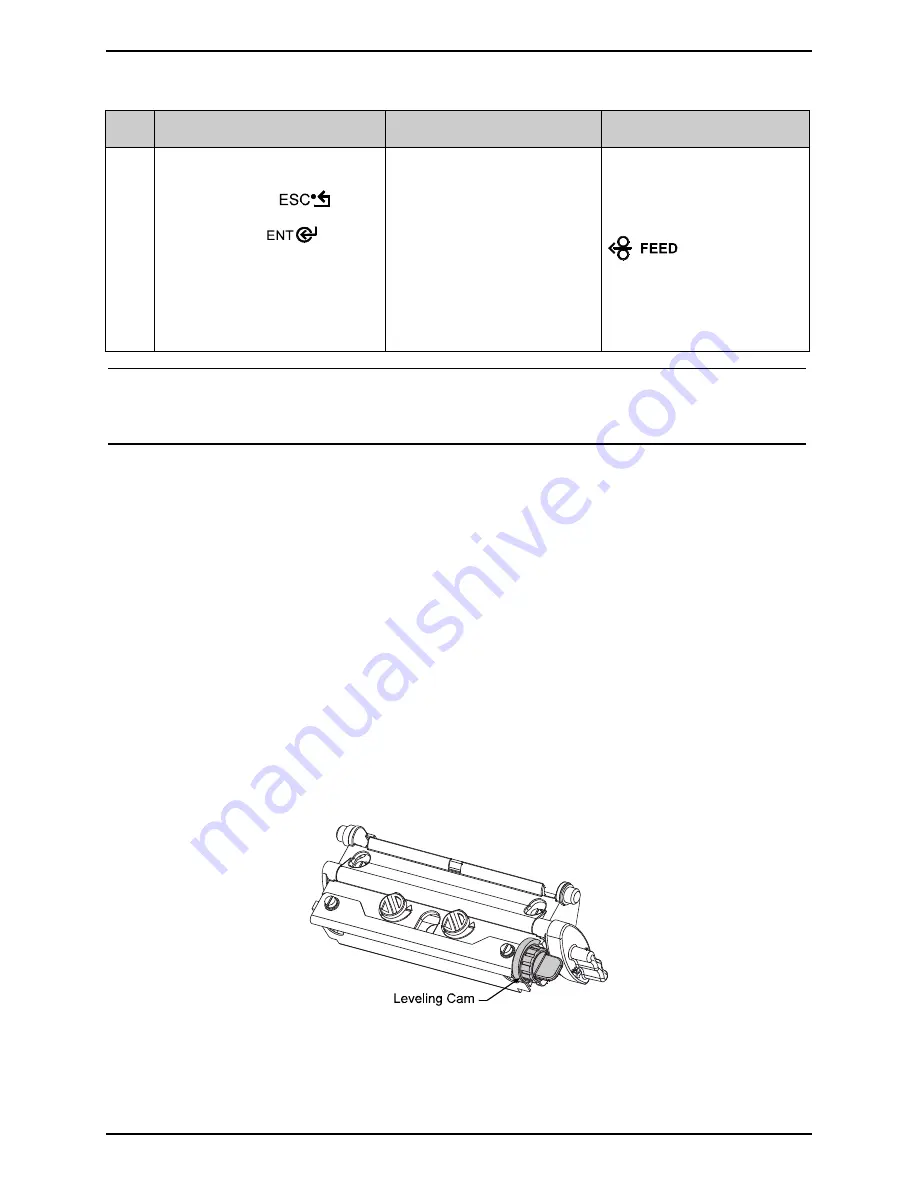
2.2.1
Leveling Cam Adjustment
The Leveling Cam ensures that even pressure is maintained across the label. Whenever using media
that is less than the full width of the platen, proceed as follows:
1. Load the printer with media. Download a label format or choose a Quick Test Label and begin
printing.
2. While observing the right side of the label, rotate the Leveling Cam clockwise, or counter-
clockwise, until even print is achieved across the width of the label (see examples below).
Summary of Contents for I-Class
Page 1: ...I Maintenance Manual...
Page 4: ...ii...
Page 5: ...i 1 Overview 1 0 Introduction 1 1 1 About the Printer 2...
Page 6: ...ii...
Page 38: ...ii...
Page 56: ...ii 4 11 Main Logic PCB 27 4 12 Backplane PCB 29...


