


Adjustments and Maintenance
2-5
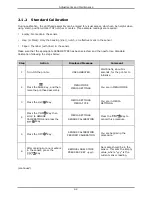
Step
Action
Displayed Message
Comment
8
Use the
Key to scroll to
the 00 GAIN setting and then
press the
Key.
Record the sensor reading as a
Label Value in a table similar
to the one shown below.
GAIN TRAN <yyy>
*00 <0 - 31>
Or, for reflective media:
GAIN REFL <yyy>
*00 <0 - 31>
Selection is denoted by an
asterisk (*).
The sensor reading equals
the “yyy” value.
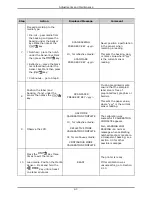
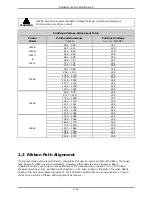
Sampling Table
Gain
Number
Label
Value
TOF
Value
Difference
Value
00
255
01
02
…
31
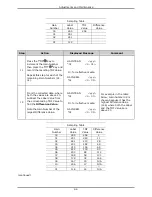
Step
Action
Displayed Message
Comment
9
Press the
Key to
increment the Gain Number
then press the
Key and
record the resulting Label
Value.
Repeat this step for each of the
remaining Gain Numbers (01-
31).
GAIN TRAN <yyy>
*31 <0 - 31>
Or, for reflective media:
GAIN REFL <yyy>
*31 <0 - 31>
10
Proceed according to your
media type:
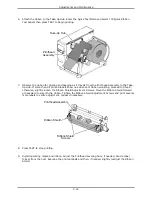
•
Die-cut – peel media from
the backing and place the
backing under the Sensor
Eye Mark.
•
Notched – place the notch
under the Sensor Eye Mark.
•
Reflective – place the black
mark facedown under the
Sensor Eye Mark.
Use the
Key to scroll to
the 00 GAIN setting and then
press the
Key. Record
the sensor reading as a TOF
Value.
GAIN TRAN <yyy>
*00 <0 - 31>
Or, for reflective media:
GAIN REFL <yyy>
*00 <0 - 31>
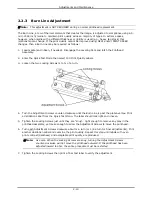
Never position a
perforation in the sensor
when recording a reading.
(continued)
Summary of Contents for I-Class
Page 1: ...I Maintenance Manual...
Page 4: ...ii...
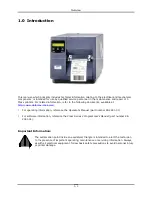
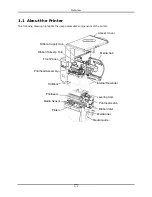
Page 5: ...i 1 Overview 1 0 Introduction 1 1 1 About the Printer 2...
Page 6: ...ii...
Page 38: ...ii...
Page 56: ...ii 4 11 Main Logic PCB 27 4 12 Backplane PCB 29...


