28
Printer Installation
4.
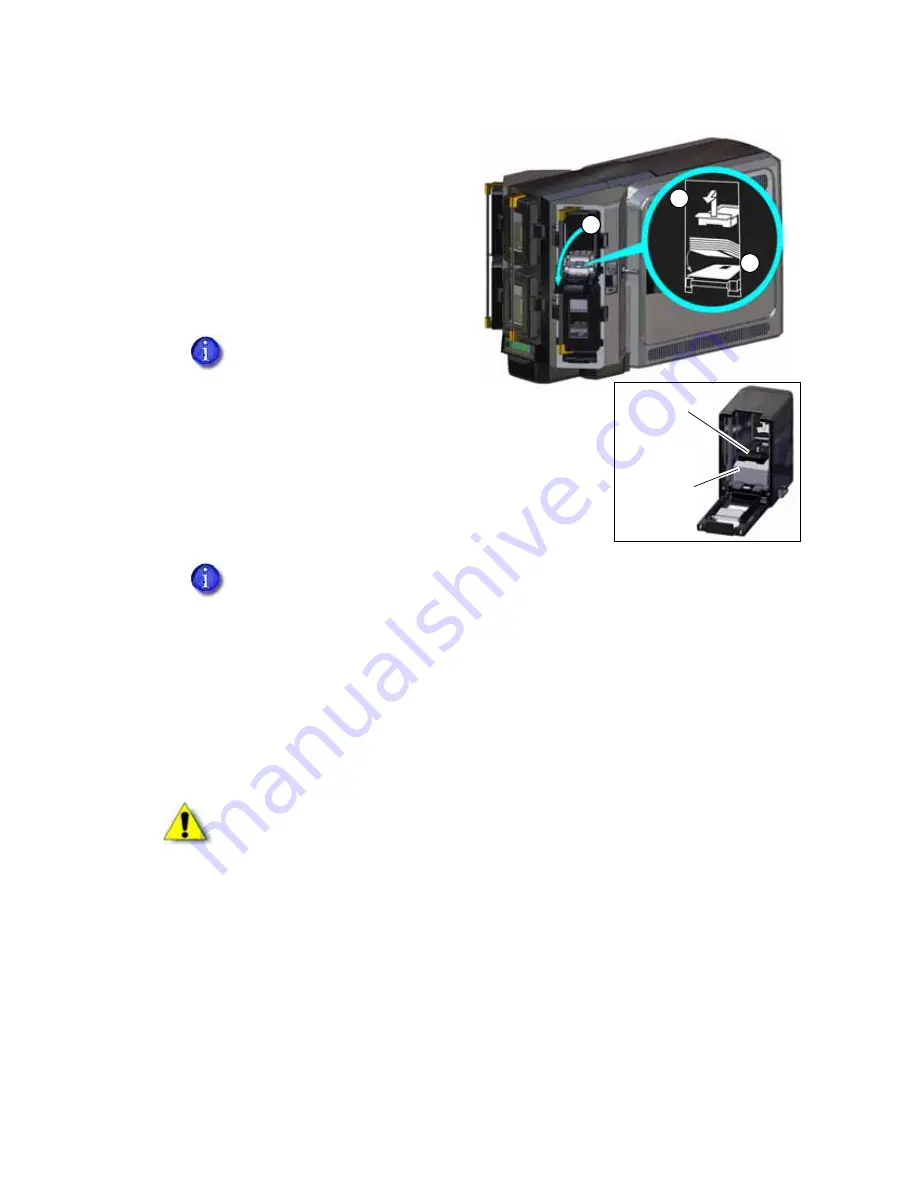
Press the cartridge release button at
the top of the cartridge and open the
cartridge door.
5.
Lift the card weight to the top of the
cartridge and gently pull it forward
until it locks in position.
6.
Load the cards into the input hopper
cartridge.
7.
Close the cartridge door. This releases the card weight so that it is lowered on top of the
cards.
8.
through
to load cards into each input hopper cartridge.
9.
Rotate the lock bars back into position.
10.
Slide the lock bar release button to the right to lock the lock bars into place.
11.
Lock the multi-hopper.
You do not need to remove the
cartridge from the multi-hopper.
The diagrams inside the cartridge show how to position the card weight and
load cards. Do not place the cards on top of the card weight.
Caution: The lock bars, lock bar release button, and the multi-hopper door lock all
must be in the lock position for the printer to operate. If any of the locks are left in
the unlock position, the printer issues an error. You must unlock and re-lock all locks
to clear the error and place the printer in Ready status.
Cards
Card Weight
4
5
6
Summary of Contents for CE875
Page 8: ...viii ...
Page 10: ...x ...
Page 16: ...xvi ...
Page 20: ...4 Printer Installation Multi Hopper Printer 13 4 in 340 mm 16 2 in 411 mm 25 6 in 651 mm ...
Page 28: ...12 Printer Installation Unpack the Optional Multi Hopper ...
Page 54: ...38 Printer Installation ...
Page 70: ...54 Elements of Card Design ...
Page 112: ...96 Printer Manager ...
Page 129: ...CR825 and CE875 Instant Issuance System Installation and Administrator s Guide A 9 ...


